Closer inspection
Closer inspection
Metrology is evolving to allow inspection to be moved closer to the production area. Is it time to remove your inspection lab and retire your old, reliable coordinate measuring machine? Has portable metrology equipment reached a point where all your parts can be measured directly on the shop floor? The answer to both remains a resounding, "Not quite yet."
Metrology is evolving to allow inspection to be moved closer to the production area.
Is it time to remove your inspection lab and retire your old, reliable coordinate measuring machine? Has portable metrology equipment reached a point where all your parts can be measured directly on the shop floor?
The answer to both remains a resounding "Not quite yet."
The CMM remains one of the most efficient and accurate ways of capturing dimensional data in manufacturing, and to further improve measurement accuracy and repeatability, many CMM builders are increasing machine mass and rigidity, optimizing the motors and improving thermal capabilities. In short, CMMs are—and will remain—big, bulky machines stuck in an inspection lab on the other side of the building.


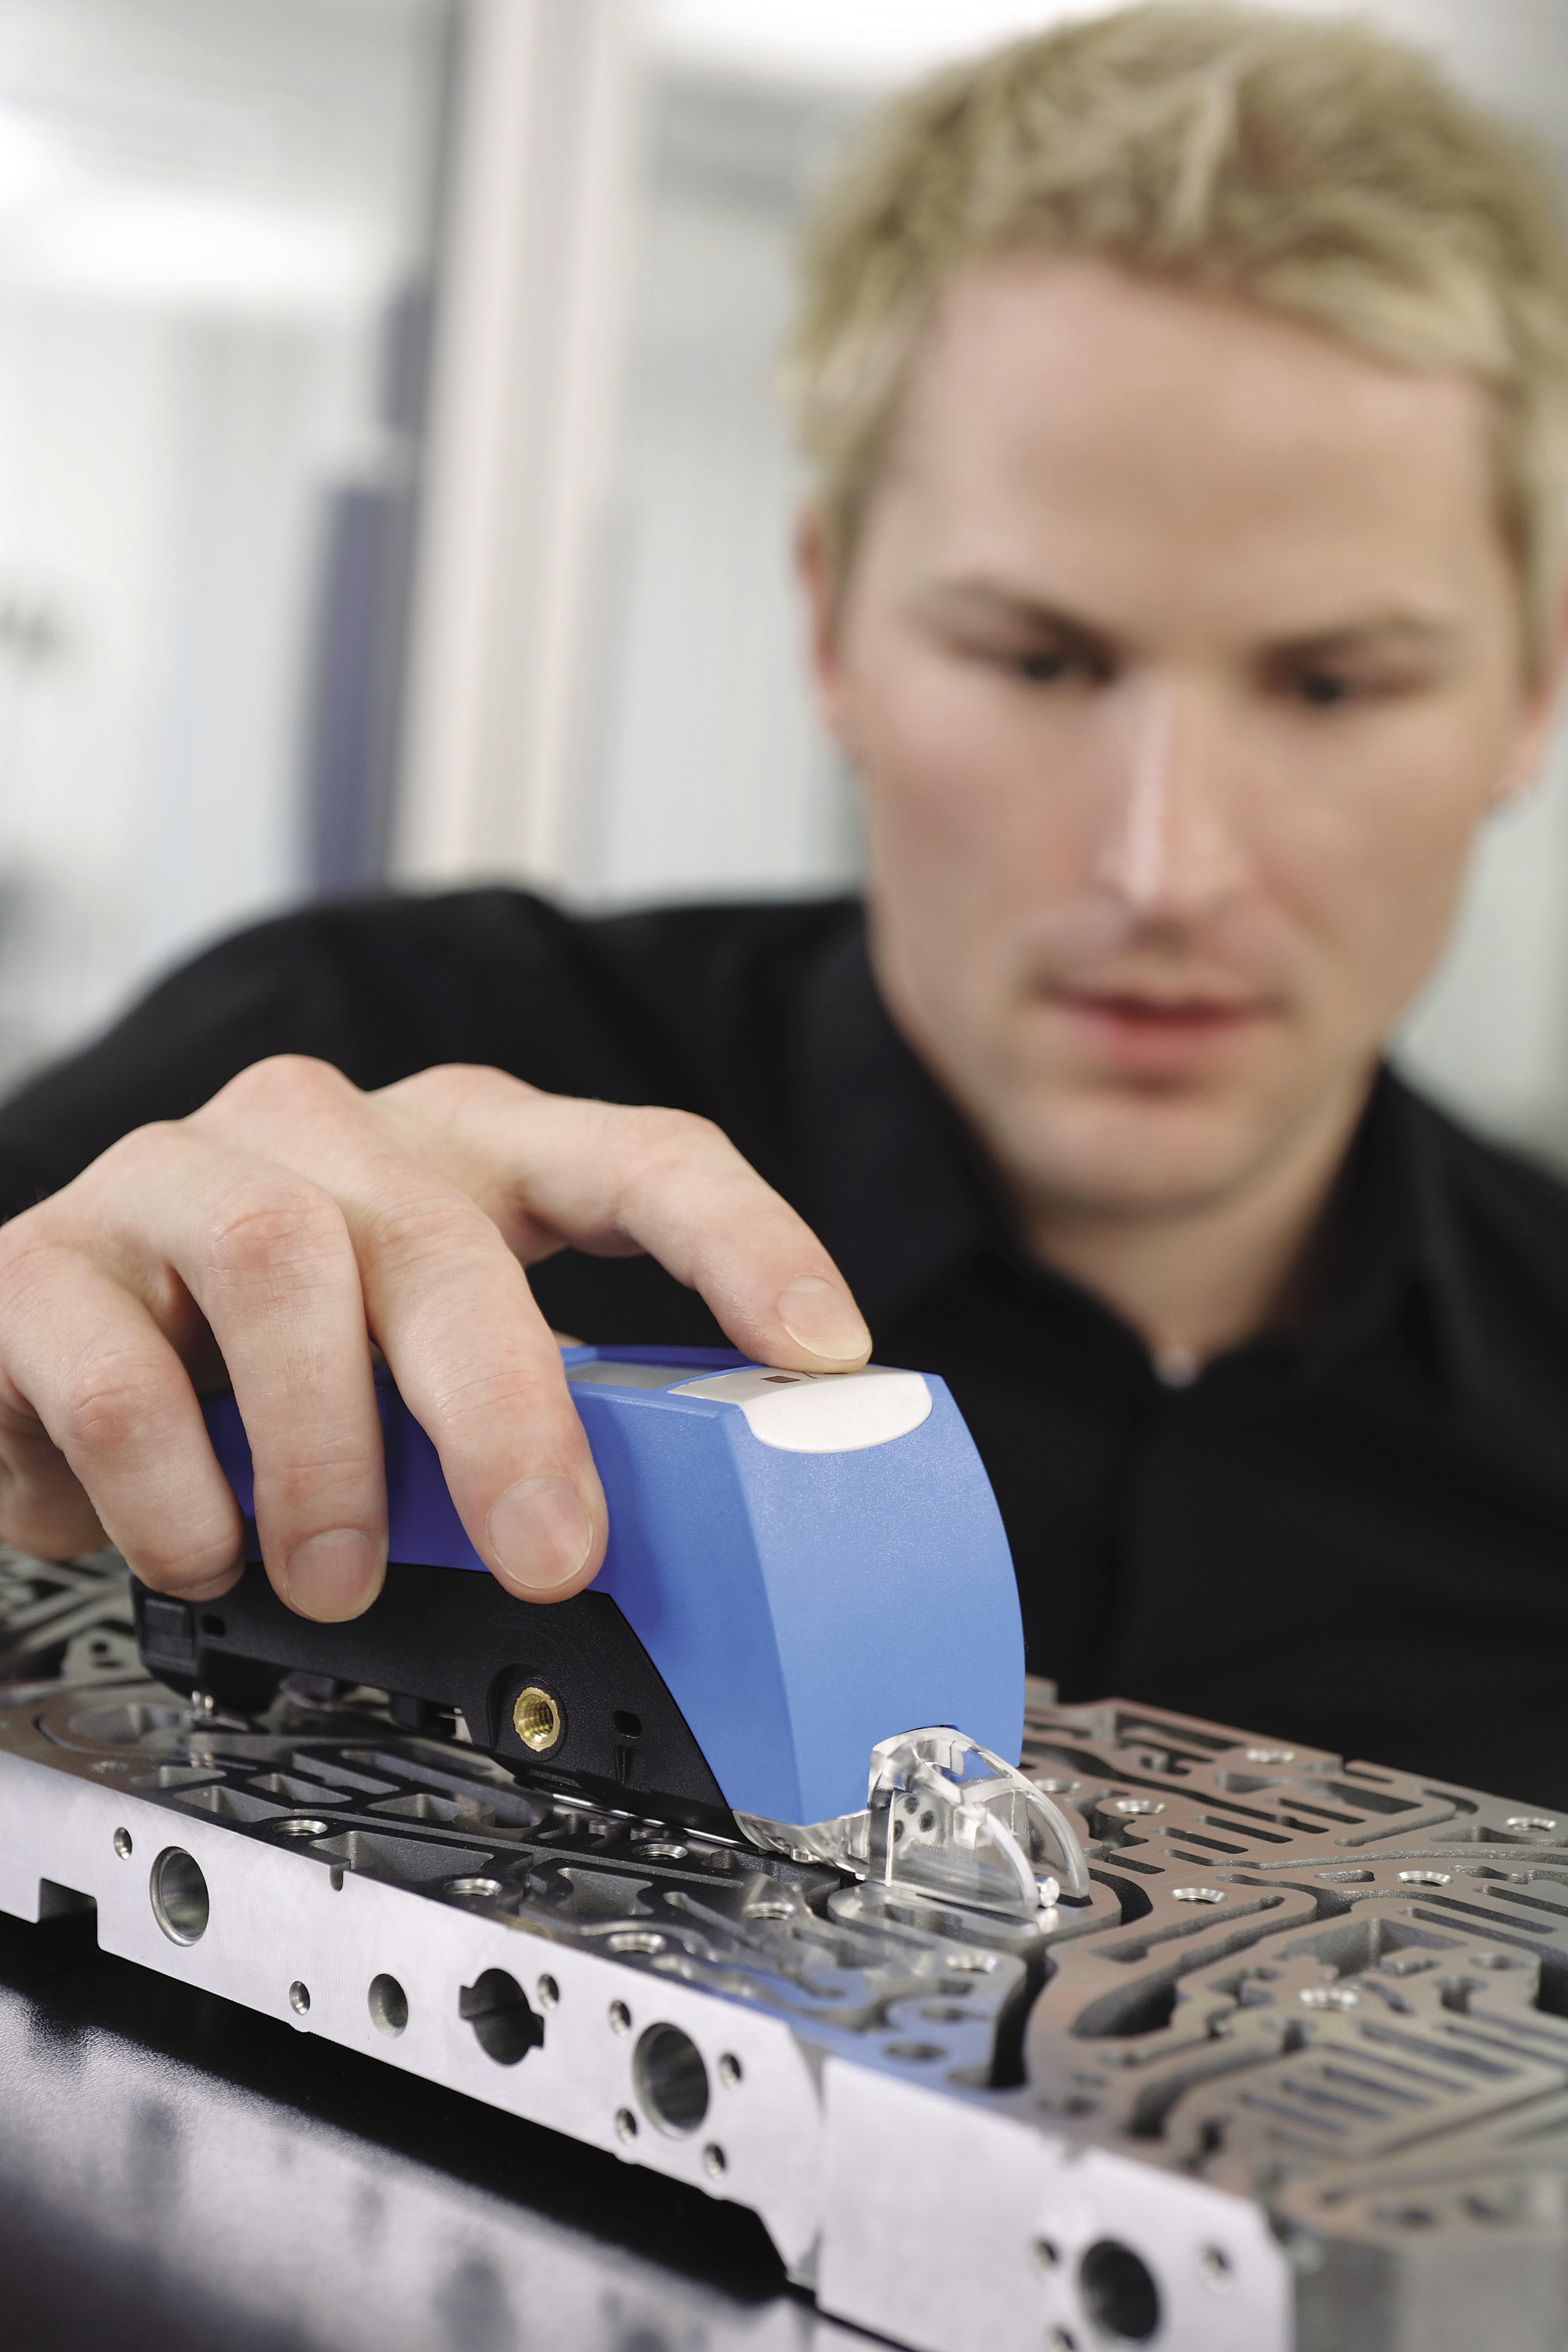
A technician checks the surface roughness of a valve body using the wireless Hommel-Etamic W5 device from Jenoptik. Image courtesy Jenoptik Industrial Metrology North America.

"CMM rooms are not always close to the operation, and usually there's a waiting period to get an inspection conducted," said Andreas Blind, vice president of marketing and services at Jenoptik Industrial Metrology North America LLC, Rochester Hills, Mich. The result is that inaccurate parts can be produced because of pauses in inspection.
"Hundreds of parts could pass through the production process before issues were discovered," according to Blind.
For the most extreme accuracy requirements, a stationary CMM is still the best bet, according to Burt Mason, product manager for portable inspection arms at Hexagon Manufacturing Intelligence, North Kingston, R.I. "But the industry continues to shift toward more portable solutions. The convergences of many metrology technologies—old and new—are finding their way directly to the shop floor in order to eliminate transporting parts all around the shop."


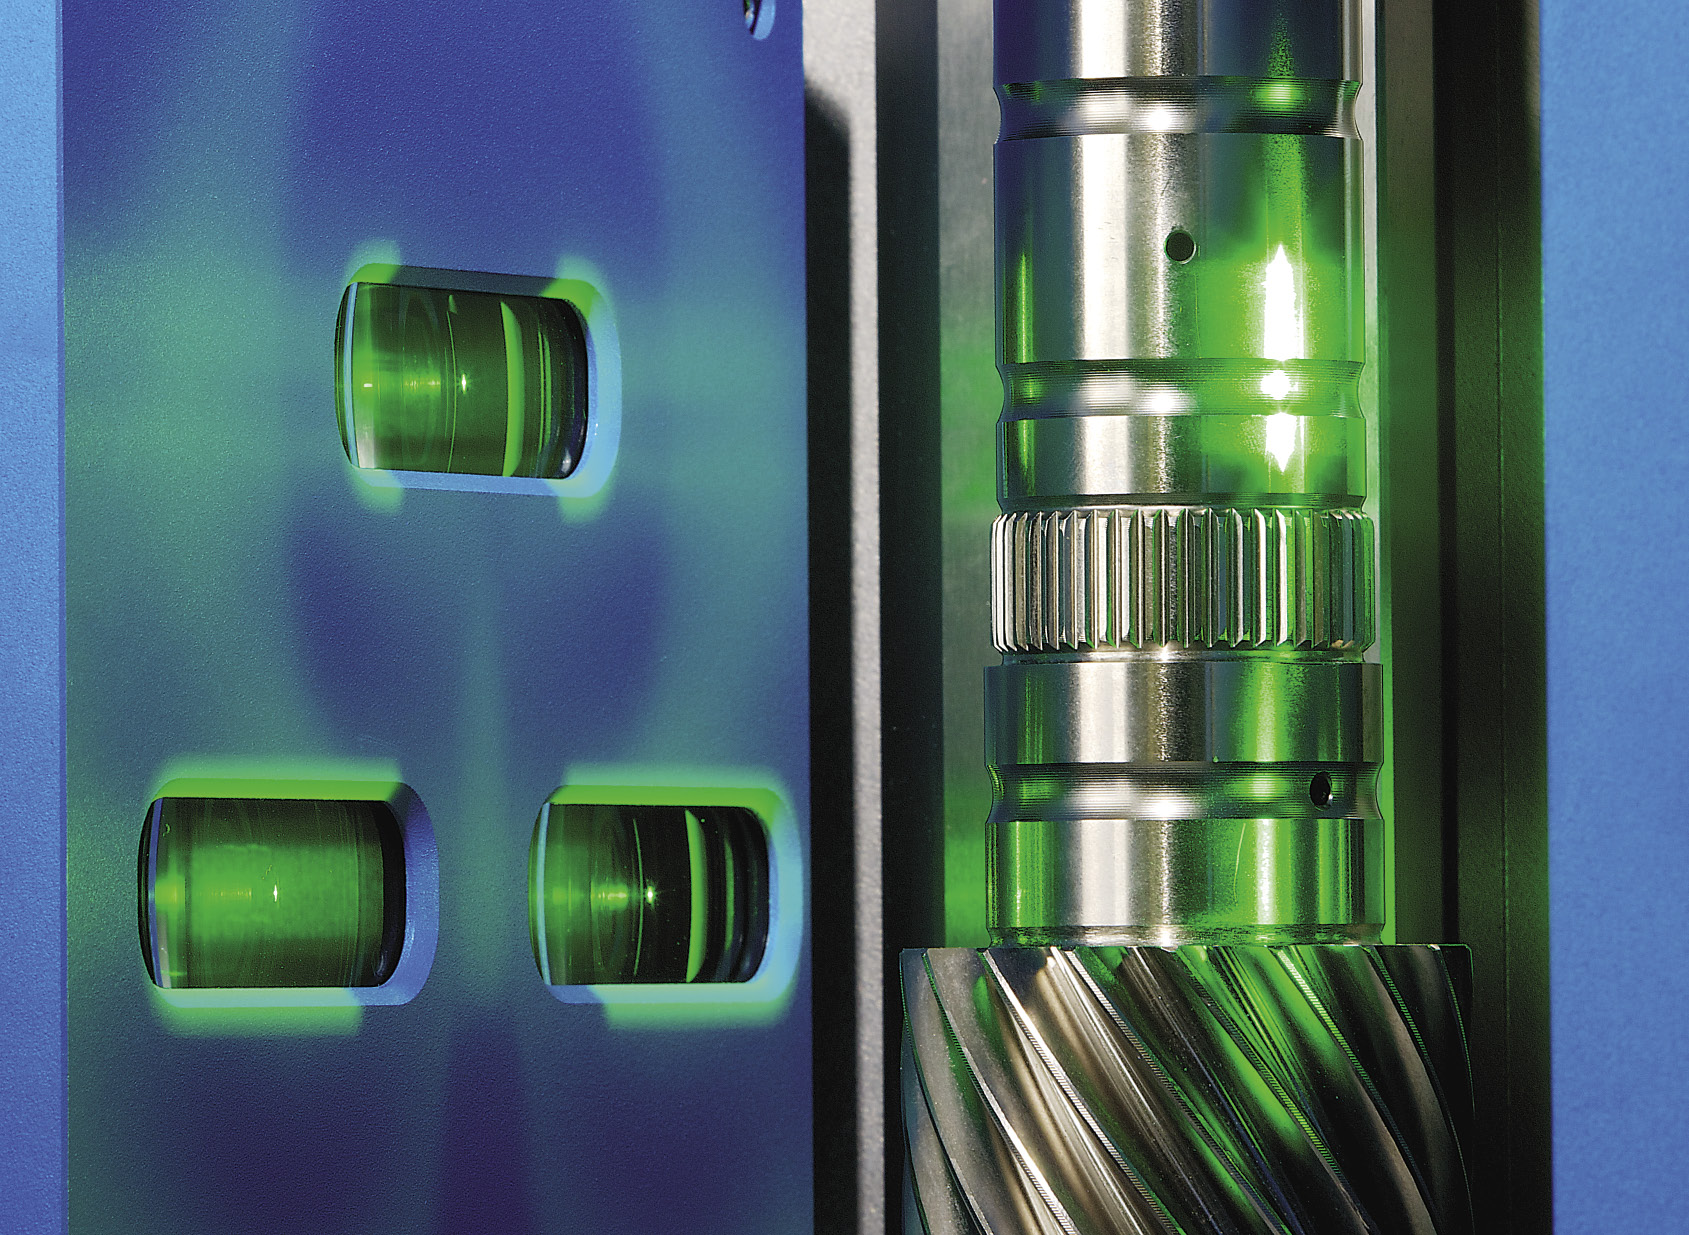
The reduced size and shape of inspection equipment is making it easier for operators to get fast, immediate inspection results on the shop floor. Jenoptik's Opticline optical shaft-measuring system is one example of this, where several measurements can be taken in seconds. Image courtesy Jenoptik Industrial Metrology North America.

Blind has been aware of this technology shift since the 1990s. "The trend to move measurement closer to the production line started many, many years ago, but it's still the main driver of our business," he said.
David Wick, product manager for Zeiss, Maple Grove, Minn., said that traditional CMMs are becoming more modular (common building blocks across more models), allowing a single machine to capture more measurement data. "But our industry is moving toward more inline solutions than the traditional quality lab. This means more product-specific programs optimized for specific production applications," he added.
"The push is to get metrology out on the floor, where everything happens," said Dean Solberg, co-owner of Exact Metrology, a provider of contract measurement and scanning services with offices in Cincinnati and Brookfield, Wis. "We do a lot [of work] with portable measuring arms, for example. This is the direction metrology is heading, generally speaking. It's all about process control."
Converging Technologies
The quality/inspection lab is a sealed room where high-accuracy measurements can be taken without outside influence. There, you'll usually find white walls, white floors and operators wearing lab coats in a temperature-controlled environment.
In stark contrast, the shop floor presents an entirely different set of inspection challenges. "The bay doors in a plant might be open half the day, which means temperatures are constantly changing," Mason said. "You're competing with chips, dust and other contaminants. The key to inspection on the floor is thermal stability."
Mason pointed out that Hexagon has devoted a lot of developmental effort to protecting metrology equipment from the shop floor environment. "Sealed encoders, quick-change probes and integrated laser scanners can provide faster and more-efficient measuring results right where the parts are being manufactured, and the technology is still evolving," Mason said. "Many portable solutions were conceived from equipment found on stationary CMMs. The quick-change probes, for example, were taken from CMMs and transformed to work with portable metrology equipment."
A critical factor on the shop floor is repeatability, Solberg added. "By taking the probe from the CMM and putting the technology on a Romer Absolute Arm (from Hexagon Metrology), for example, the shop floor operator now has a repeatable measuring process. In the past, different operators would provide different measurement results."
Additionally, the overall size and shape of inspection equipment is shrinking, according to Wick. "Automatic adjustments are replacing manual tuning, providing more reliable measurements and a lower cost of ownership for first-time users. It's also easier today to move the equipment around as manufacturing cells are reconfigured."


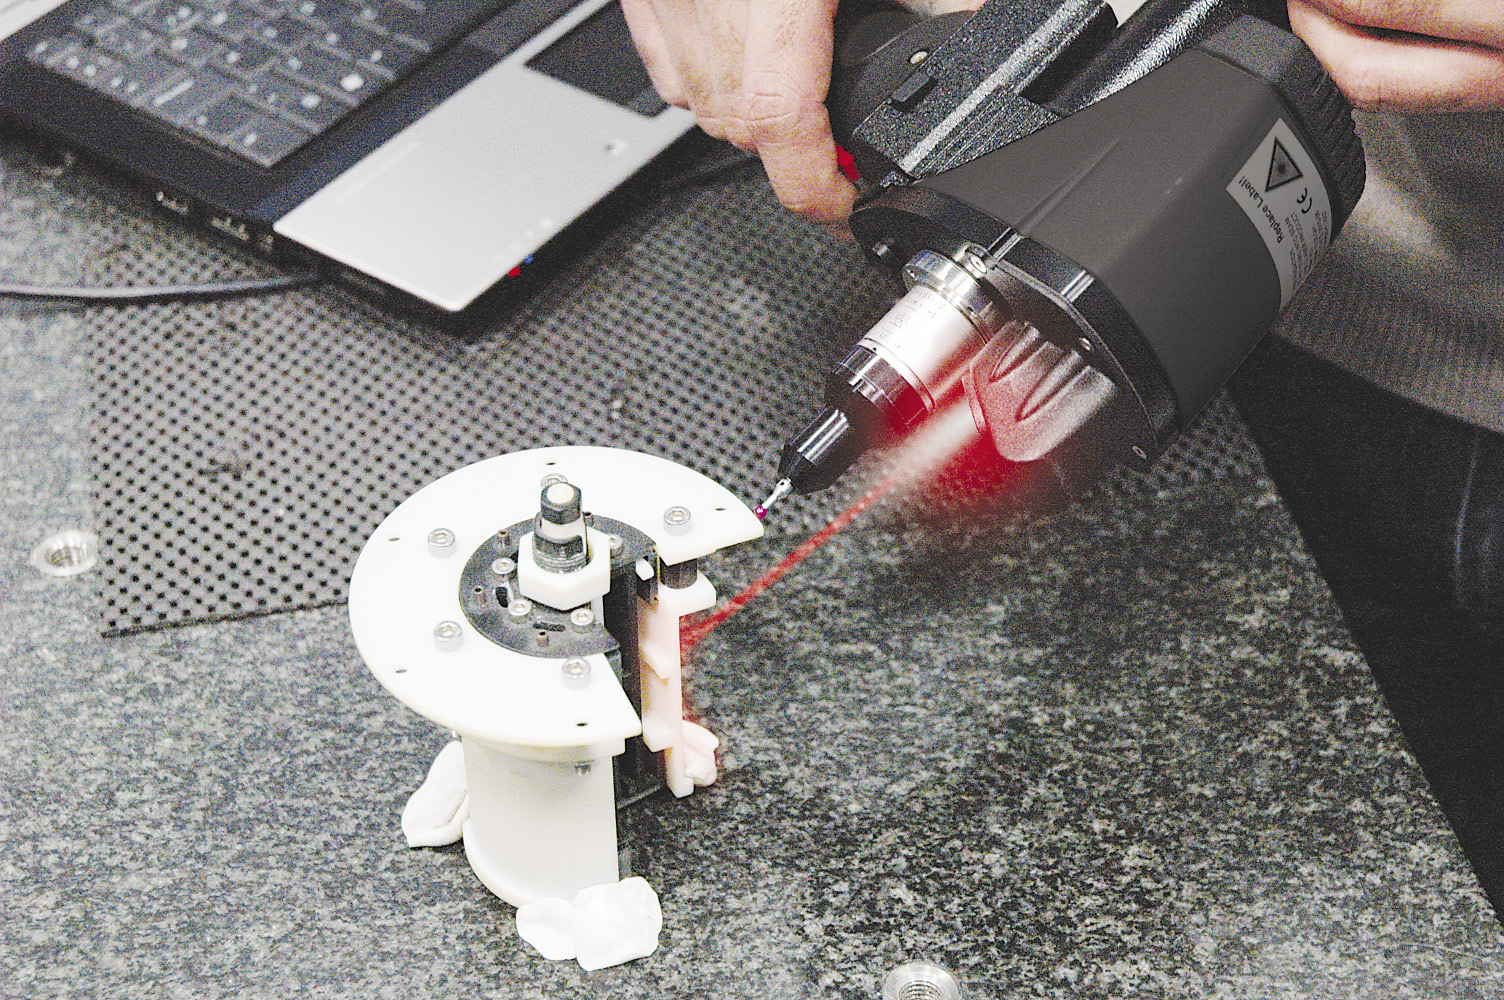
Hexagon integrates a laser scanner on the portable Romer Absolute arm. Image courtesy Hexagon Manufacturing Intelligence.

Jenoptik's Blind agreed. "The goal is to keep the complexity of a system (fixturing, temperature compensation, sequence of measurements, documentation) to an absolute minimum. The ergonomic shape and reduced weight of the equipment today caters more to the operator. [He] gets instant results and is able to make on-the-spot decisions."
Mason emphasized how Hexagon integrates a laser scanner on a portable arm. "When floor space is at a premium—and it always is—you can stick our equipment anywhere on the part," he said. "A Zero-G counterbalance supports the elbow of the Romer Absolute arm, eliminating all the torque from the elbow back to the base of the arm. When you do that you're no longer flexing tubes and twisting things, which make the system much more accurate."
Speed and ease of use are two other areas grabbing attention for shop floor metrology equipment. "Jenoptik's Opticline (fifth generation) takes a few seconds to achieve several measurements at the push of a button," Blind said. "Another example is Jenoptik's CFM, a dedicated shaft-measuring CMM that delivers submicron accuracy right on the shop floor."
Inspection tools that can be easily setup and moved around offer the flexibility and productivity gains not found in the inspection lab. Vendors are developing equipment that works in hostile environments over a wide temperature range. This enhances operator versatility, and CMMs are part of this movement.
Shop floor CMMs, for example, have the ability to operate under extreme ranges of temperature without compromising measurement quality. Zeiss reports that its DuraMax HTG CMM delivers accuracy down to 3.2µm at ambient temperatures ranging from 15° to 40° C. Wick said greater resistance to changes in temperature means lower operating costs, compared to using a measuring lab or continually adjusting a plant's temperature.
Making the Transition
The transition from inspection in the lab to the shop floor has been made easier thanks in part to common software packages. Hexagon's inspection software PC-DMIS can run on several different machines and share programs between these machines, Mason said. "In the past, you may have had an expert on software for CMMs and an expert on software for portable metrology solutions. This barrier is disappearing with software like PC-DMIS."
Popular programming languages like CALYPSO and PC-DMIS are long established, according to Wick. "This enables customers to measure many more dimensions of a product much faster using the same software to capture results in the same reporting plan," he said. "This can all be accomplished on a single machine."


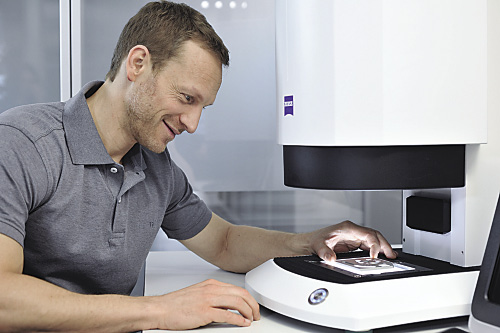
The push for shop floor inspection focuses on more product-specific measuring programs and machine firmware optimized for specific production applications. Image courtesy Zeiss.

Customers are placing emphasis on streamlined, smart, safe and transparent measuring processes, according to Blind. "Shop floor personnel do not need to have a deep, educational understanding of the gaging and metrology devices in their production lines. We do not believe they need to know them all," Blind said. "The instrumentation should be easy to use and self-explanatory. We are simply trying to make systems that are easier to use."
As an example of who Exact Metrology is trying to reach, Solberg cited a "60-year-old union guy" working at a forging company. "He's going to retire in 2 years, he doesn't want to have to learn new equipment from scratch or spend the time trying to figure out new software," Solberg said. "He's our target. We want this guy to 'paint' parts with the laser scanner, hit four buttons and print out the necessary reports to hand over to his supervisor."
The basic system for defining and communicating engineering tolerances is geometric dimensioning and tolerancing (GD&T). "We live in an age where those without a significant metrology background can sufficiently run metrology equipment on the shop floor, with the right software," Mason said. "The lack of training in some areas is why it's so important for a common software package to fill in the gaps, so to speak."
The Automated Cell
Another big push in shop floor metrology is an outgrowth of automated work cells. The bread and butter of large production facilities, work cells are becoming more viable for smaller manufacturing companies.
"The benefits of automation include eliminating the cycle time of moving parts to and from the quality lab and integrating measurement results as a yield step in manufacturing," Wick said.
"Automation is driving our market," Solberg said. "The collaborative gage is an example of this. We find that process control directly on the shop floor is possible. We don't have to have special gating, fencing or light curtains anymore. I can monitor the process on the shop floor for a week and then move it somewhere else and do it all over again. This is where our industry is heading in the next 5 to 10 years."
Automation can be an economical answer to metrology challenges, Blind noted. "In many cases, we quote two different concepts—a manual and an automated approach—to determine the best-fit solution for the customer."
Solberg added that the consistency of inspection results in automated work cells is still in its infancy. "Automation, in my mind, is where statistical process control was 30 years ago. We're developing new technologies every day to make the shop floor run more efficiently with less labor."
However, challenges remain, such as getting all the equipment in an automated cell to accurately measure while experiencing temperature changes, dirty air, dust and other factors. "Also, justifying the cost of the floor space for an automated cell is difficult, as it does not directly perform a manufacturing process," Wick said.
"The goal is to improve the overall inspection process and automation is part of this trend," Mason said. "If you're monitoring parts and they're shifting (starting to go bad), in the future you'll send this information through a network system upstream that makes modifications right at the machine tool. I don't see a lot of people doing this quite yet, but it's heading in this direction."
About the Author: Matthew Jaster is a former senior editor of CTE.

Contributors
Exact Metrology
(262) 533-0800
www.exactmetrology.com
Hexagon Manufacturing Intelligence
(855) 443-9638
www.hexagonmetrology.us
Jenoptik Industrial Metrology North America LLC
(248) 853-5888
www.jenoptik.com
Zeiss
(800) 327-9735
www.Zeiss.com/metrology


