GMM and GMS Surface Finish Measurement Package
GMM and GMS Surface Finish Measurement Package
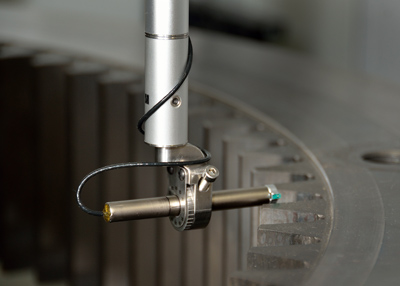
Gleason Corp.'s GMM and GMS Series of Analytical Gear Inspection Systems currently in service can be easily updated with a new Gleason field retrofit package to give them an advanced surface finish measurement capability as part of their normal gear inspection processes.

Gleason Corp.'s GMM and GMS Series of Analytical Gear Inspection Systems currently in service can be easily updated with a new Gleason field retrofit package to give them an advanced surface finish measurement capability as part of their normal gear inspection processes.
Typically, the surface finish measurement inspection procedure is performed offline using dedicated equipment requiring time-consuming setups. The new Gleason retrofit package instead saves precious time by enabling a GMM or GMS system to inspect multiple traces on any number of gear teeth using a motorized rotary probe system adapted to the existing SP80H 3D scanning head already in use by these Gleason systems. A range of surface finish inspection parameters are possible on gears with a module size down to 1.5 M, including Ra, Rq, Rz and Rmax roughness as defined in DIN, ISO and ANSI.
Programming for any surface finish measurement operation is incorporated right into the existing gear inspection part program and is particularly user-friendly in the GAMA suite operating software, results are available on-screen as well as in printed reports and can be output via standard CSV file transfer for further statistical analysis.


