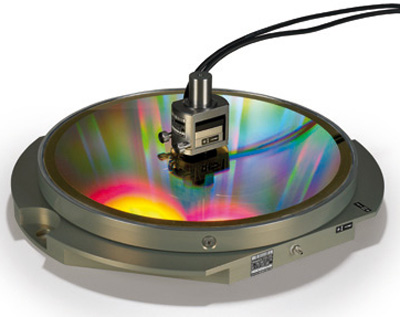
KGM 282 Verification Tool
KGM 282 Verification Tool
As machine tool builders and end users continue to push the limit with speeds and feeds, they need a tool to evaluate the dynamic performance of their machine with the ultimate precision and accuracy. HEIDENHAIN's new KGM 282 allows the user to precisely pinpoint the problem in the dynamics of the machine in order to increase its accuracy.

As machine tool builders and end users continue to push the limit with speeds and feeds, they need a tool to evaluate the dynamic performance of their machine with the ultimate precision and accuracy. HEIDENHAIN's new KGM 282 allows the user to precisely pinpoint the problem in the dynamics of the machine in order to increase its accuracy.
Made with HEIDENHAIN's two coordinate TITANID phase grating, the new KGM 282 has an exceptional accuracy of +/-1µm. The accuracy of the measure standard is maintained using a two-piece aluminum holder when the KGM 282 is mounted to an uneven surface. With a 230mm diameter measuring surface, the user can do a multiple array of complex 2D movements to thoroughly test the dynamics of the machine.
With a combination of HEIDENHAIN's ACCOM software, HEIDENHAIN's evaluation software, and HEIDENHAIN's EIB 741, the user can evaluate and store the dynamic 2D motion of the machine in a laptop with an Ethernet connection.


