Optoquick Measuring System
Optoquick Measuring System
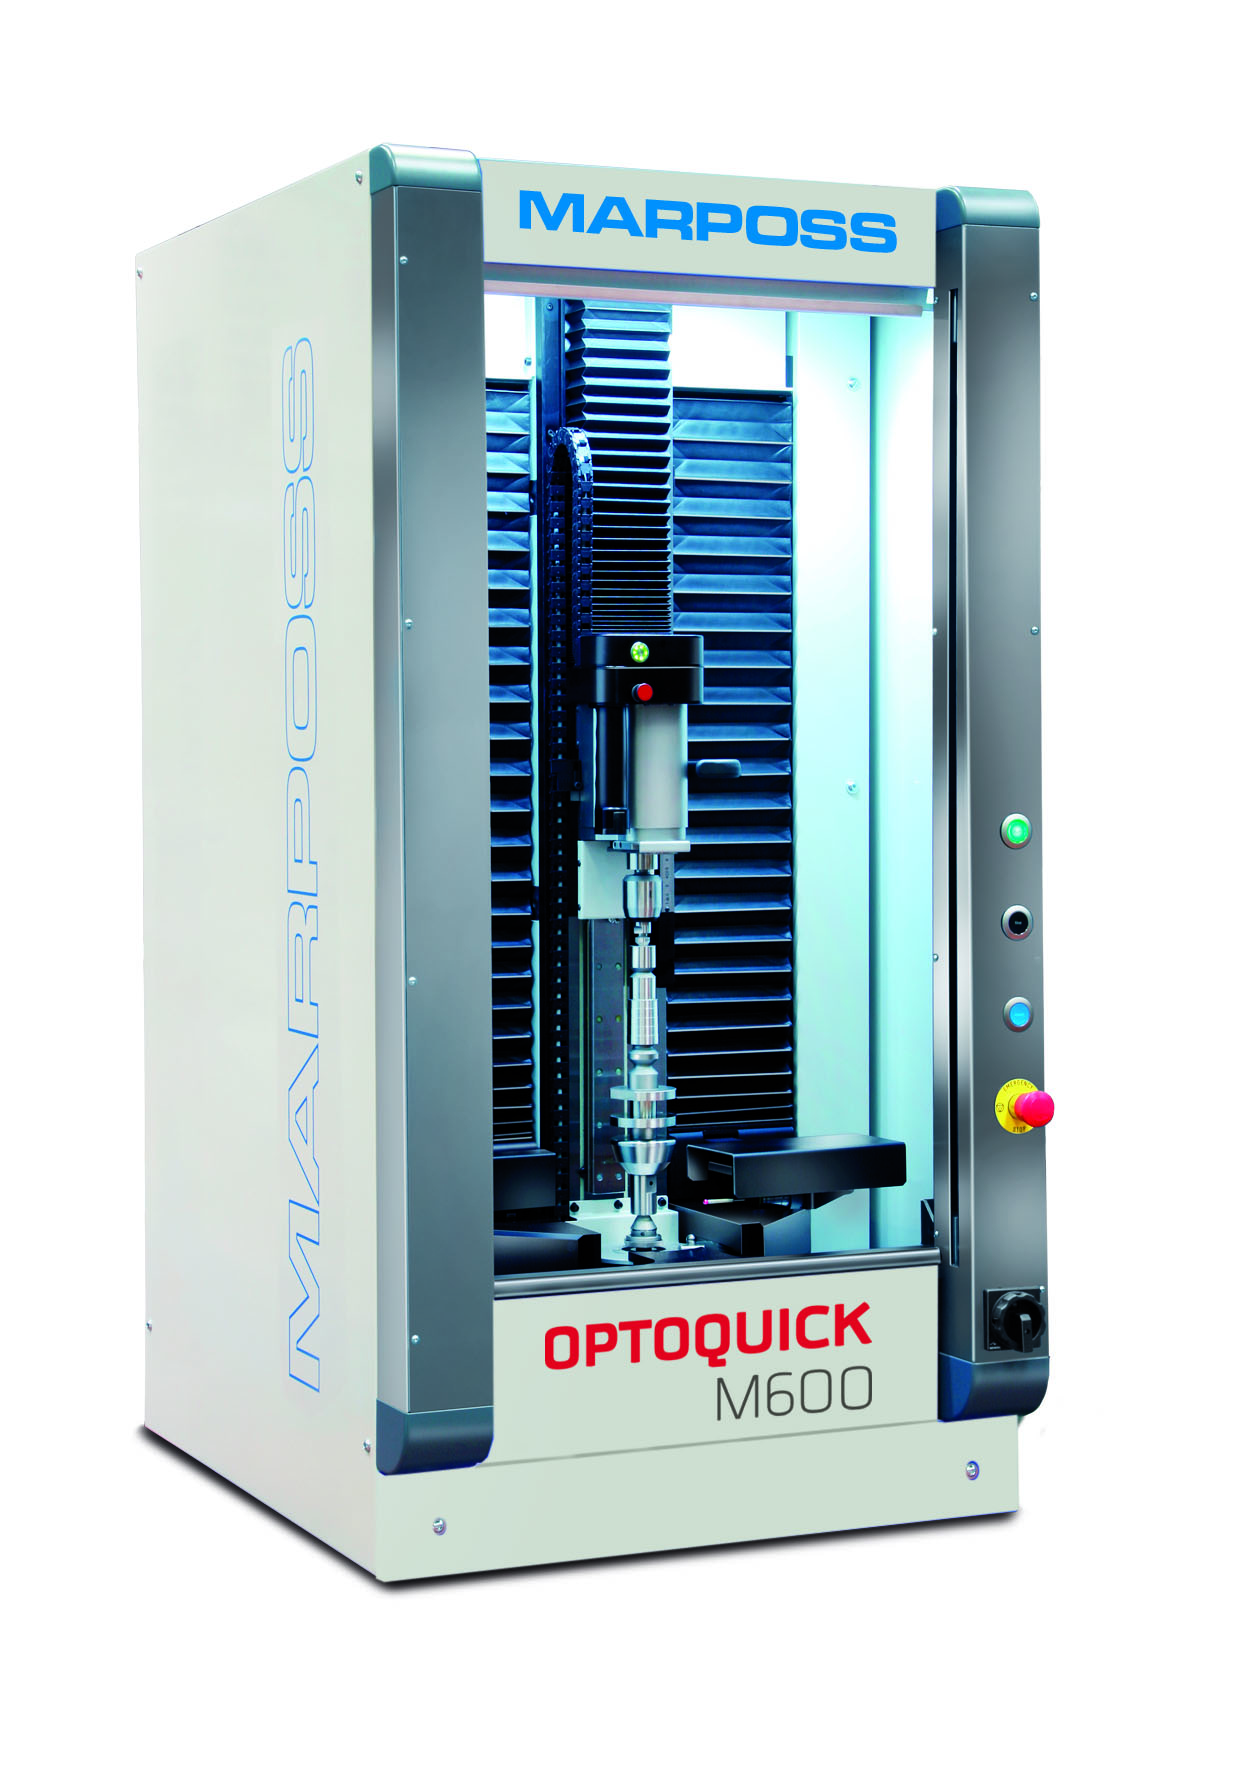
The new Optoquick is well-suited for measuring transmission shafts where spline and gear features, such as OBR, ODB, pitch run-out, etc., need to be measured together with traditional measurement of the solid bearing portions. It combines a touch measuring sensor with non-contact optical scanning to provide rapid and accurate measurements while the part is rotating. Design to operate on the shop floor next to the machine, it helps speed up the work-in-progress operations and eliminates time wasted in moving parts across the shop floor.

Marposs, a world leader in measurement, inspection and test technologies, has announced its newest generation Optoquick measuring system, the first solution combining a touch measuring system together with an automatic stylus changing system. Within a measuring cycle, the contact sensor stylus can automatically be exchanged with the new multi-axis G65 contact gauge, enabling measurement of non-visible features such as key slots, depth and angle; holes; flat surfaces; and axial run-outs to accomplish specific measurements with the appropriate stylus model.
The new Optoquick is well-suited for measuring transmission shafts where spline and gear features, such as OBR, ODB, pitch run-out, etc., need to be measured together with traditional measurement of the solid bearing portions. It combines a touch measuring sensor with non-contact optical scanning to provide rapid and accurate measurements while the part is rotating. Design to operate on the shop floor next to the machine, it helps speed up the work-in-progress operations and eliminates time wasted in moving parts across the shop floor.
The Optoquick is a flexible system that can be easily reconfigured in case of a part change, or a single Optoquick unit can be simultaneously used for different parts from different stages in the same production. Two models and a total of five sizes of the Optoquick unit are available to accommodate a wide range of part sizes and characteristics. The system can handle parts up to 240 mm diameter x 1,200 mm long with a weight up to 60 kg. Depending upon the model, the Optoquick unit can be manually or automatically loaded.
It features user-friendly SPC software with intuitive measurement result presentation, visual auto-diagnosis notification, and capability for multi-format data exportation.


