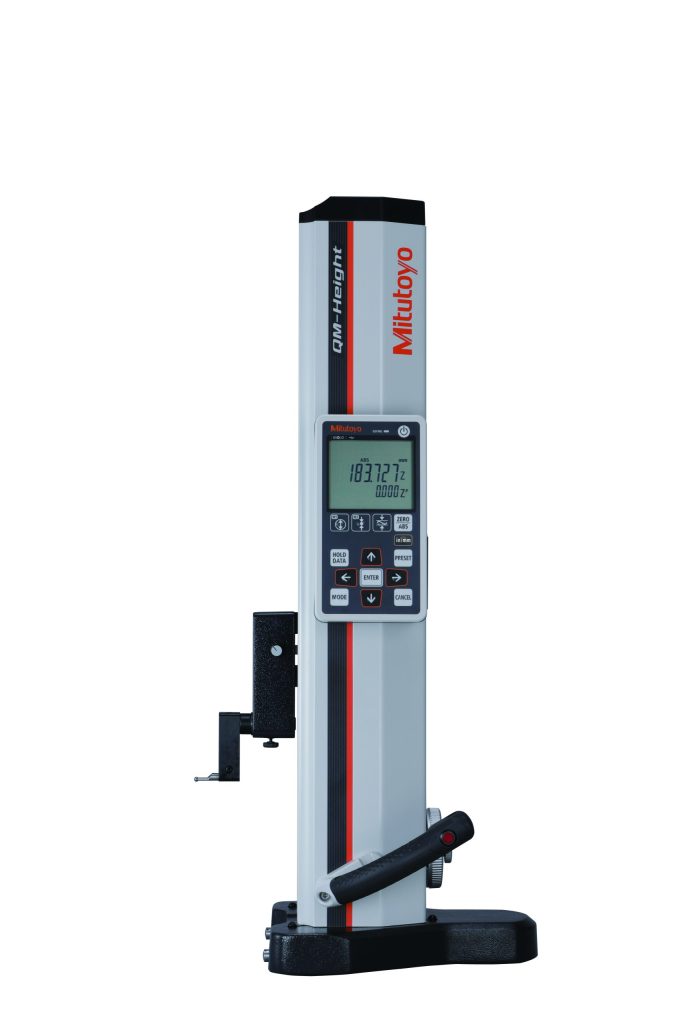
QM-Height Series High-Performance Height Gauge
QM-Height Series High-Performance Height Gauge
Mitutoyo America Corp. announces the release of the QM-Height series high-performance height gauge to its small tools line. The QM-Height is used to measure height, height difference (step), inside/outside widths, inside/outside diameters, circle pitch, free-form surface maximum/minimum heights and height difference by scanning measurement. It features an accuracy of ±(2.4+2.1L/600) μm, and a built-in pneumatic flotation system enables smooth movement over a surface plate.n

Mitutoyo America Corp. announces the release of the QM-Height series high-performance height gauge to its small tools line. The QM-Height is used to measure height, height difference (step), inside/outside widths, inside/outside diameters, circle pitch, free-form surface maximum/minimum heights and height difference by scanning measurement. It features an accuracy of ±(2.4+2.1L/600) μm, and a built-in pneumatic flotation system enables smooth movement over a surface plate.
Two subdisplay modes display the value from the previous measurements or the value from the zero/origin point. Origin points can also be set from hole centers. Highlighted features:
• GO/±NO GO judgment by LED and display symbols: LEDs indicate tolerance judgment status – green for GO, red for +NO GO, and orange for -NO GO. Additionally, status is indicated by corresponding symbols appearing on the display.
• Inside/outside diameters, maximum/minimum heights and displacement measured using a standard probe: Besides height measurement, Mitutoyo's proprietary mechanism and firmware enables scanning measurement of inside/outside diameters, maximum/minimum heights, and height differences.
• ABSOLUTE encoder maintains the origin: The electromagnetic induction type ABSOLUTE encoder maintains the origin. The origin does not need to be set after turning on the power. (Except when there is a considerable environmental change).
• New d2 Digimatic and USB outputs: Digimatic and USB ports are standard. Using the U-WAVE-T measurement data wireless communication system enables instant transmission of measurement data to a PC via wireless communication reducing manual input errors and improves data reliability and operational efficiency.
• Increased Power Supply: 1,200 hours of battery life in continuous use.
• Air-suspension Feature: ressing a button on the grip activates the internal air pump. The base rises on a cushion of air and is able to be moved smoothly over the surface plate.


