ANCA showcases technology at GrindingHub
ANCA showcases technology at GrindingHub
ANCA will showcase its technology range at the GrindingHub trade show in Stuttgart, enabling customers to grow capacity, improve profits and gain efficiencies.
At GrindingHub, May 17-20, at Messe Stuttgart, ANCA will showcase its technology range, which enables customers to grow capacity, improve profit margins and gain efficiencies.
Deciding what technology to invest in should be driven by business goals, working with existing objectives, processes, data and ideas.
CPX in-process OD measurement
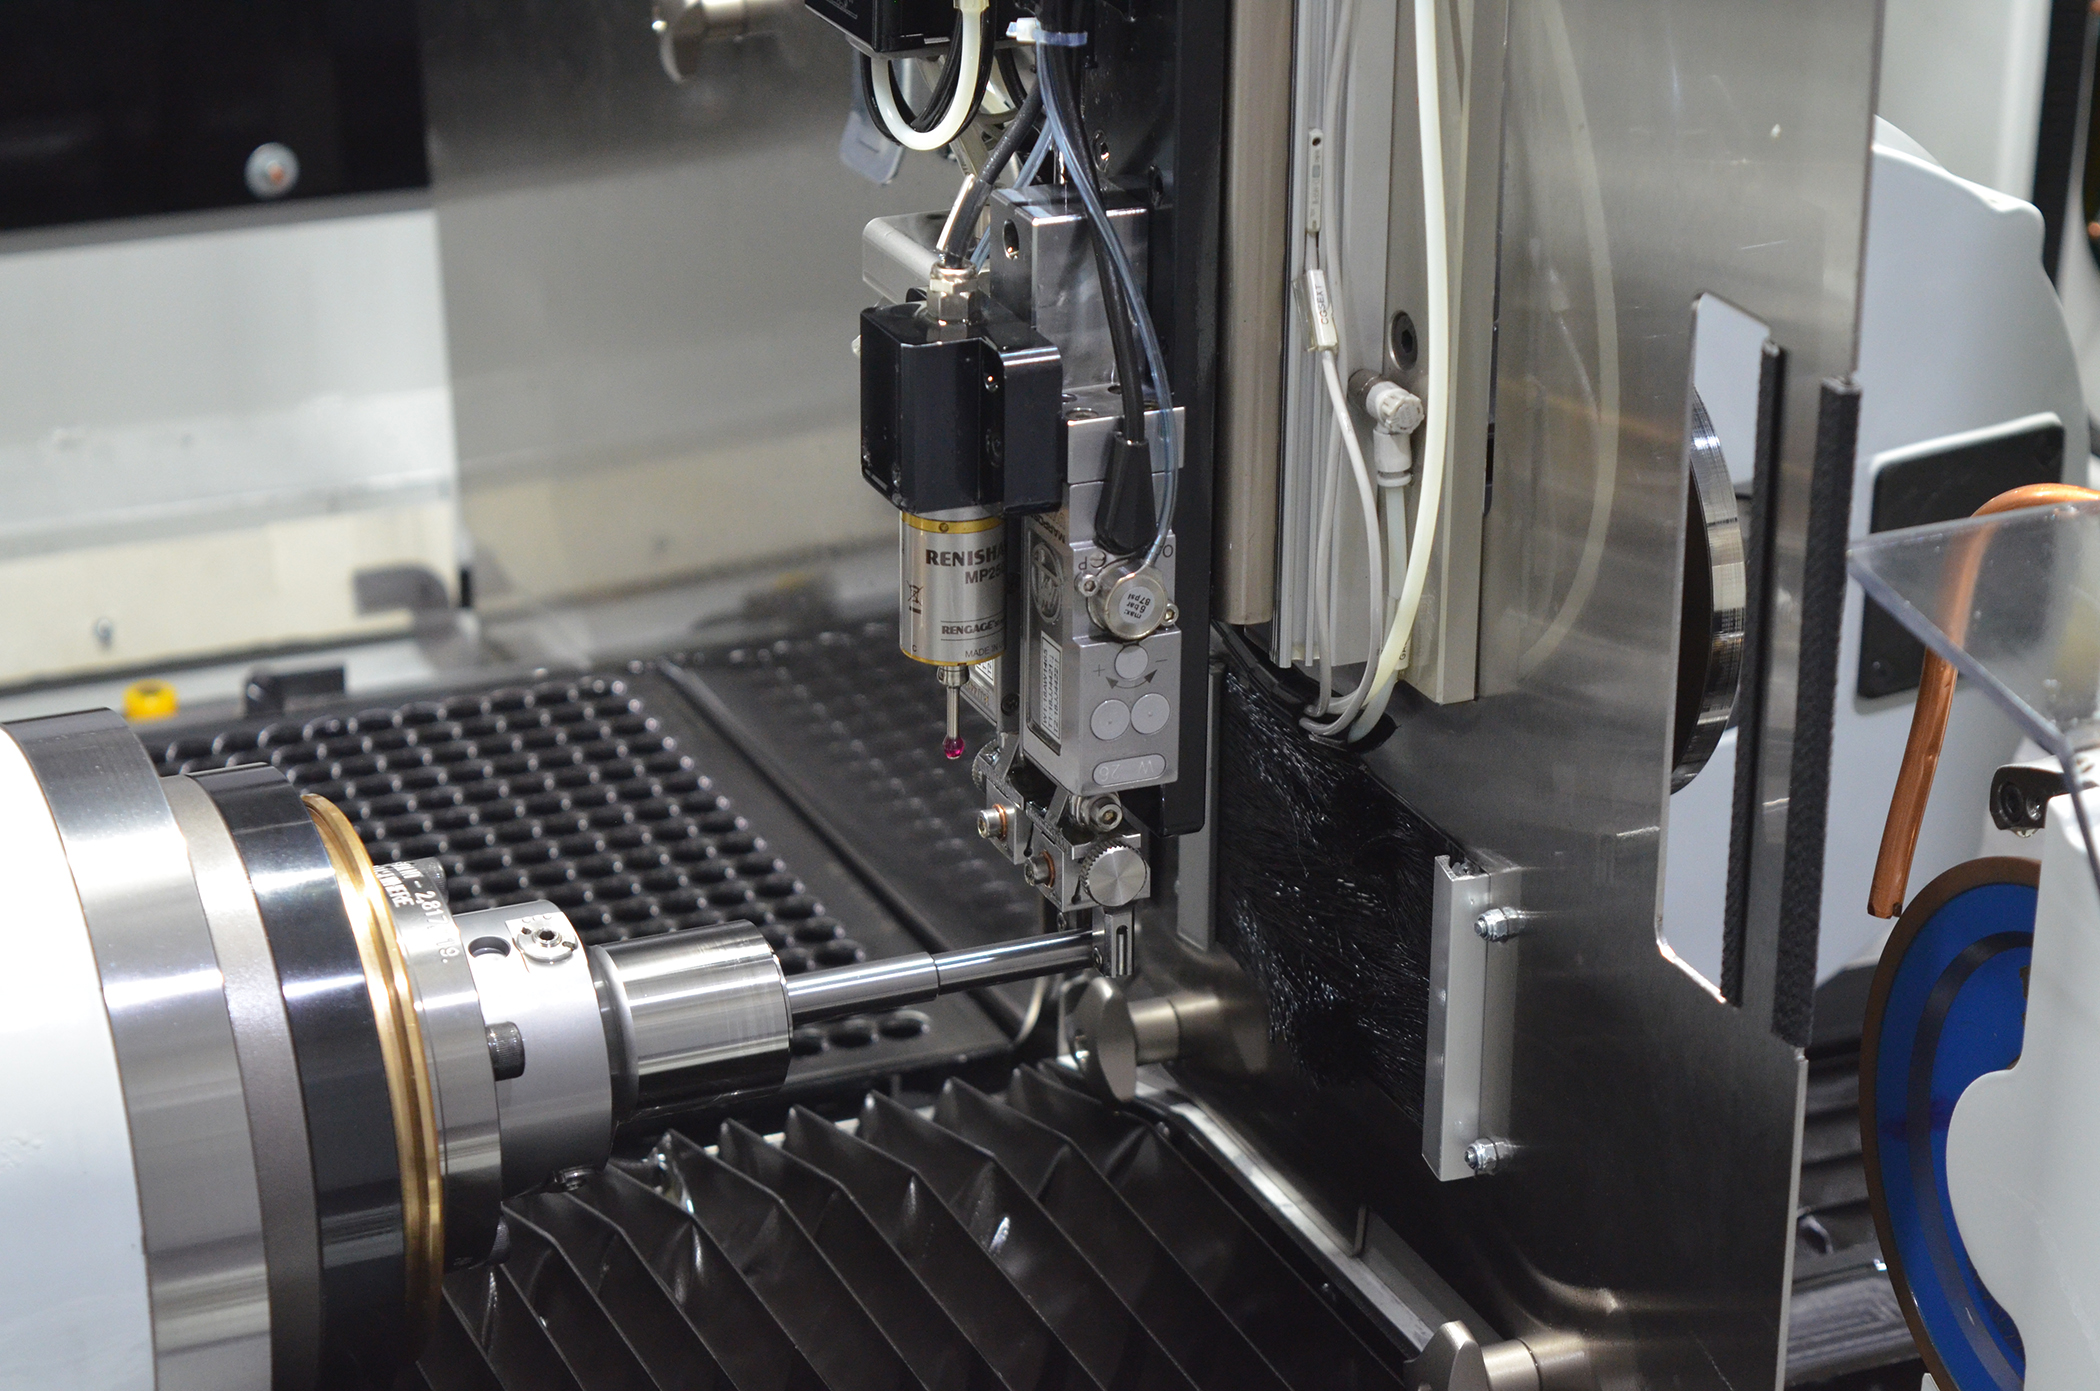
The CPX in-process OD measurement system is a quality control system that monitors and controls the OD of ground blanks within a batch production.
Batch grinding on a CPX with high-material removal rates and meeting tight tolerances is a basic function of the machine. The OD measurement system takes it further by utilizing the SPC feature that comes standard with the OD measurement software. SPC is user defined, and the tolerances along with the Cp and CpK values are constantly monitored, controlled, and reported to the user.
The OD measurement system is permanently mounted inside the machine and only called upon when required, based on the set tolerances and the frequency of measurement. An accurate in-process measurement and compensation is applied to maintain the blank OD to the nominal diameter.
The system has the ability to handle multiple diameters in one setup, making it suitable for complex blank geometries/shapes and longer batch runs, the company says.
AIMS
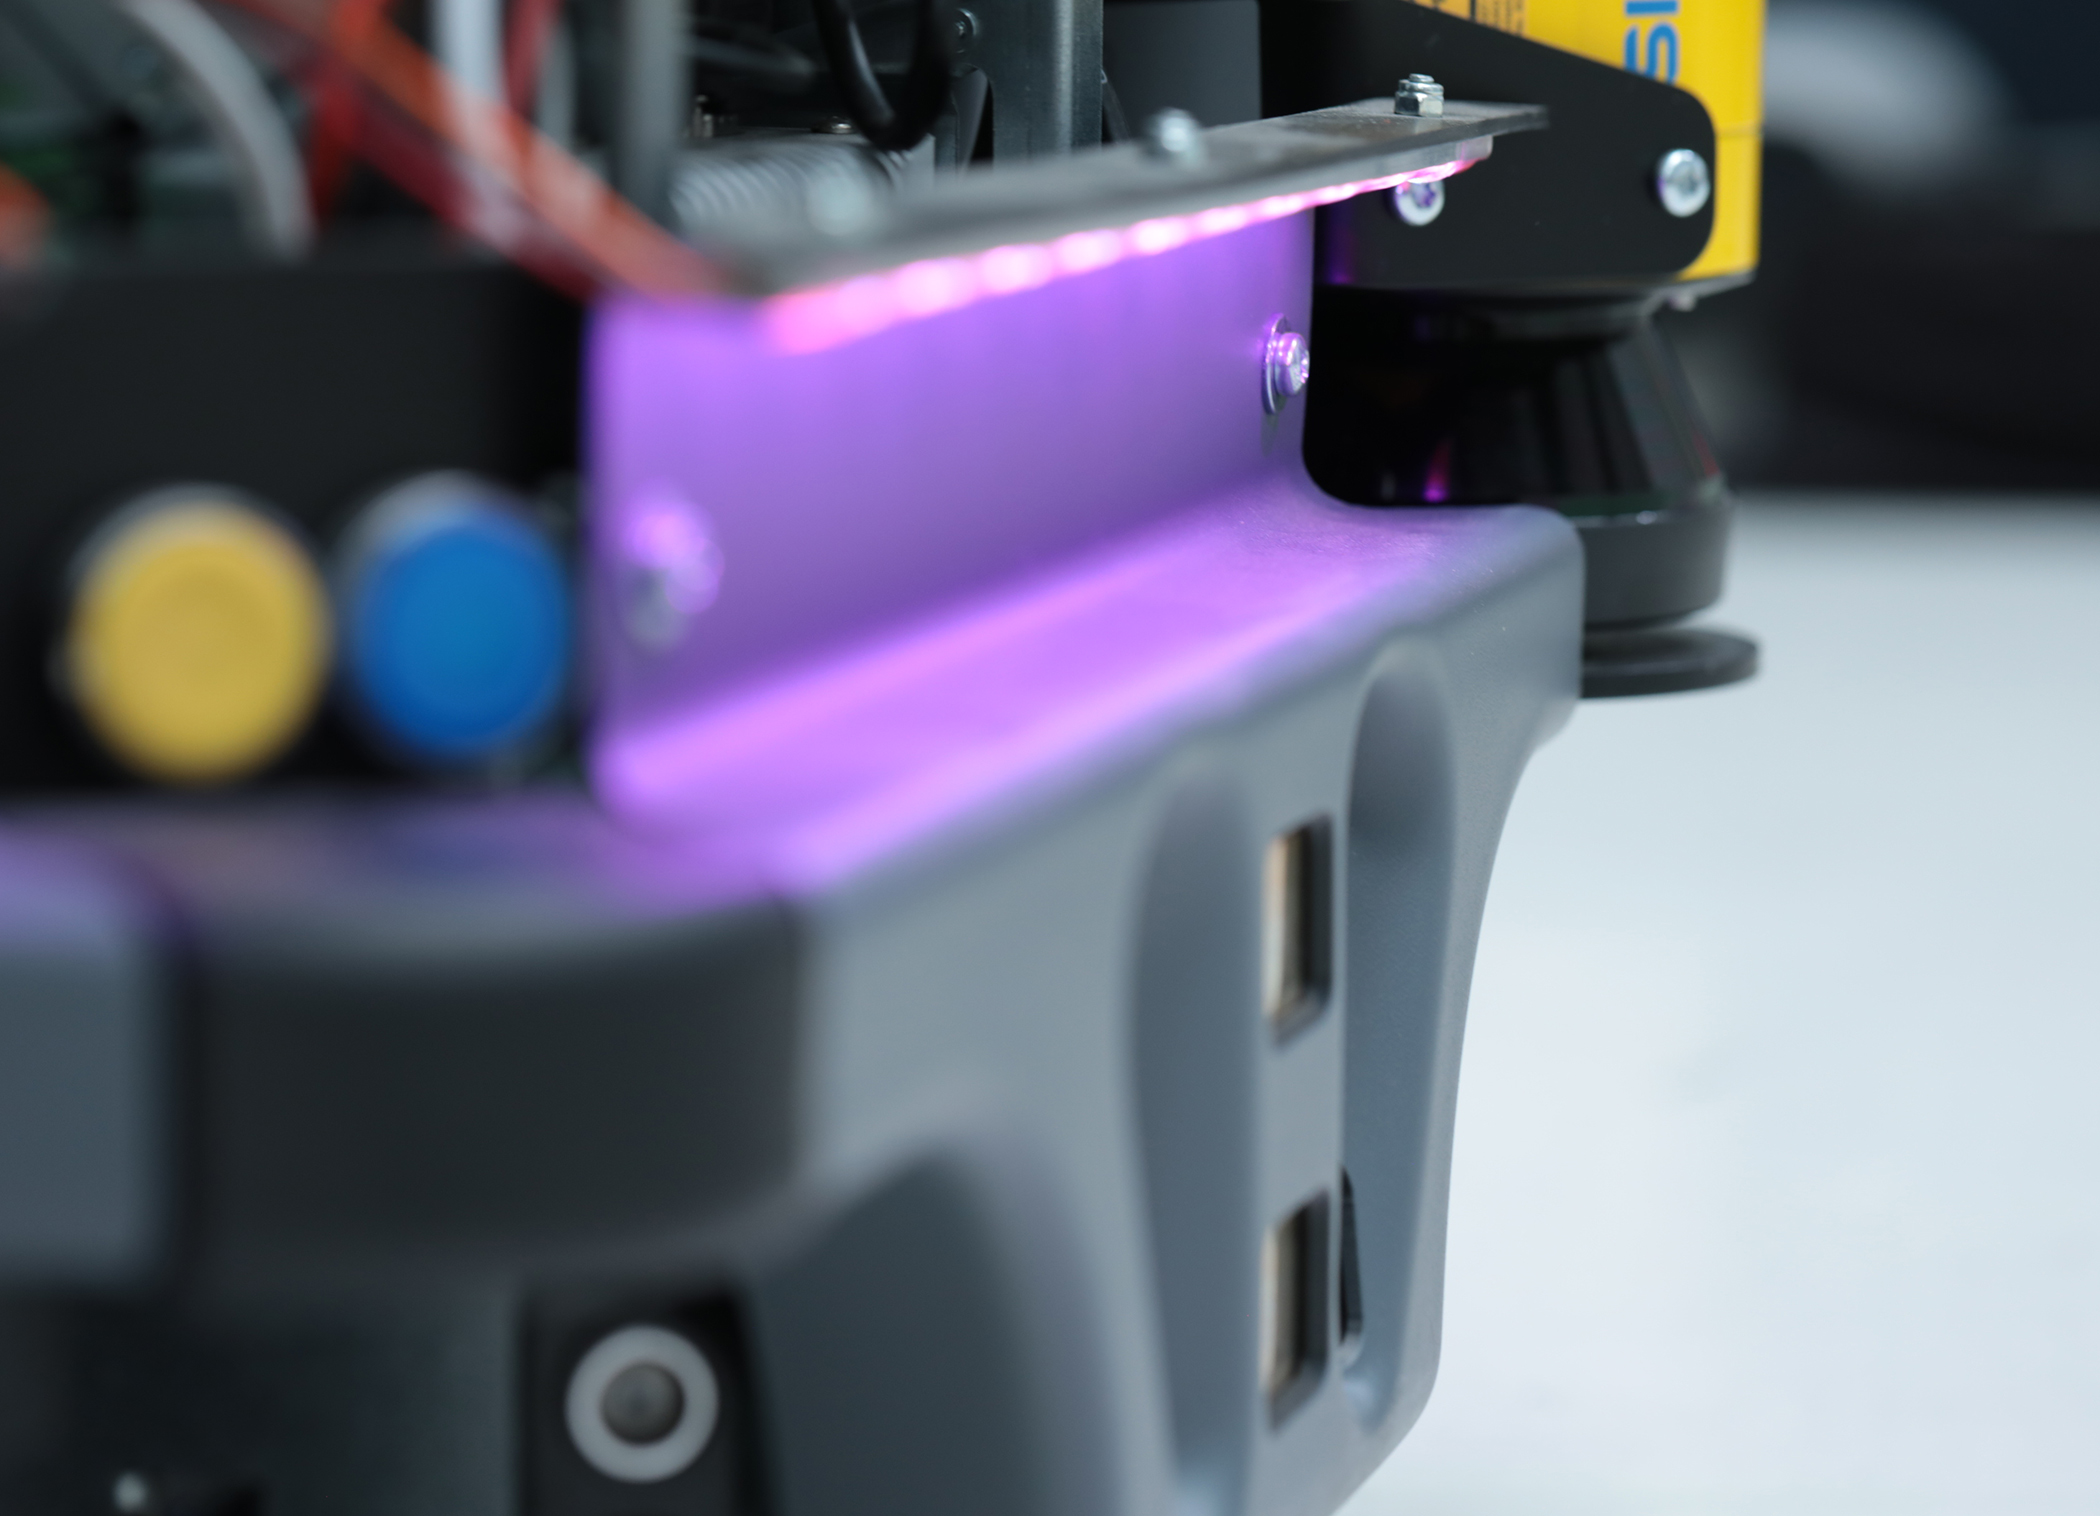
ANCA's Integrated Manufacturing System (AIMS) is the future of optimized cutting tool production through streamlined manufacturing and connectivity.
The Industry 4.0 technology considers a factory as a single machine, rather than separating it into many different elements of design, blank preparation, grinding, laser marking, washing, packing and shipment.
AIMS is a modular solution that can be deployed in stages that allow for a gradual and smooth transition from traditional to automated and integrated manufacturing.
An AIMS manufacturing cell will be displayed at GrindingHub, demonstrating a fully automatic process of tool manufacturing starting from the pallet with blanks and finishing with pallets with ground tools.
The GrindingHub demo consists of the following components:
- AutoSet – preparation station, it is a main operator interface. Jobs scheduled for production are downloaded through the AIMS Server to the AutoSet station and are prepared for production here, pallets are being loaded with blanks for further automatic process
- AutoFetch – AMR (Autonomous Mobile Robot) responsible for material transfer between processes replacing operators carrying pallets or individual tools between machines/processes. The AutoFetch robot will transfer full pallets with blanks to the respective grinder, will pick up an individual tool from a grinder for out-of-process measurement and compensation and then will pick up a pallet of finished tools and transfer it to the Finished Goods area
- MX7 Linear grinder equipped with AutoLine Advanced loader (Robomate 2 loader with AIMS kit installed), allowing for accepting pallets presented by the AutoFetch
- Zoller Genius with Zoller AutoLine Advanced responsible for out-of-process measurement of individual tools from a batch being manufactured. Measurement values are transferred to the respective grinder and compensation of grinding parameters is taking place based on individual customers tolerance settings.
AutoMarkX laser marking
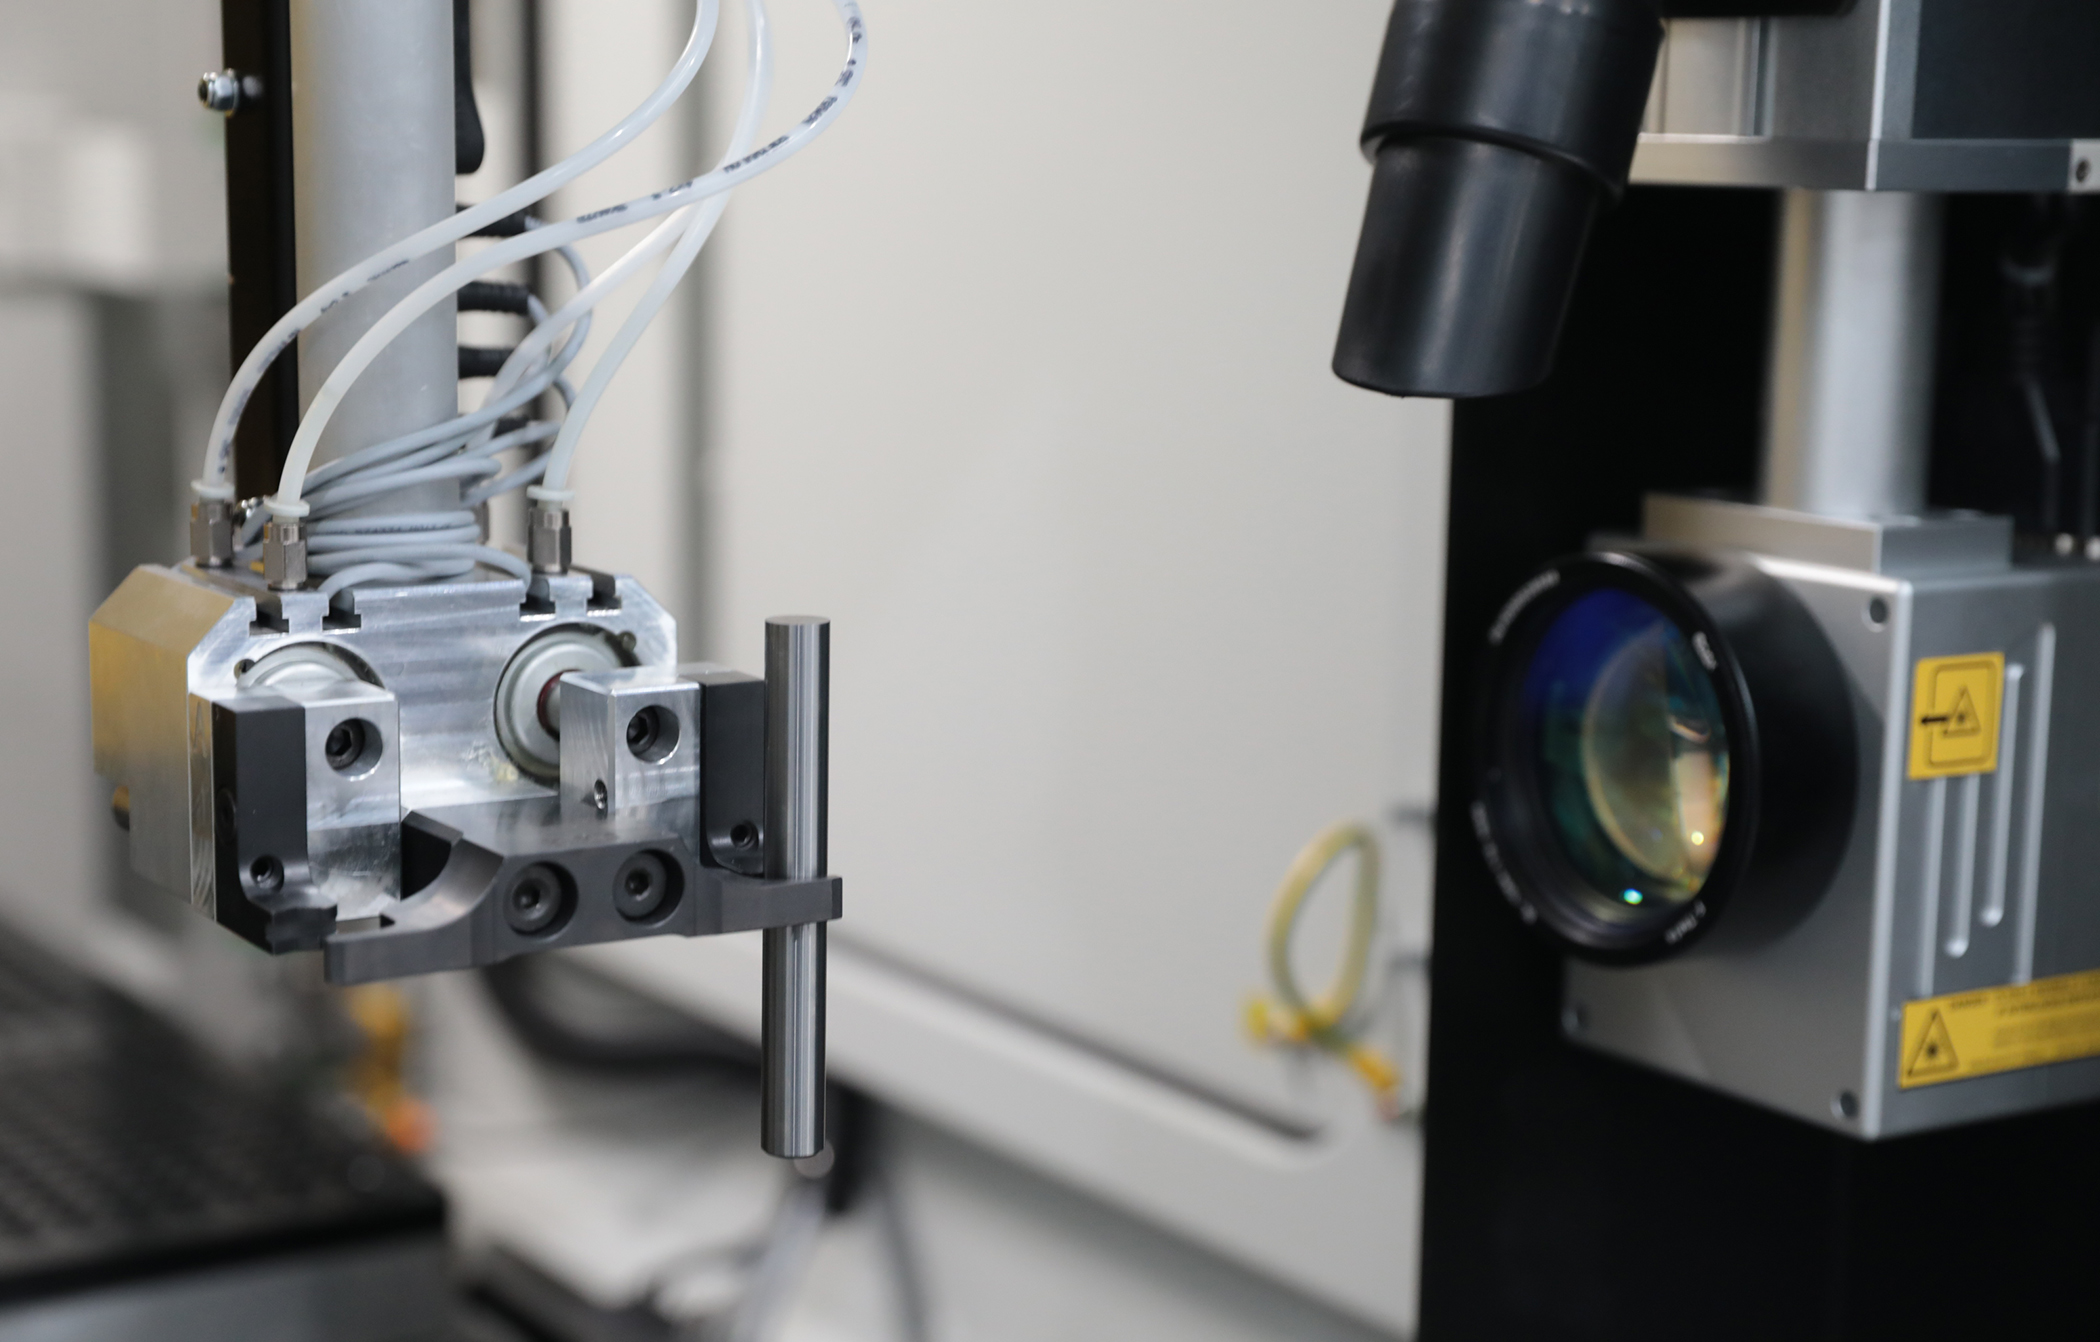
AutoMarkX is an automatic stand-alone laser marking station replacing manual and labor-intensive processes.
It is AIMS Ready, which means it can be used as a standalone machine but could be easily integrated to your lights out, unmanned AIMS manufacturing cell with automatic pallet transfer using AutoFetch robot.
The AutoMarkX eliminates the need for manual laser marking which is a repetitive and labor-intensive job which could be automated and therefore saving you money. By avoiding manual handling, tool quality is protected by eliminating risk of chipping.
AutoMarkX accepts up to two full pallets of tools, which means you can mark a large batch of tools unmanned. Flexible marking means the message could be etched on a single side of the shank or on opposite sides of the shank as well as at the end of tool. The last option is particularly useful for applications where a unique tool identification code (e.g. Datamatrix) needs to be etched on the tool. Codes like Datamatrix are usually etched on the shank where they risk the exposure to excessive surface wear, rendering them unreadable. The end of tool is the best location to etch this type of code to overcome this issue.
Automated small batch and regrinding
ANCA has developed the LaserUltra closed-loop measurement and barcode reader interfaced into the iGrind and end-customer's ERP system. This system will be demonstrated on the FX7 Linear platform. The demonstration will highlight how to set up a tool for regrind utilizing a barcode reader and QR code, how to easily make adjustments within our ANCA software, what inputs are possible in an ERP system, setting up the RFID to allow mixed diameter automation and the actual grinding process itself. The FX7 Linear machine will also be fitted with the Pop-Up Steady, AutoStick, Auto Wheel Qualification and iView.
The standalone MX7 Linear with RoboMate loader will be demonstrating ANCA's solution for grinding and auto loading of indexable inserts. The machine and loader will be installed with workholding, grippers, pallets and interchange station specifically for the manufacture of special inserts. Accessories fitted on the machine include the 4-station Auto Stick, Auto Wheel Qualification and LaserUltra.
Gear up for skiving
Driven by the automotive industry's electrification and the general rise of e-mobility, the demand for skiving cutters has seen 30% year on year growth. The GCX Linear provides a complete solution for customers to tap into this rapidly developing market, including the ability to produce skiving cutters, shaper cutters and regrinding of hobs. It offers advanced stand-alone software to design and optimize the tool, neatly interfaced with the gear tool package inside ANCA's renowned ToolRoom software. The machine is designed for accuracy with features including all axes with LinX linear motors and an enhanced headstock. GCX Linear also added a series of technologies: AEMS dressing, MTC on grinding spindle and dresser spindle, integrated gear tool measurement and direct compensation – setting the new standard for producing skiving tools that achieve the highest DIN AA quality class.
Due to the skiving tool's novelty, many gear measurement machines still don't have the correct mathematical model for evaluating the quality of the cutter. Leading the world in solving the quality control issue, ANCA developed the world-first integrated gear tool measurement system, which enables the grinding-measuring-compensation all done in the machine, as the only practical closed-loop solution.
At GrindingHub, the GCX Linear will demonstrate the skiving cutter production process assisted with the industry-first integrated gear tool measurement system.
New toolroom
Besides demonstrations on ANCA's ToolRoom and CIM3D software, visitors can preview the upcoming RN35 release.
ToolRoom RN35 focuses on productivity and cycle time improvements especially machine running costs. New process optimization features help to enable reduction in cycle time which in return provides better quality tools and wheel life. This includes automated reduction in air grinding time and gaps calculated based on tool simulation models.
Some of the major enhancements include
- Feedrate optimization – Integration of Q-Prime feature in ToolRoom software to achieve constant Material Removal Rate (MRR) based on wheel manufacturers specifications. This is done by calculating and controlling non-constant feedrate where applicable to achieve better cycle time and extended wheel life.
- Airtime Reduction – Automated reduction in airtime by optimizing gaps based on tool simulation models and wheel shapes.
- process control (SPC)">Statistical Process Control (SPC) – Gives control of your production process during high volume manufacturing by monitoring the variations due to wheel wear and other process-controlled activities. Process capability data can be graphically displayed or stored for future QC purposes or further evaluation. It also helps customers to control critical tool dimensions like diameter by updating wheels at regular intervals.
- Profile Fluting – Gives the ability to control and maintain hook/rake angle along the trajectory of the cutting edge on a given profile. Increases cutting performance and life of the tool due to uniform hook/rake angle along the edge.


