Taking measures to improve metrology
Taking measures to improve metrology
Many — if not most — shops encourage employees to purchase their own measurement tools. Some even help by "financing" these purchases, allowing machinists to pay them off in small increments. And what machinist doesn't want his or her "own stuff" with which to do the job? But does allowing machinists to use their own measuring tools actually make sense?
Many — if not most — shops encourage employees to purchase their own measurement tools. Some even help by "financing" these purchases, allowing machinists to pay them off in small increments. And what machinist doesn't want his or her "own stuff" with which to do the job? But does allowing machinists to use their own measuring tools actually make sense?
 Granted, anyone doing machine setups should own or have access to a few basic measuring tools: a 6" (152.4mm) digital caliper, micrometers up to 3" (76.2mm), a test indicator or two with a magnetic base and a 0-6" depth micrometer. For most setups, this is all that's needed to set up a machine. After that, traceable and calibrated shop tools should always be used to measure parts during production.
For shops that provide machinists with a full set of measurement tools, a hefty burden is placed on the QC budget. Having enough micrometers, bore gages, surface plates, dial indicators and gage blocks to go around can be costly, not to mention that some machinists might be less than respectful of equipment that's not their own. This requires more-frequent calibration, checking metrology equipment in and out for each job, maintaining lists of approved tools, preparing inspection methods for each job and, quite possibly, implementing software to keep track of it all, which is probably a good idea anyway.
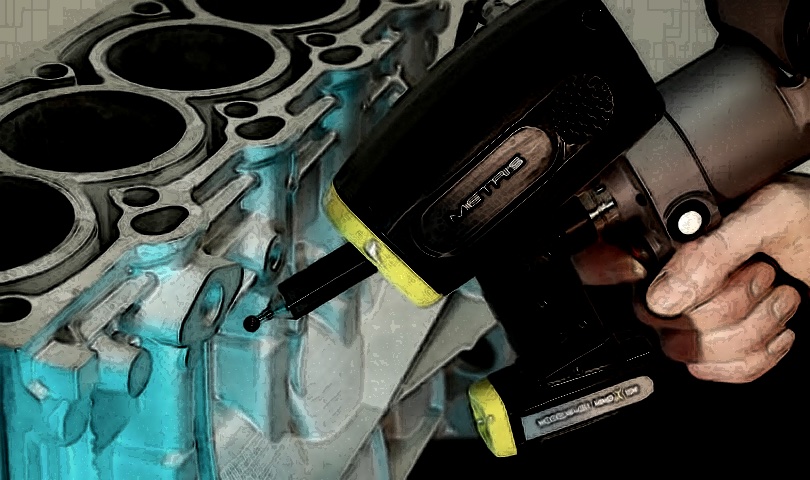
These considerations help explain why the use of shop floor-ready vision and coordinate measuring machines is on the rise. User-friendly, technologically advanced metrology devices, such as shop-hardened and hand-held CMMs, make it easy for even inexperienced operators to quickly and accurately measure parts. These devices reduce the burden on inspection personnel and speed throughput. In addition, ready access to advanced metrology equipment often improves part quality, as machinists will be less reliant on traditional, possibly less accurate, measurement instruments like micrometers, dial indicators and calipers.
If your shop hasn't looked at these new technologies, it might be a good time for a review. For shops that have long practiced do-it-yourself inspection, the old-timers surely will grumble when they're asked to retire their hard-earned inspection equipment after switching to shop-provided metrology tools. The transition will almost certainly go more smoothly if several CMMs or vision machines are purchased at the same time. But even without this equipment, it's a good idea to get better control of inspection tools.


