50 years of measuring technology and machine tool history
50 years of measuring technology and machine tool history
From a one-man engineering office to a technology and global market leader in just 50 years - a rare occurrence even in south-west Germany with all its "hidden champions." Blum-Novotest GmbH has achieved this not only through hard work but by being innovative, intelligent and diligent. To mark this event, the company held the BLUM TECH-TALK under the title "50 years of Innovation" in a special setting on 7 June 2018: Numerous guests from more than 20 countries heard keynote speeches from leading experts, saw interesting demonstrations in the BLUM Tech-Centre and witnessed the unveiling of a product that combines the experience gained from over 50 years in this field.

Article provided by Blum-Novotest GmbH
From a one-man engineering office to a technology and global market leader in just 50 years - a rare occurrence even in south-west Germany with all its "hidden champions." Blum-Novotest GmbH has achieved this not only through hard work but by being innovative, intelligent and diligent. To mark this event, the company held the BLUM TECH-TALK under the title "50 years of Innovation" in a special setting on 7 June 2018: Numerous guests from more than 20 countries heard keynote speeches from leading experts, saw interesting demonstrations in the BLUM Tech-Centre and witnessed the unveiling of a product that combines the experience gained from over 50 years in this field.
The foundations for the high in-process reliability of BLUM's production metrology were laid at an early stage. Company founder Günther Blum had become highly involved with machine tools while studying aerospace engineering in Stuttgart. Alongside his university course, he carried out design work for various companies and established his own engineering office in Schmalegg near Ravensburg on June 1, 1968. Over the following years, the office worked for well-known companies, including Stama in Schlierbach or the Japanese FANUC Corp.
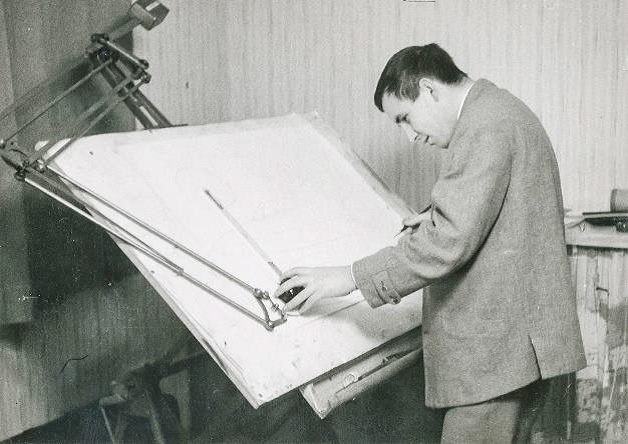
Günther Blum established the company as an engineering office for the machine tool industry June 1, 1968. All images courtesy of Blum-Novotest
Just one year after its foundation, the company decided to expand its service offering from mechanical development to electrical planning. More space was rented in Weissenau near Ravensburg for this particular purpose. All the necessary provisions were now in place for initial staff recruitment. Besides the design engineer Klaus Hoffmann, who had been involved in the business part-time right from the start, Bernd Blum and Rainer Eckenstein joined the small company. While other companies still relied on contactor-based control technology, the young engineering office had already developed its own semiconductor-based interfacing controllers. These extremely reliable controllers were used mainly in Stama machine tools and were one of the company's best sellers up until the early 1980s.
Rapid growth resulted in BLUM having to find a new location to operate from after just 5 years in Weissenau. A new
site was found a few kilometres away in Grünkraut, and the company is still registered there to this very day. During these years, BLUM pioneered the area of tool machine development: The engineering office was, for instance, involved in the development of the world's most successful machine tool.
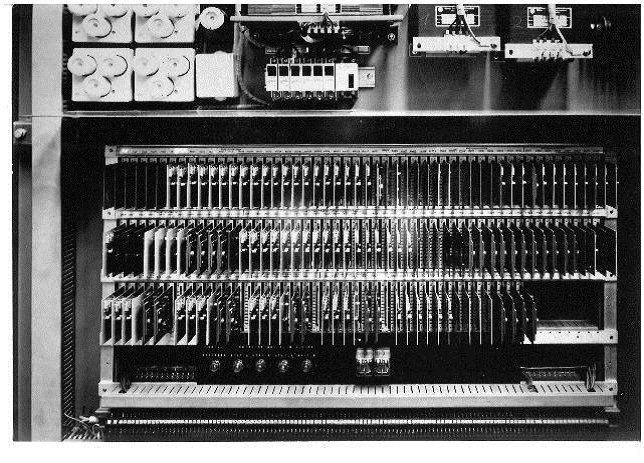
While other companies still relied on contactor-based control technology, the young engineering office had already developed its own semiconductor-based interfacing controllers for machine tools.
At the end of the 1970s, Günther Blum came to a crucial realization that would shape the company's future path: Automation is incomplete without process-integrated measuring technology. One approach involved measuring systems that should monitor the process directly in the machine tool. Another approach entailed post-process measuring machines that are no longer located in a separate measuring room but directly in the production hall.
Many years of experience with NC machine tools and their electronics seemed to be the ideal model from which to proceed in this field of business. To date, both areas represent two of the three main pillars of BLUM's product range. The final pillar allows BLUM to supply, for instance, specialised post-process machines for quality control when manufacturing brake discs, shafts and axles, i.e. predominantly for rotation-symmetrical components. The company launched its first 2D measuring machine in 1983. An array of further measuring machines featuring the in-house NC control system, mainly used in the automotive industry, followed. Many of them were fitted with
automation technology and networked so that the systems are now used in closed control loops and intervene directly in the production process. Crack detection systems, measuring and automation cells, as well as special measuring systems complement the product range of this business division.
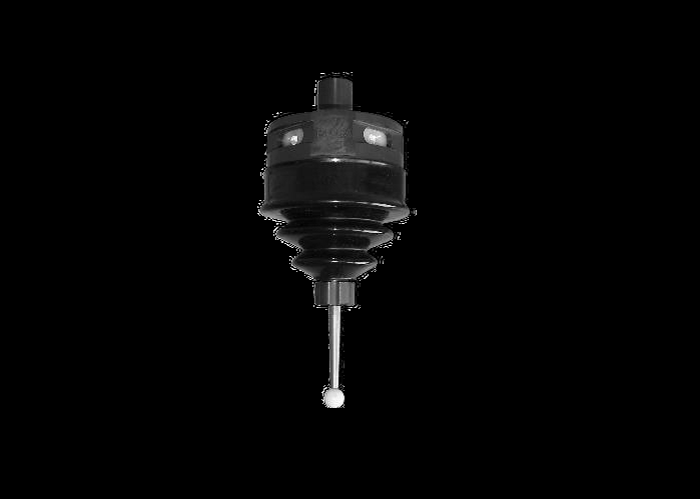
In 1982, BLUM launched its first workpiece probe for machine tools.
In 1982, BLUM launched its first workpiece probe, which was soon followed by tool setting probes for tool measurements in machining centres. Although similar probes had been available before, BLUM's first workpiece probes already featured a bidirectional measuring mechanism and wear-free, optoelectrical signal generation. This ensured extremely high accuracy at much greater probing speeds.
Today, probes based on the first-ever technology developed by BLUM are available in the form of the ultramodern TC51 series – which is now optionally available with either infrared or radio transmission. Up until 2003, when the successful multidirectional TC touch probe series was first introduced, the company was, in particular, the preferred choice of customers involved in automotive mass production thanks to its CNC probe series.
After the successful launch of the multidirectional TC touch probe series, BLUM came up with yet another key innovation in 2007 - the shark360 technology: With the measuring mechanism first presented at EMO, BLUM was now also able to offer a compact measuring system for turning and grinding machines. This measuring mechanism is the basis for all of the company's current DIGILOG workpiece probes and surface roughness gages.
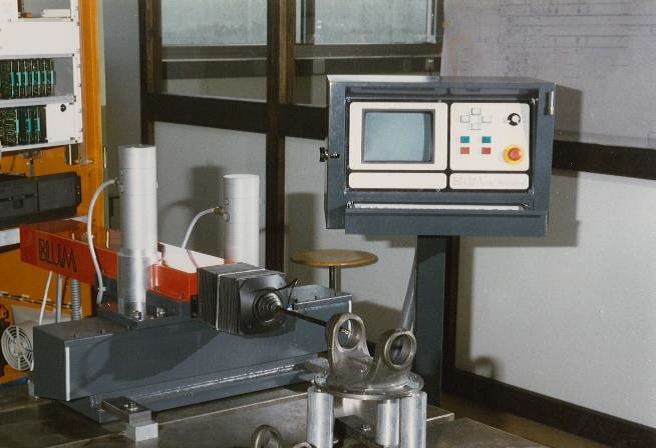
BLUM presented the first 2D measuring machine in 1983. An array of further measuring machines featuring the in-house NC control system, mainly used in the automotive industry, followed.
In 2010, BLUM went even a step further and presented the DIGILOG technology which enables the touch probe to deliver not only a digital 'on-off' signal but also a constant flow of analogue measuring values. These systems are used whenever a workpiece contour needs be tested for machining errors. The DIGILOG touch probes are simply guided in a "scanning" manner over the surface, thus providing a precise measuring result in a very short period of time. Over the years, the TC76-DIGILOG touch probe introduced in 2010 has been followed by a number of DIGILOG measuring systems: In 2012, for example, the TC64-DIGILOG with BRC radio technology or in 2013, the first surface roughness gage for automatic testing of workpiece surfaces in machining centres. The LC50-DIGILOG laser system was unveiled in 2017.
By providing thousands of measuring values per second, this technology now also makes tool measurement in machining centres considerably faster, more precise, extremely in-process reliable and future-proof thanks to state-of-the-art application options.
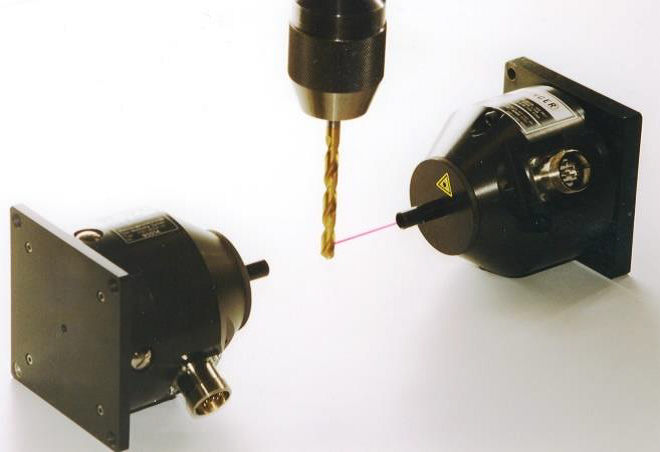
BLUM entered the field of laser measuring technology in 1987. After first test setups using a helium neon laser tube, the availability of red-light laser diodes led to the breakthrough of applicable systems. BLUM was therefore able to introduce the first marketable laser measuring system for tool
breakage detection back in 1991.
From the middle of the 1980s onwards, BLUM has undertaken a considerable amount of development work in the field of laser measuring technology for machine tools. This step was a logical consequence of the previous approach with tactile measuring systems. It was way back in 1982 that company founder Günther Blum had the idea of creating a laser capable of monitoring tools. The first test setups from 1987 onwards worked with a helium neon laser tube, which was perfect with regard to beam quality, but which was non-viable due to the excessively long warm-up time, unsatisfying service life and size. The availability of red-light laser diodes led to the breakthrough of applicable systems and BLUM was therefore able to introduce the first marketable laser measuring system for tool breakage detection back in 1991.
This was soon followed by more compact systems that, besides breakage detection, enabled tool measurement using a laser. The third generation launched in 2001 featured the suffix NT – for New Technology. With the help of an integrated microprocessor, the capabilities of the laser measuring systems increased significantly so that, for instance, wear and runout monitoring or monitoring of individual cutting edges also became possible. Additionally, the impact of coolants on the measuring result could be reduced drastically.
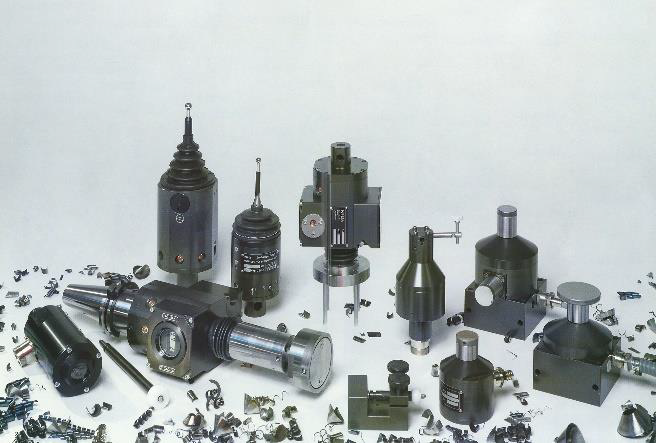
At the end of the 1980s, BLUM already offered a wide range of systems for tool and workpiece measurement in machining centers.
In 2007, BLUM boosted the trend towards combined turning/milling machines and launched the NT-H 3D system: A hybrid system combining a touch probe and a laser system, which for the first time enabled the measurement and monitoring of the complete tool range of turning/milling machines. Finally, transfer of the DIGILOG technology from touch probes to the laser systems in 2017 was a leap in technology.
Heribert Bucher, manager of the measuring components division, explains: "The special spirit that prevails in our company was, for example, demonstrated a few years back when we were criticised during a management seminar exercise for not observing the specifications. At BLUM, we don't work according to strict rules because we like working together and developing new solutions. We don't slow people down but let them get on with their work – this is how innovation evolves."
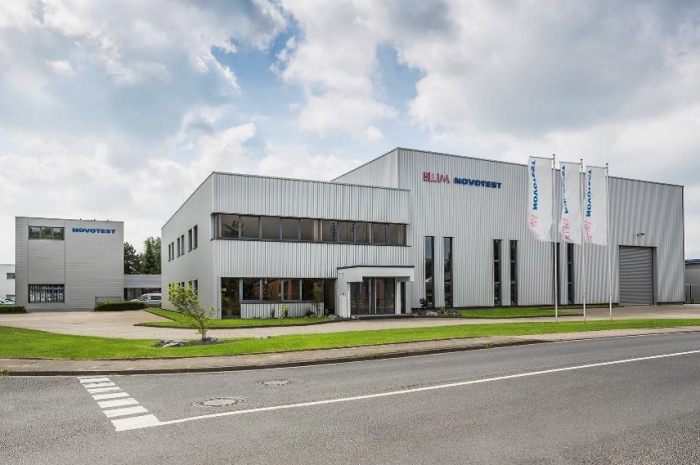
In 1994, the Willich-based firm Novotest, a manufacturer of test stands, was incorporated into the company – Blum-Novotest was born.
In 1994, or roughly 25 year ago, the Willich-based firm Novotest, a manufacturer of test stands, was incorporated into the company – Blum-Novotest was born. This divison develops and builds test stands for functional, performance and endurance tests for the automotive and hydraulics industry, for example, for testing transmissions and drive shafts. The transmission test stands built by Blum-Novotest have been an integral element of the automotive industry for decades. The range of applications that the business division implements for leading vehicle and transmission manufacturers extends from small cars to electric city buses, from manual to automatic and double-clutch transmissions, and from development test stands to interlinked production test stands. The drive shaft test stands built by Blum-Novotest simulate the relevant operating conditions on drive shafts in vehicles. Furthermore, the business division develops and manufactures test stands for hydraulic systems, steering systems and hose lines.
And it could not have been planned better to demonstrate how the company is increasingly growing together: At the TECH-TALK to mark the 50th anniversary, Blum-Novotest presented the first product line that combines the know-how of all three business divisions in a test stand series for machine tool spindles: The innovative test stands are available both as laboratory and end-of-line test stands and enable full testing and evaluation of the spindle quality.

In 2001, Alexander Blum became Managing Director of Blum-Novotest GmbH.
Machine tool manufacturers can use them, for instance, to avoid cost-intensive warranty claims and service calls by guaranteeing product quality prior to installation and/or delivery. If a spindle has been tested on a Blum-Novotest test stand prior to delivery and the LC50-DIGILOG laser measuring system is installed in the machine tool, it is possible to continuously compare the differences between the current and the delivered status. After all, properties
such as, the run-out characteristic are already recorded in the test stand using the high-end laser measuring system. This way, spindle performance can be documented throughout the entire product life cycle.
The highlight of the new test stand series is the innovative test software: It successfully brings together the experience gained in almost 30 years of test stand development for the global automotive industry. For example, it enables the creation of test sequences for various applications, such as reversing mode, maximum speed test and special tests, and can easily be adapted to specific customer requirements.
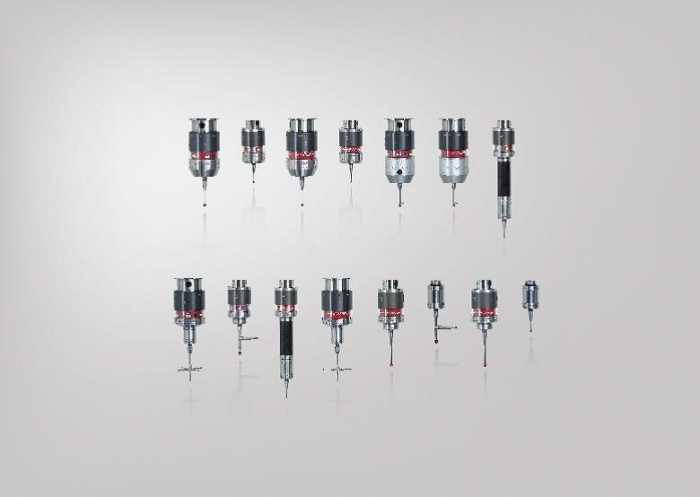
The first TC50 workpiece probe was introduced in 2003.
Besides its products, Blum-Novotest also continues to develop and grow as a company: The second half of the 1990s, for example, was marked by two main priorities: The start of the company's internationalization process and the realisation that the provision of hardware alone is not sufficient – customers need complete solutions that are easy to implement. As a result, the company began focusing more on software development and applications advice.
Winning the innovation award for the BLUM laser system at the machine tool exhibition MACH96 in Birmingham in 1996 marked the starting point of internationalization. Up to then, the main focus had been on the German and Central European Markets. Expansion commenced with initial subsidiaries in the USA, Great Britain, Japan, France and Italy, and was followed by a second wave of expansion in the years up until 2006 that included BLUM subsidiaries in Taiwan, Korea, China and Singapore.
In the third phase, greater focus was placed on regional markets, including Brazil, Mexico, Russia, India, Eastern European countries and Spain. Today, BLUM is represented by its own subsidiaries, a close-knit sales and service network and well-trained service partners, around the world wherever customers need the company.
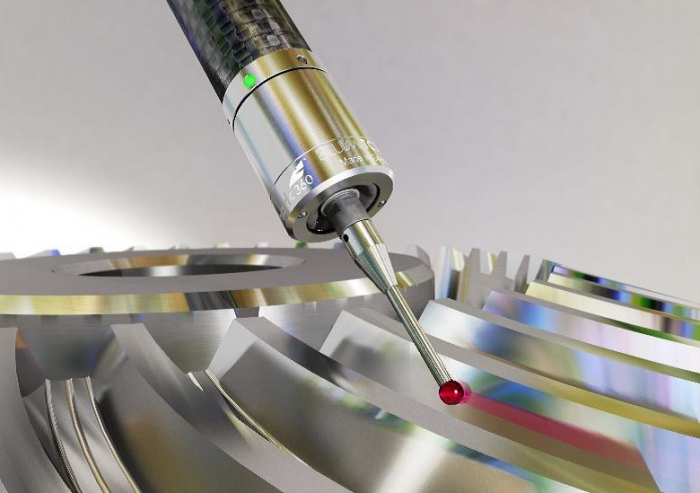
In 2010, BLUM presented the TC76-DIGILOG, its first scanning touch probe for application in machine tools.
What drives an enterprise like Blum-Novotest and its management? Alexander Blum, managing director of the company since 2001, explains: "We are not growing simply for the sake of it. But if you want to achieve sustainable economic success in our sector today, you need to have a global presence, be innovative and be able to offer a complete, comprehensive portfolio. All over the world, we render the same high-quality service combined with application support, thereby allowing our customers to benefit from the profitable deployment of our products. At the end of the day, our customers produce more good parts with an overall higher quality finish – and that is what really counts."
Training and service have therefore become key factors besides software development; a fact that was, amongst others, demonstrated by the construction of the Customer Centre in 2015. Users and customers can now find or optimise solutions for their applications together with BLUM hardware and software developers directly at the Grünkraut site. Furthermore, the building is used as a training centre where machine manufacturers and users receive training in free workshops several times a year.
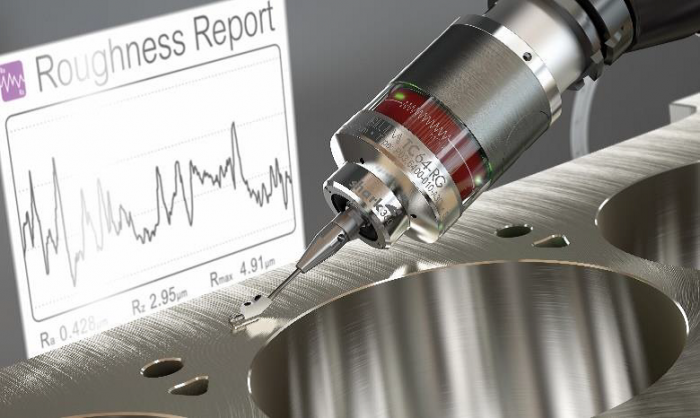
In 2013, BLUM launched the first surface roughness gauge for automated testing of workpiece surfaces in machine tools.
In 2017, BLUM topped off its software offer with the in-house app "measureXpert." Thanks to the app, cycle calls for
various control systems and measuring products can be generated very quickly and easily and accepted in the NC program via drag and drop. The user enters basic data step by step and the app delivers the matching call.
Today, Grünkraut and Willich are home to a healthy company that continues to grow, and this could not be better expressed than through the building activity going on there. Visitors to the TECH-TALK were, for instance, able to see for themselves construction of the new assembly building, which will more than double the current production capacities. The production capability at the Willich site has also been more than tripled through the acquisition of adjacent buildings in 2011 and the current construction of a new assembly hall. Worldwide, almost 550 employees make sure this success story continues.
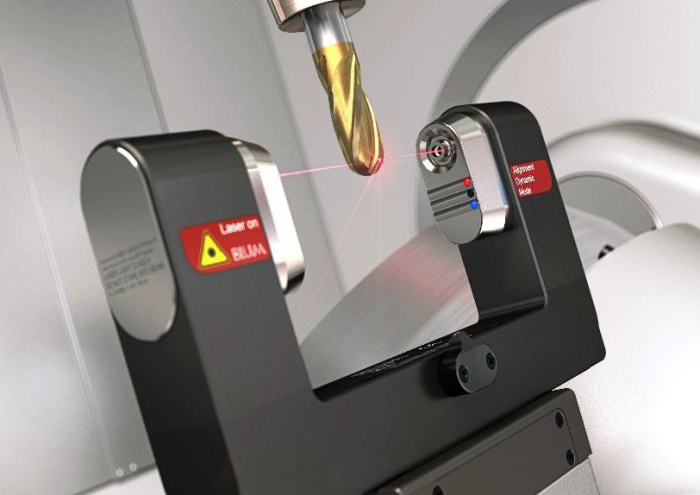
Transfer of the DIGILOG technology from touch probes to the laser systems in 2017 was a leap in technology – the LC50-DIGILOG laser measuring system was born.
Alexander Blum ventures a look into the future: "Trends like Industry 4.0 and IoT play into our hands: The process is increasingly moving into the spotlight – and our products are the perfect fit here. As my father realised very early on, measuring inside the machine has become an indispensable part of this process. The trend towards adaptive manufacturing also follows this path – an machined part is not milled blindly, instead measurements take place according to a reasonable measuring strategy and machining is adapted to achieve the desired end result."
Blum-Novotest: A company evolves organically throughout its entire history, one innovation leads to another – but still, the family-run company has continued to present disruptive leaps in technology: From being involved in the most successful machine tool ever to innovative new product ranges such as roughness measurement. The Upper Swabian way of life combined with an innovation-driven company philosophy and committed employees – this is Blum-Novotest's formula of success.
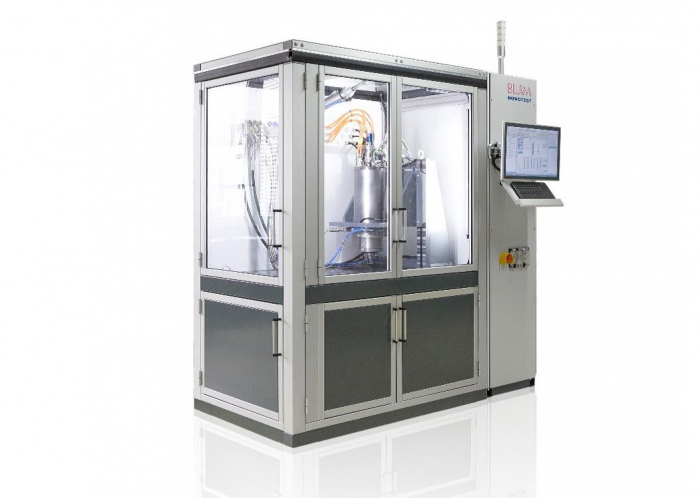
At the TECH-TALK to mark the 50th anniversary, Blum-Novotest presented the first product line, which combines the know-how of all three business divisions in a test stand series for machine tool spindles.


