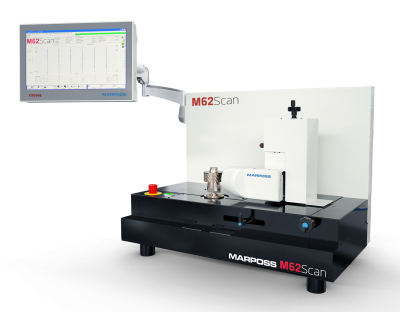
Marposs has announced its M62 Scan, a universal gear inspection system that performs a quick and efficient inspection of cylindrical gear tooth profiles in a production environment. The M62 Scan helps to relieve the workload of gear lab machines by enabling an interim check directly on the shop floor. The compact robust system can reach speeds of up to 50 mm/sec., helping to improve production processes.
The M62 system uses a special-shaped stylus with a universal ball point contact that scans the involute profile on the transverse section of each flank dynamically with part rotation. During inspection, the stylus is auto-retracted by the opposite gear flank, guaranteeing effectiveness and velocity of the process. In a very short time, the system can capture the entire involute profile of spur or helical cylindrical gears with no flanges, evaluating them according to international standards.
The main parameters considered include profile deviation, runout, tooth thickness, tooth space and pitch deviations. The system’s stylus probe is driven by an electric actuator and can accommodate gears with external diameters of 20 to 180 mm, and 15 to 50 mm in height.
The M62 Scan is part of the Marposs’ family of measuring instruments for dimensional and functional inspection of multiple types of gears. Utilizing highly precise tools and robust technology, Marposs' solutions for gear verification offer the appropriate method of measurement to control the manufacturing process in a shop floor environment. All the M62 systems are suited for the use of the Gear AddOn, a dedicated software for gear analysis compatible with Microsoft Windows.
Contact Details
Related Glossary Terms
- payload ( workload)
payload ( workload)
Maximum load that the robot can handle safely.
- pitch
pitch
1. On a saw blade, the number of teeth per inch. 2. In threading, the number of threads per inch.


