The Dudley, United Kingdom, factory of The Timken Co. supplies the engineered bearings it manufactures to a multitude of industries, including mining, food and beverage, pulp and paper, cement, marine and wastewater. Recently, there has been a significant increase in demand for larger bearings up to 1,200 mm in diameter for use in the construction of wind turbines, which promises exponential growth in the coming years as countries across the globe work toward meeting their green energy targets.
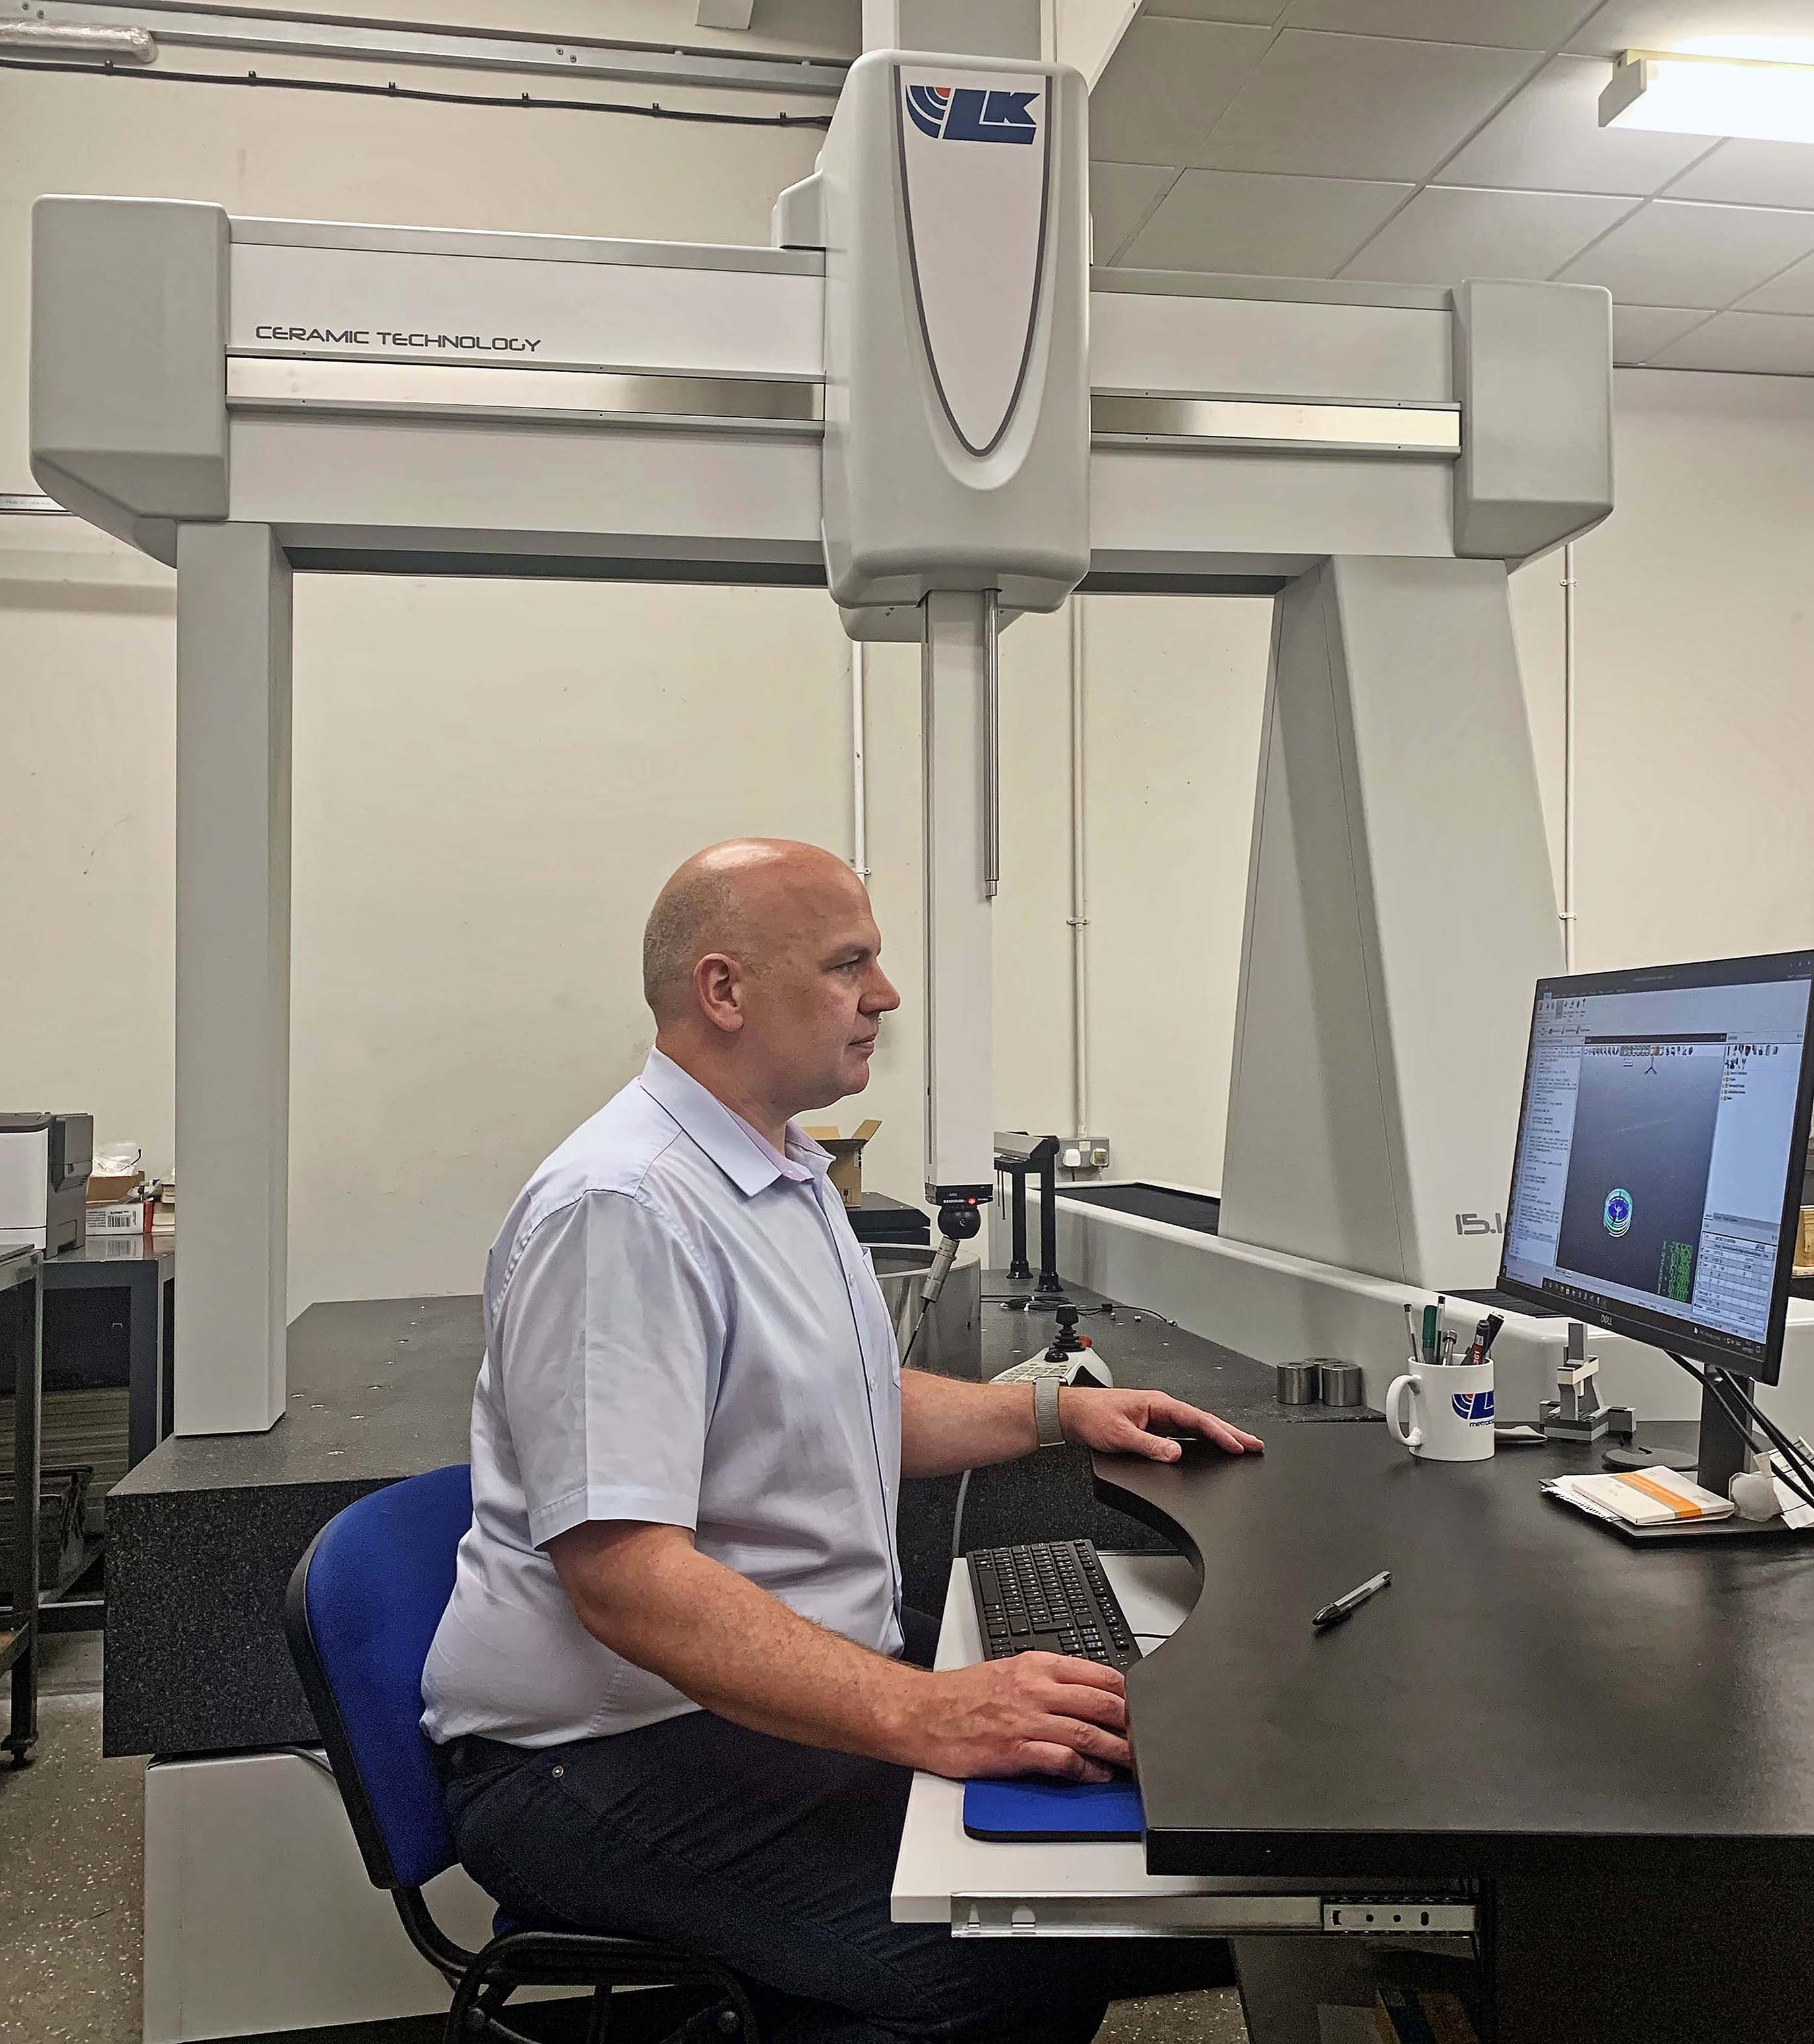
To enable the company to inspect these larger bearings, Timken purchased an AlteraM 15.12.10 ceramic bridge coordinate measuring machine (CMM) with axis travels of 1,500 x 1,200 x 1,000 mm manufactured by LK Metrology Castle Donington.

Assisting further in Timken's quality control department is a Mitutoyo CMM capable of measuring ball and roller bearings with bores up to 800 mm in diameter. This machine was upgraded at the same time by LK with a new controller and identical CAMIO 2021 software for measurement, programming, analysis and reporting so that inspectors are able to swap programs conveniently between both machines.
Dozens of high precision geometrical features need to be checked on each bearing to ensure that flatness, circularity, radial run-out and track width meet specified tolerances, some of which are within ± 6 µm. This is achieved quickly, repeatably and automatically on the CMMs at Dudley in computer-controlled cycle times of around 10 minutes.
William Hayes, Quality Improvement Engineer at the Dudley factory commented, "We selected LK Metrology to provide the new inspection facility, as it was the only potential supplier to offer us a new, well-priced, high accuracy machine of the right capacity. The company was also proactive in offering to retrofit new control software to our Mitutoyo BN710 CMM, as we need two measuring machines to cope with our increasing production throughput.
"Another point in LK's favour was that its CMMs are installed in Timken plants in other parts of the world, including in the US, so the supplier was not an unknown quantity. It would in theory be possible to exchange programs internationally, but in practice this is unlikely to happen as most of our other sites are mass production environments, whereas we specialise in producing small quantities of engineered bearings below 10-off."

He went on to explain that LK also supplied new technology in the form of a Renishaw PH10MQ motorised tilt and rotate head and SP25M scanning probe with interchangeable styli. Together they are able to take measurements at important discrete points, as previously, or to scan large areas very quickly. For example, the system is able to scan a circle at 1.2 m/min, acquiring up to 1,000 measurement points every second as it does so. An additional benefit of the SP25M probe is the possibility to accurately measure with stylus lengths up to 400 mm, allowing awkward areas of a component to be reached, whereas there is a stylus length limit of 100 mm with traditional probes from Renishaw.
The change in functionality from touch trigger probing to scanning is fully programmable. In the case of Timken's cycles there is approximately a 50:50 split between the two modes of operation. They are performed by the SP25M probe, as there are two sensors built into the single housing, so there is no need for probe exchange. The wealth of data obtained is able to provide a very accurate report concerning deviations in size, position, profile and form that can affect bearing performance. Higher speed inspection also enables metrology to provide prompt feedback for adjusting production processes.

Within 10 days of the new CMM installation at Dudley and the simultaneous upgrading of the smaller machine, two of Timken's six inspectors had already undergone training by LK
Metrology engineers and were checking bearings on both CMMs. The latest version of LK's CAMIO 2021 software has the advantage of helping to increase inspection productivity, enhance the quality of data collected and gain better insight into the components being measured. New inspection programs are prepared quickly by automatically detecting which surfaces of the CAD model should be used to measure a feature. Improvements have also been made to the programming workflow by extending the advanced picking function to touch points and scan paths on a CAD model and to indicate the selection of existing measured features.
Contact Details
Related Glossary Terms
- computer-aided design ( CAD)
computer-aided design ( CAD)
Product-design functions performed with the help of computers and special software.
- metrology
metrology
Science of measurement; the principles on which precision machining, quality control and inspection are based. See precision machining, measurement.
- quality assurance ( quality control)
quality assurance ( quality control)
Terms denoting a formal program for monitoring product quality. The denotations are the same, but QC typically connotes a more traditional postmachining inspection system, while QA implies a more comprehensive approach, with emphasis on “total quality,” broad quality principles, statistical process control and other statistical methods.


