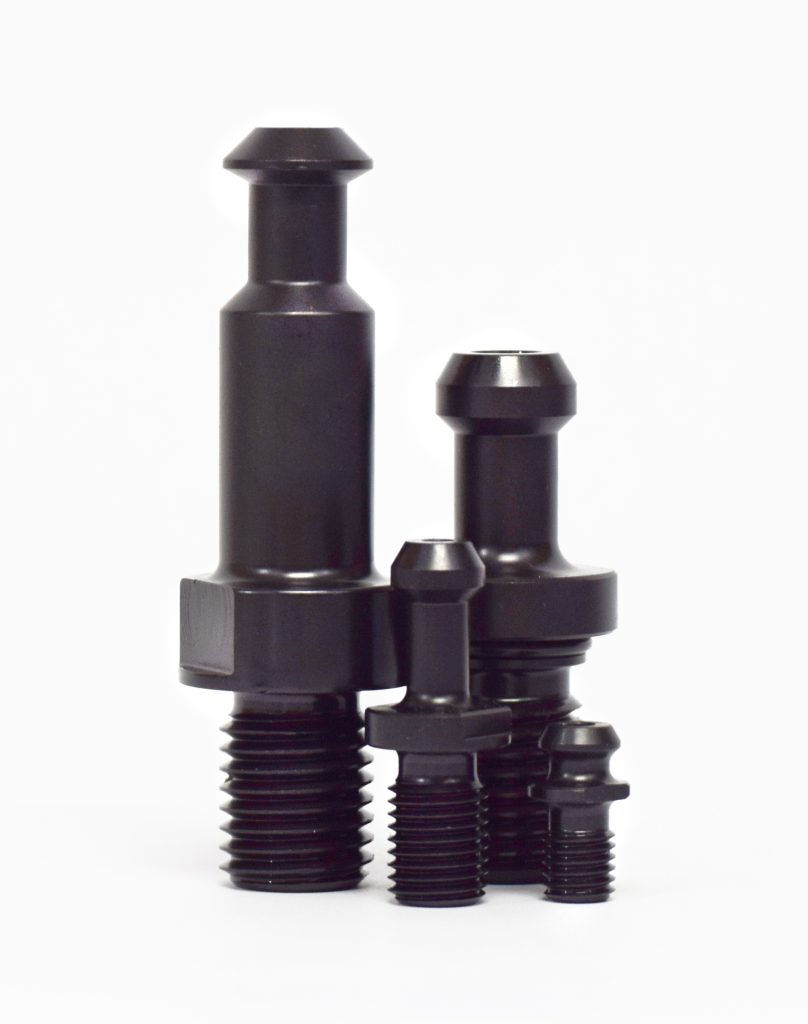
Custom Retention Knobs
Custom Retention Knobs
All TJ Davies custom retention knobs are manufactured from American-made 8620 alloy steel which has a high tensile strength to withstand strong centrifugal force, high load force, high feed rate, and difficult to machine material. All knobs are machined in-house with single point threading to Imperial (Class 2A UNC) or Metric (Class G6) standards. After threading is completed, each component is heat treated to 58-62 HRC then treated with hot black oxide to military specifications for protection against corrosion. Each retention knob is magnetic particle tested and then pull tested to 2.5 times the pulling force of the drawbar it is designed for.

T.J. Davies Co., Inc., an industry leading manufacturer of retention knobs, can make custom retention knobs, pull bolts, and other workholding components and accessories to fit older, or obsolete machinery. All dimensions of knobs can be customized, including length, diameter, thickness of collars, dimensions between collar and knob end, thread size, and more. Additionally, customers can specify a coolant hole, taper style, and whether O-rings are required. Custom made retention knobs are sized to fit the machine tool and spindle or toolholder to maximize the toolholders performance and cutting tool life and extend the life of existing machine tool assets. A fill-in-the-blanks form is provided at https://tjdavies.com/quote-
All TJ Davies custom retention knobs are manufactured from American-made 8620 alloy steel which has a high tensile strength to withstand strong centrifugal force, high load force, high feed rate, and difficult to machine material. All knobs are machined in-house with single point threading to Imperial (Class 2A UNC) or Metric (Class G6) standards. After threading is completed, each component is heat treated to 58-62 HRC then treated with hot black oxide to military specifications for protection against corrosion. Each retention knob is magnetic particle tested and then pull tested to 2.5 times the pulling force of the drawbar it is designed for.
The use of 8620 ensures that the components will work harden over time, rather than becoming brittle as is the case with the use 9310 alloy steel. Single point threading ensures that the threads are balanced (lead-in/lead-out at 180 degrees) which is very difficult to achieve when rolling threads. Full depth is also attained for each thread. Because all machining is done with a single set-up, concentricity is achieved.
Each component is heat treated to a case depth of .020 to .030. No carb is applied to coolant through hole to ensure there is no shrinkage. Core hardness of 40HRC is standard. All retention knob surfaces (not just mating surfaces) have a precision finish of 32 RMA micro or better, ISO grade 6N. Certifications are maintained for each step and each batch to ensure traceability and quality control.
Overtightening can overly stress the retention knob, leading to premature failure, and can cause toolholder swelling and expansion. TJ Davies provides recommended torque guidelines with each retention knob shipped. Machine builder recommendations should always be used when available.
Sockets for the proper installation of retention knobs are available, individually or as a complete set of 4. All sockets and retention knobs are manufactured to exact specifications that exceed industry standards and are available through distributors nationwide.


