Interface for Cutting Tool Measurement and Compensation
Interface for Cutting Tool Measurement and Compensation
In developing a measurement and feedback process, for each parameter/feature listed, ANCA and ZOLLER have worked together to agree upon a fixed ZOLLER measurement process and a fixed ANCA grinding parameter adjustment to which it is directly linked. Wheel adjustments are not supported as an option for this method of compensation. Adjustments are applied to parameters for compensation without changing the design parameters.

As a cutting tool manufacturer, it is imperative to ensure your geometry is exact to maintain superior cutting performance. Getting this right gives an edge over competitors and is what ultimately builds a successful tool maker's reputation. ZOLLER's measurement machines and ANCA software easily communicate to simplify and improve tool measurement, wheel measurement, form measurement and compensation processes. This partnership provides key benefits to our customers by automating and refining the tool measurement process.
Background
ZOLLER measurement machines are widely adopted in the market as an effective tool for measuring complex geometry of cutting tools. While LaserPlus and iView are very popular and effective tools for in-process measurement of tool OD and profiles, the ZOLLER system can automatically measure a diverse range of tool features. ZOLLER is typically used for more detailed tool measurement during tool setup or intermittently during batch runs to ensure features remain in tolerance.
The old interface including ToolRoom RN33.1 only supported XML format but the latest RN34.1 release supports both XML and GDX® (GDX® is a registered trademark of ISBE GmbH) interfaces. Release details for both ZOLLER and ANCA are as follows.
The new interface is based on the GDX® platform. It supports the GDX® format and is compatible with other measurement machines that also support the GDX® import/export.
Communication method
Data can be transferred using a USB stick or direct network communication if both ZOLLER and ANCA machines are on the same network.
ANCA-ZOLLER measurement feedback
In developing a measurement and feedback process, for each parameter/feature listed, ANCA and ZOLLER have worked together to agree upon a fixed ZOLLER measurement process and a fixed ANCA grinding parameter adjustment to which it is directly linked. Wheel adjustments are not supported as an option for this method of compensation. Adjustments are applied to parameters for compensation without changing the design parameters.
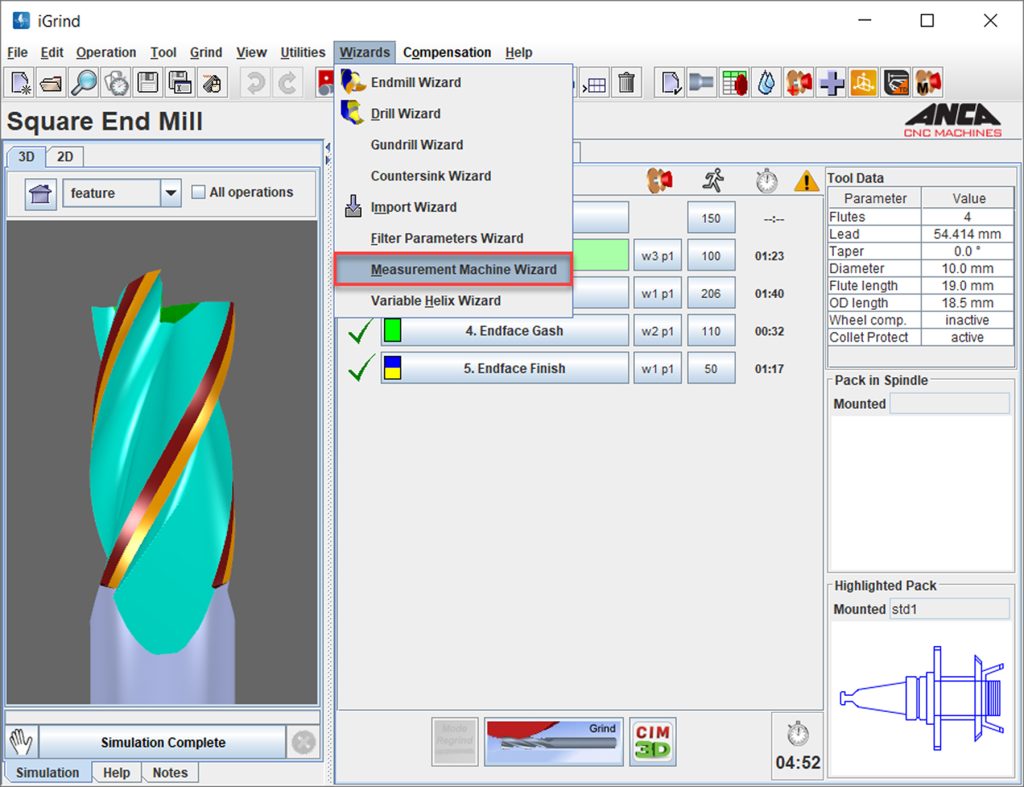
The ToolRoom Measurement Wizard remains the easiest way to set up ANCA-ZOLLER measurement feedback. This guides the user through the available list of features for a given tool. The user can easily select which features can be measured and have compensation applied.
The user can also specify the required length/angle tolerance for each parameter so that values within tolerance will not be compensated when returned from ZOLLER.
Each feature is initially set with a default (recommended) location for measurement (red line), although this can be manually adjusted before sending the data to ZOLLER for measurements and tolerance settings can be imported from another Tom file to avoid resetting all parameters and tolerances individually again.
When measurement data (GDX® file) is imported to the ANCA grinder, the measured parameters are brought as nominal value but compared against design value and adjustments made accordingly. Values within tolerance will not be compensated but users have an option to override this function.
Although the file can be transferred through a network connection, an operator is still required to select the correct file, carry tools to the ZOLLER machine and apply the compensation on the correct machines. As the AIMS (ANCA Integrated Management System) product develops, we intend to offer a system that can automatically transfer, measure, compensate tools during batch grinding.
Updated list of parameters validated for measurement and compensation
In the most recent cooperative development with ZOLLER, the range of tool features that can be measured for providing direct feedback to an ANCA grinding program has been significantly expanded. Many of the features now included were done at the request of customers.


