Contact Details
A survey by cKinsey showed that in manufacturing, approximately 749 billion hours are worked each year around the world. Of these, about 60 percent (478 billion hours) were automatable or at least semiautomatable with existing technology. Imagine if even a small number of those 478 billion labour hours were converted to planning, analysis and strategy hours.
Thomson Mathew, ANCA software product manager said, “To remain competitive in tool manufacturing, more and more businesses are looking for automation or semiautomation. Taking the time to set up the infrastructure smartly is delivering significant business advantages such as improved productivity, better access to machine data and lower production costs.
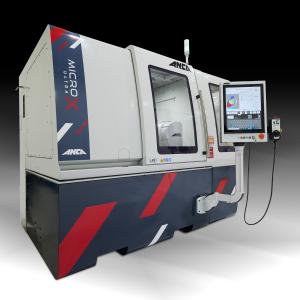
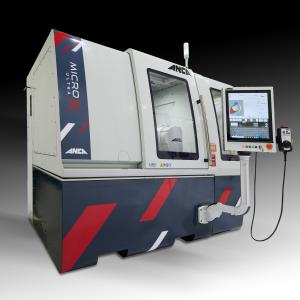
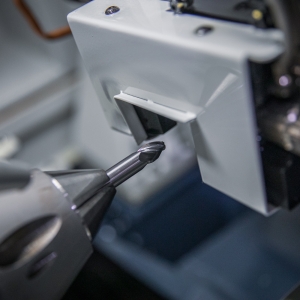
“ANCA has an extensive range of products and features that enable our customers to run Smart Factories. One of these is our iView measuring system that can measure the ground tool in its original clamping inside the grinding machine. This feature has recently been further enhanced with a new camera bracket design that allows operators to visually inspect and perform manual measuring of parameters like endface land width, lip distances, chisel angles and more.”
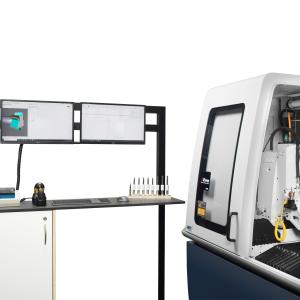
Tool manufacturers use iView to take an image of the ground tool using the iView camera and then compare the data with an ideal overlay profile generated by the iView software without having to take the tool out of the grinding machine. This means faster set up time and better accuracy as the ground tool is checked against the tool requirements in one set up.
iView is accurate to 0.002mm (<0.0001”) to allow accurate comparison and measurement of the actual cutting tool against the profile. The technology automatically compensates the tool based on the overlay and profile error it is adjusted and reground. This process also eliminates any accuracy loss that can occur when tools are transferred between grinding and measuring machines.
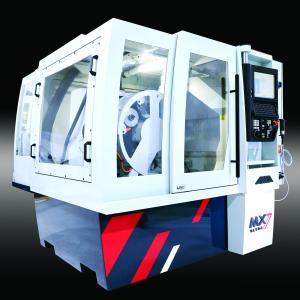
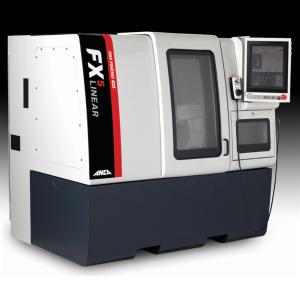
Versatile and accurate one iView camera can be used across multiple machines in the MX, TX and GX/FastGrind range. The new bracket assembly allows the iView camera to be mounted horizontally, inside machines. This means that operators can visually inspect the endface, as well as perform manual measuring functions on endface land widths, lip distances and chisel angles.
This design can be used with existing iView cameras in the field, as well as new camera assemblies. The camera slides on to the adaptor plate mounted inside the machine, and is tightly clamped for measurements.
Related Glossary Terms
- grinding
grinding
Machining operation in which material is removed from the workpiece by a powered abrasive wheel, stone, belt, paste, sheet, compound, slurry, etc. Takes various forms: surface grinding (creates flat and/or squared surfaces); cylindrical grinding (for external cylindrical and tapered shapes, fillets, undercuts, etc.); centerless grinding; chamfering; thread and form grinding; tool and cutter grinding; offhand grinding; lapping and polishing (grinding with extremely fine grits to create ultrasmooth surfaces); honing; and disc grinding.
- grinding machine
grinding machine
Powers a grinding wheel or other abrasive tool for the purpose of removing metal and finishing workpieces to close tolerances. Provides smooth, square, parallel and accurate workpiece surfaces. When ultrasmooth surfaces and finishes on the order of microns are required, lapping and honing machines (precision grinders that run abrasives with extremely fine, uniform grits) are used. In its “finishing” role, the grinder is perhaps the most widely used machine tool. Various styles are available: bench and pedestal grinders for sharpening lathe bits and drills; surface grinders for producing square, parallel, smooth and accurate parts; cylindrical and centerless grinders; center-hole grinders; form grinders; facemill and endmill grinders; gear-cutting grinders; jig grinders; abrasive belt (backstand, swing-frame, belt-roll) grinders; tool and cutter grinders for sharpening and resharpening cutting tools; carbide grinders; hand-held die grinders; and abrasive cutoff saws.
- land
land
Part of the tool body that remains after the flutes are cut.




 PRODUCTS

