Measuring & Inspection Systems

Target-Net

The measurement targets are distributed uniformly at intervals of approx. 100 millimetres across the entire Target-Net. The Target-Net itself measures 1500 x 2500 millimetres and has in total  approx. 300 measurement targets. Thanks to the high measurement target density, several scans can be performed very quickly from different perspectives.

Hydrostatic Rotary Tables

With the use of the PM controller, several times stiffness is achieved compared to solutions using capillaries. This produces extraordinarily high stiffness with respect to radial, axial and moment loads. With the help of extensive computer programmes, an optimum in dimensioning is achieved regarding dynamic loads, so the best-possible damping is achieved. By precisely determining the limits of use and loads, an optimum in functional reliability is achieved.

Acoustic Performance Measurement (APM) System

The Acoustic Performance Measurement (APM) system is capable of monitoring the parameters of ultrasonic frequency and power in-line at each processing station and for each batch. Special directional microphones are used for this, which are placed in a fixed position at the edge of each tank, and directed towards the centre of the bath surface. Thus, measurements are carried out without any movement or contact, ensuring reproducible results and enabling them to be precisely assigned to the batch concerned. Analysis, evaluation and storage of the data are carried out by the software of the innovative measuring system.

DAX Linear Encoder

The DAX® linear encoder is suitable for measuring positions in many applications, including injection molding machines, presses, automotive machinery, printing and packaging machines, wind, hydro and solar plants, in wood processing, or medical technology.

Dual.Material CT

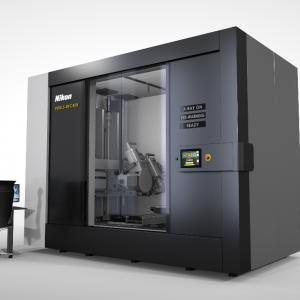
As it is automated, reconstruction by Dual.Material CT is highly repeatable from component to component and does not require advanced knowledge of scanning techniques when inspecting assemblies comprising two materials of different densities. QC productivity is raised by enabling better visualization and more accurate definition of defects (on the surface or inside a component) in a fraction of the time taken by traditional CT image reconstruction. The high-speed scanning, and the fact that no manual data editing is required thanks to the new software and automated part handling, enables fast and automated quality control of dual material assemblies in a production environment, consistent with the requirements of Quality 4.0.

Inspect-X Automation OPC UA Interface

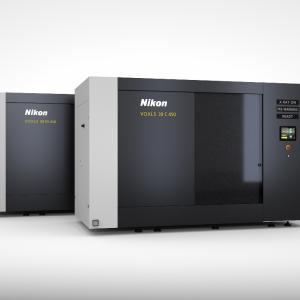
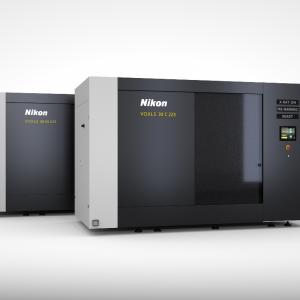
Nikon's alignment with the industry-standard OPC UA communication protocol reaffirms its dedication to developing fully automated, non-contact, X-ray CT quality control systems for the shop floor. There is a growing, industry-wide trend towards using this technology for feeding back data in real time to optimize production line operation – the goal being zero defects. X-ray CT is especially relevant, as it is able to inspect and measure the interior of components non-destructively as well as the exterior.

L-703B 
Self-Centering Bore Alignment System

Hamar Laser’s L-703B Self-Centering Bore Alignment System makes bore alignment easier and up to 75% faster than competing systems. The new L-703B Laser replaces the L-705 Laser for applications where the laser is mounted externally. Smaller and lighter than the L-705, the L-703B works with Hamar Laser’s patented, self-centering targets that require only one measurement per bore. Applications include engine blocks, compressor bores, cylinder bores, shaft bearing bores, stern tubes and more.