Surface attention: Making a mark at high speed
Surface attention: Making a mark at high speed
Marking a component, even with something as fundamental as a serial number, is a basic and necessary part of manufacturing. Product marking has recently become more important for reasons of traceability, ensuring that components in the field can be replaced quickly and easily.

By Pryor Marking Technology and 4CM Ltd.
Marking a component, even with something as fundamental as a serial number, is a basic and necessary part of manufacturing. Product marking has recently become more important for reasons of traceability, ensuring that components in the field can be replaced quickly and easily.
However, modern manufacturing demands that parts are made more quickly, and accurately, than ever before. As factories become more automated, and manufacturing volumes continue to increase, the job of marking every single component becomes more of a challenge. In addition to traceability, parts with 'interactive' marks, such as 2D Data Matrix codes, will play a vital role in collecting production data.
The era of Industry 4.0 and the smart factory are upon us. In a recent article, industry consultant Deloitte[1] said: "Perhaps the most important feature of the smart factory, its connected nature, is also one of its most crucial sources of value."
In smart manufacturing, captured dat a is transparent. Real-time data, such as the progress of a component through the production process, can lead to actionable insights, either for humans or autonomous decision making, says Deloitte.
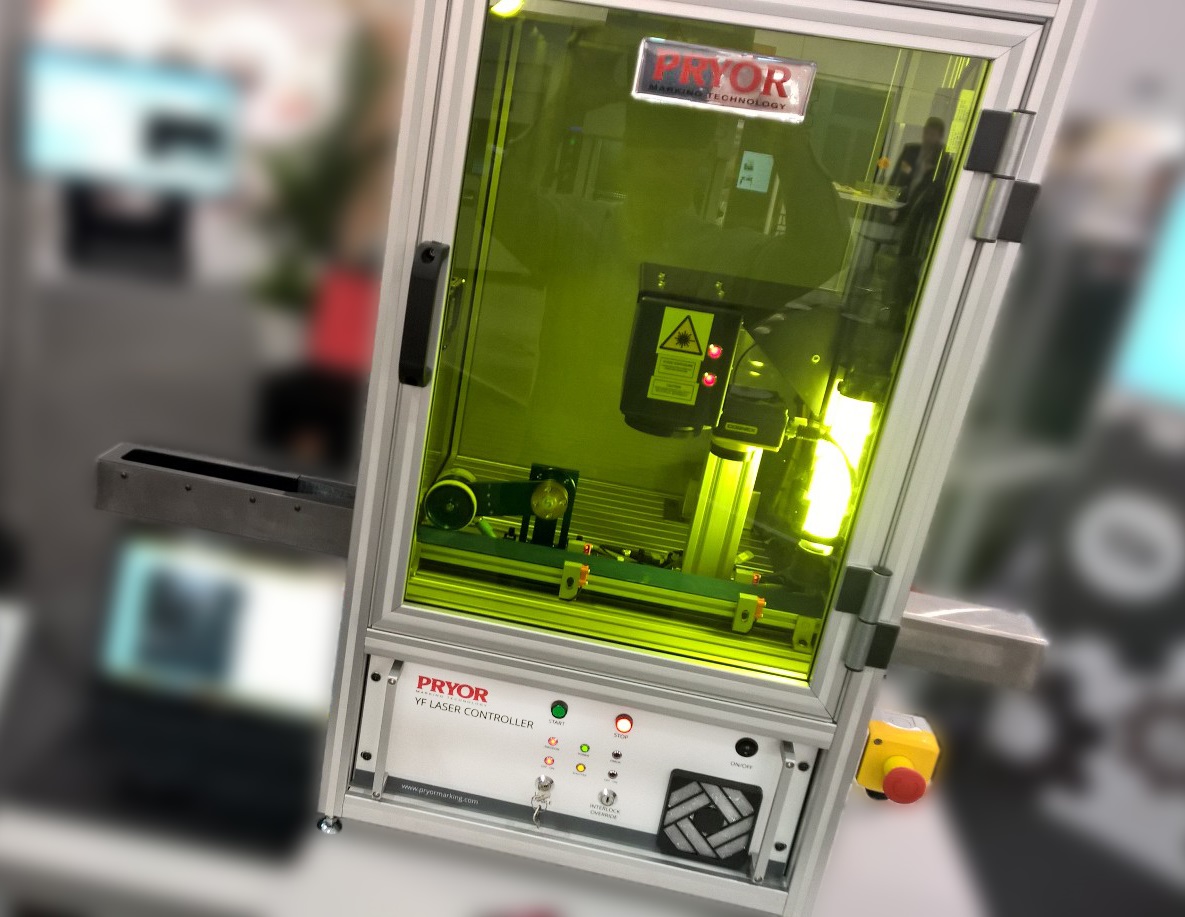
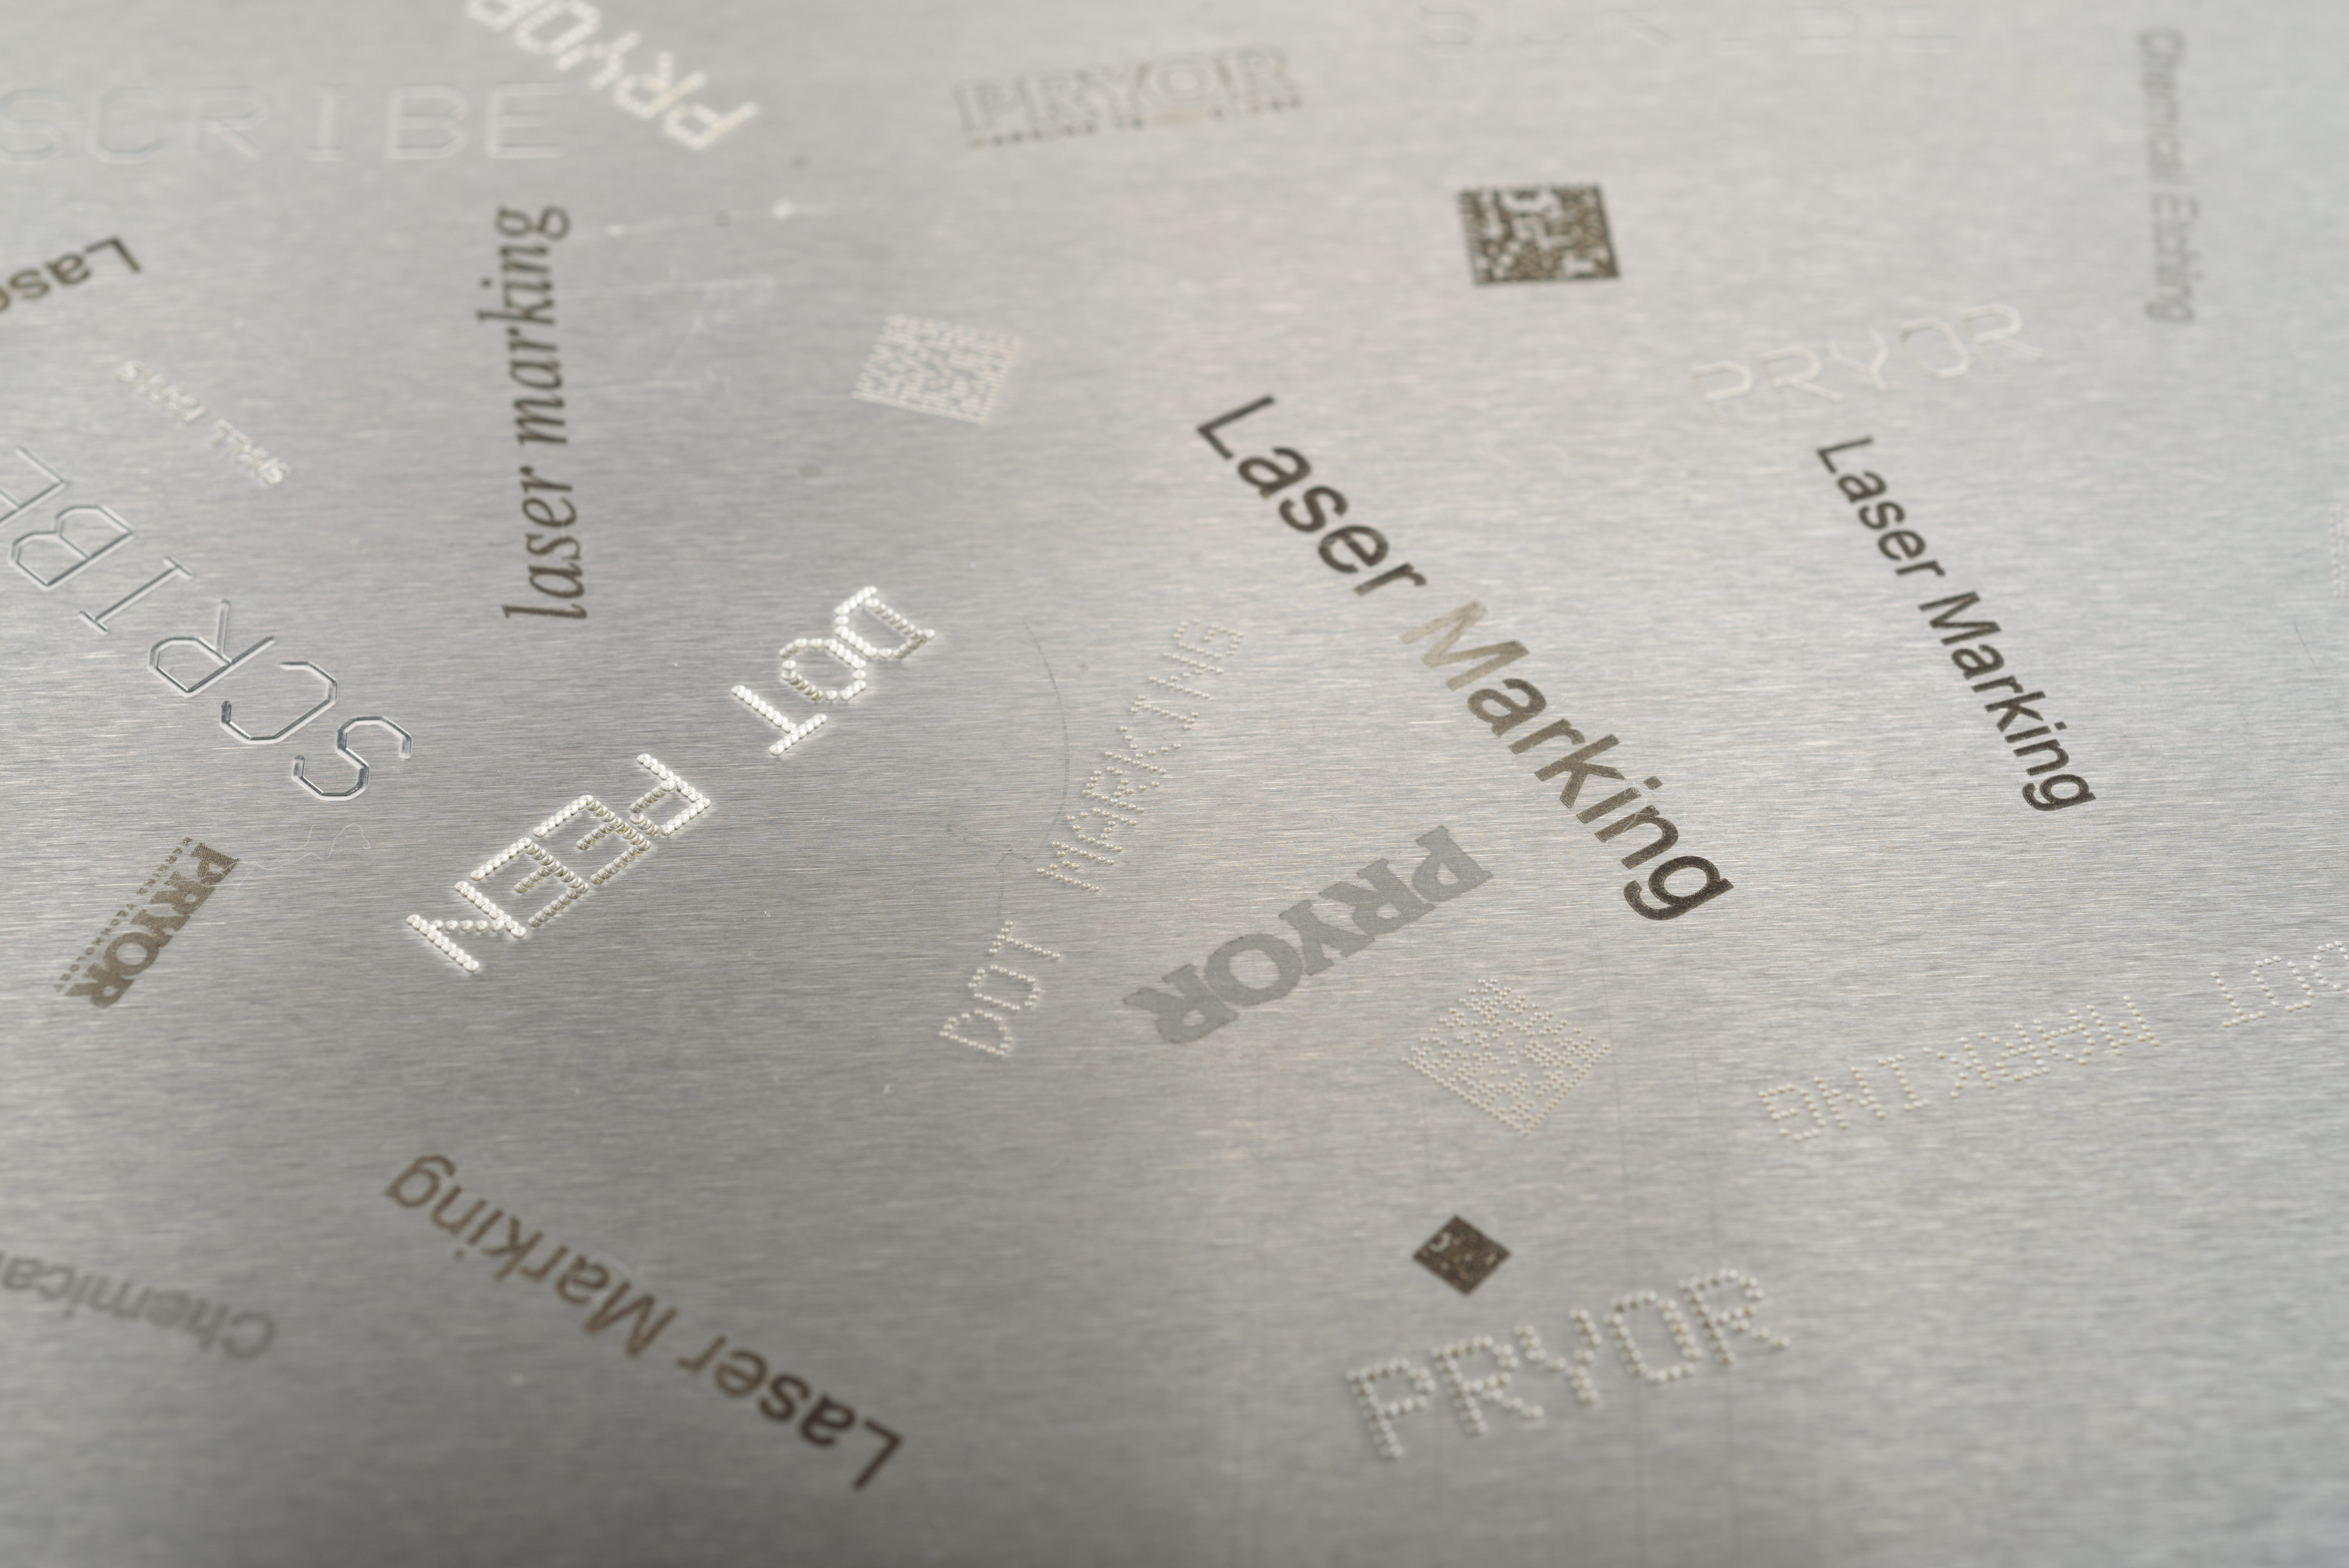
Making these kinds of marks requires a sophisticated approach. Static marking techniques such as scribing or dot matrix cannot easily be used in-line as part of a continuous automated manufacturing process. Laser marking systems are usually fully automated, for incorporation into production lines, but the time it takes to make each mark is still long enough to slow down cycle times.
One way to overcome this problem is to mark 'on-the-fly', tracking and marking each component as it moves along the line. During the process, a laser makes a precise, indelible mark without stopping production. This is an enormous advantage, as it maintains a low cycle time.
Speedy response
On-the-fly marking is best suited to components on a high-speed moving production line, or where strip materials are made continuously. In some cases, it is the only way to mark articles while they are being manufactured.
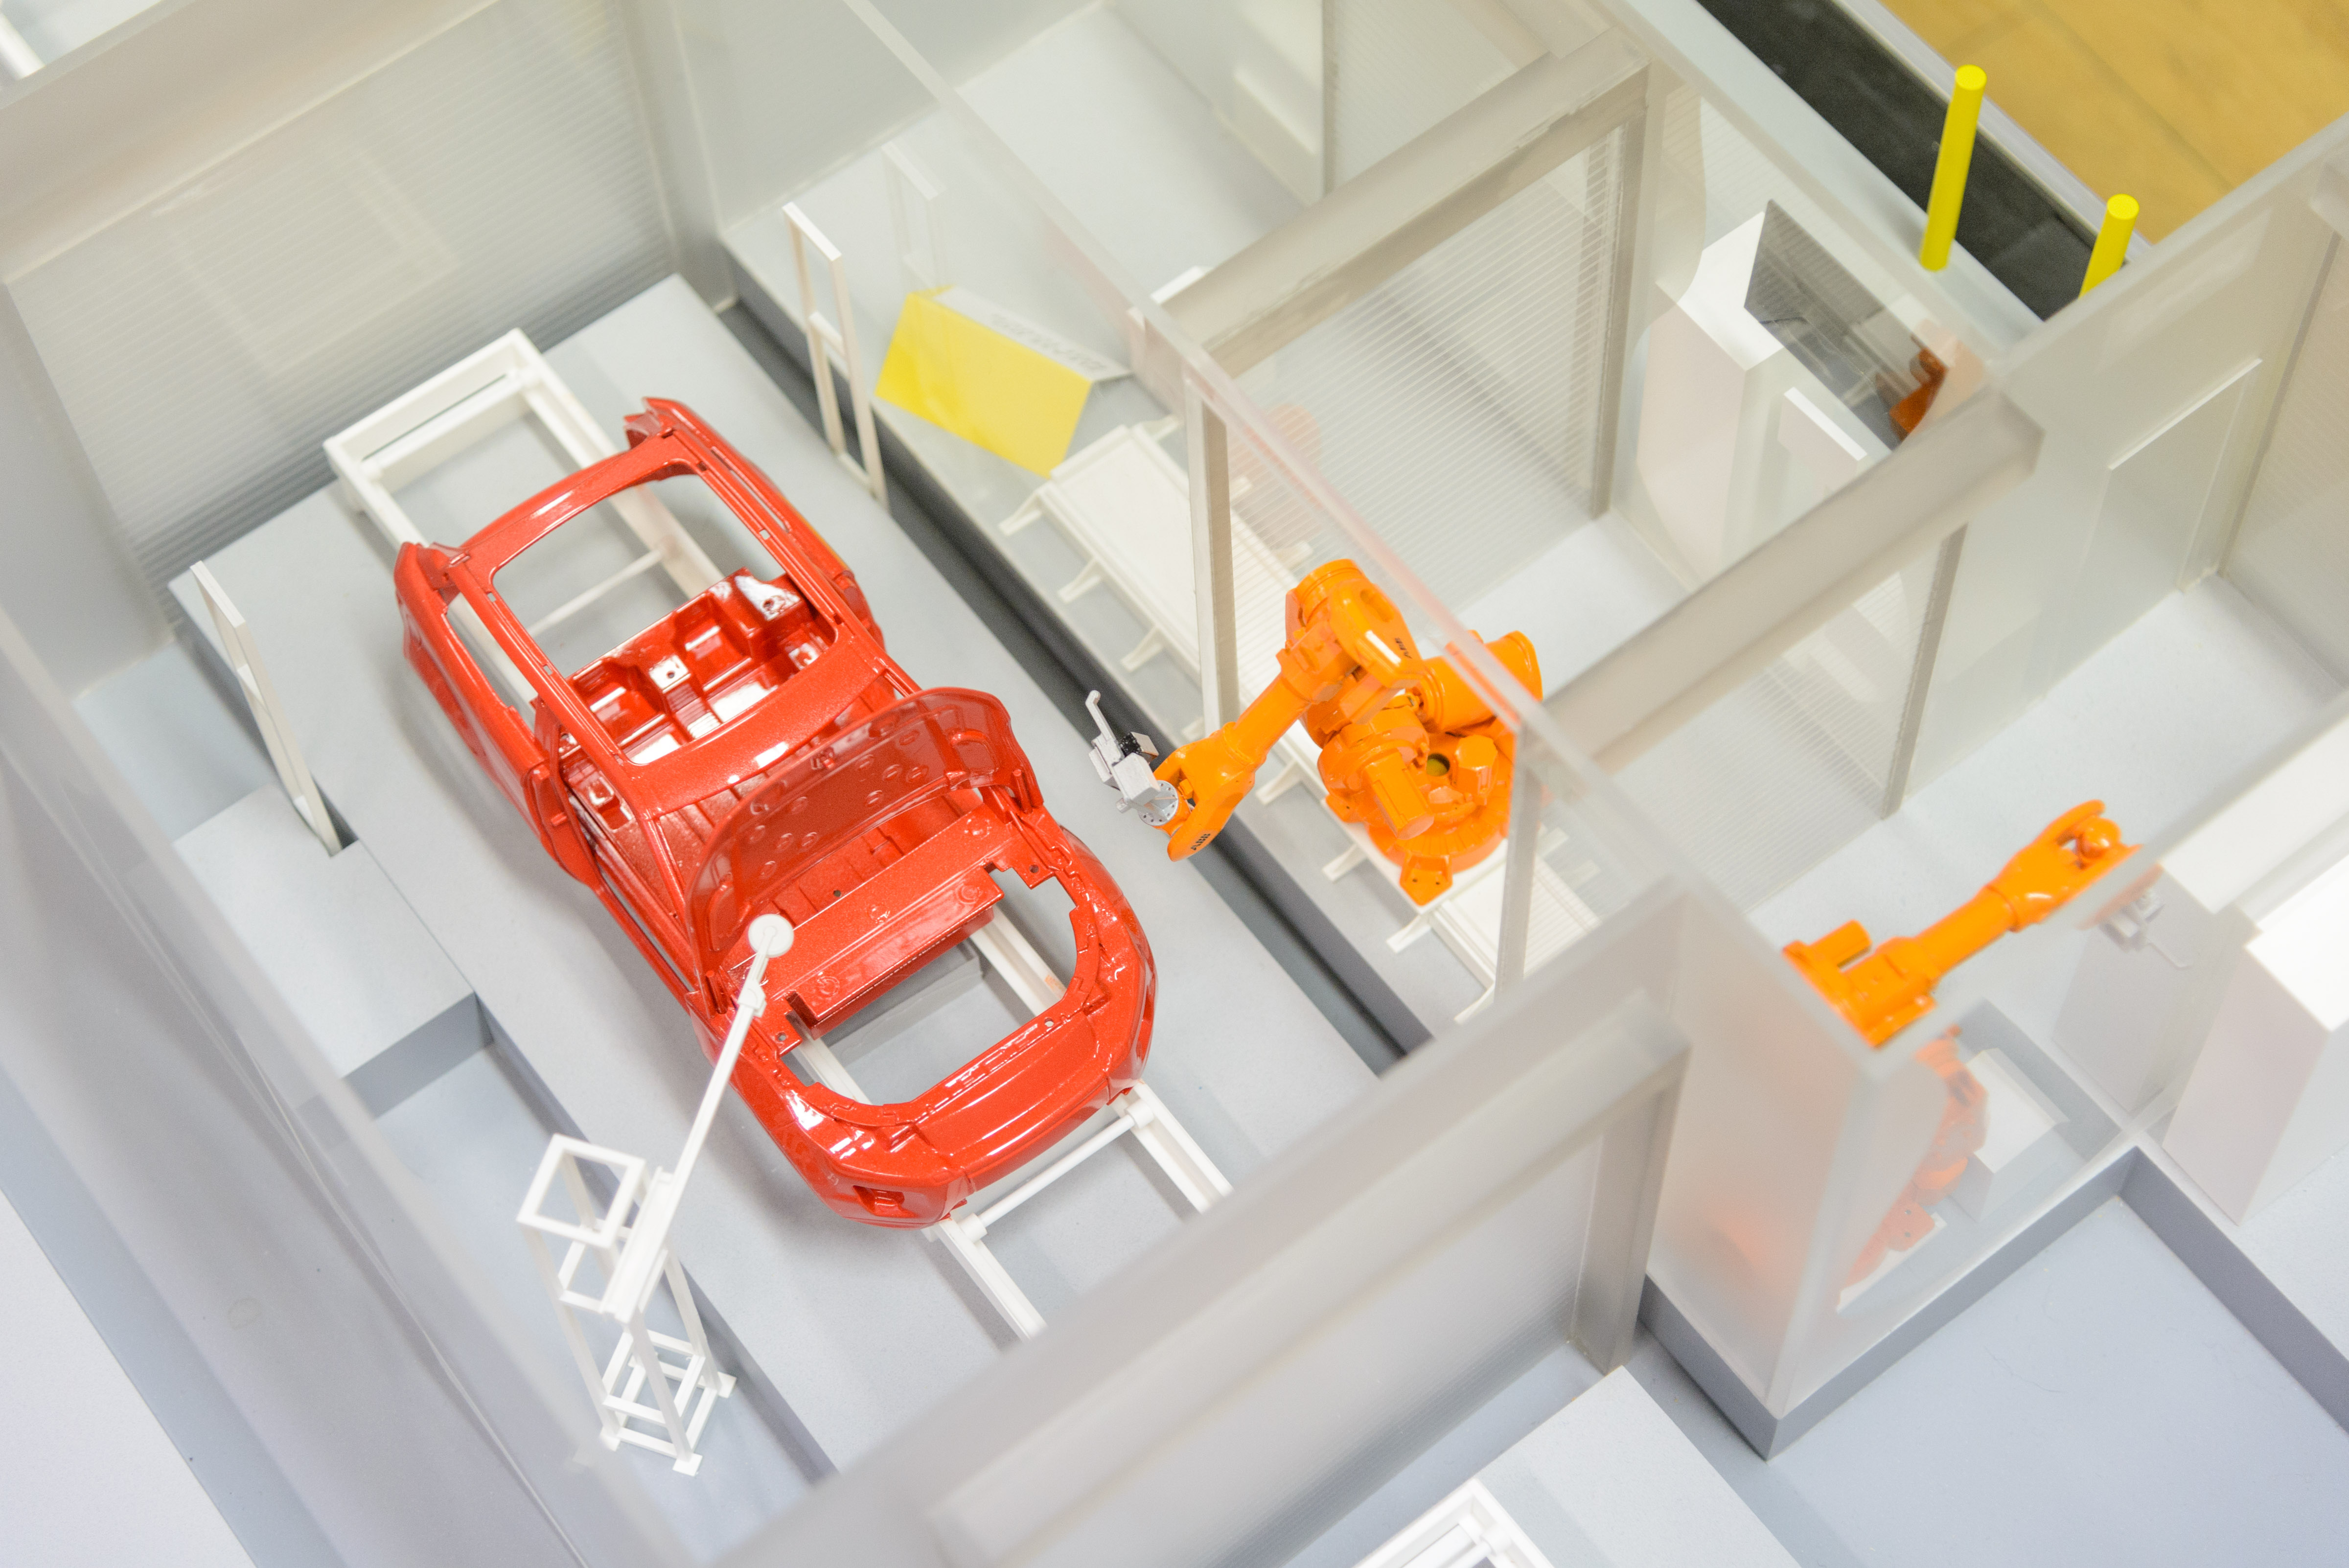
The automotive and aerospace industries are typical users of this type of system. In the case of automotive, it is mainly due to the sheer volume of components that need to be marked. In both cases, adding marks to metal components is vital for tracking and production purposes.
A typical application would be to mark semi-circular bearing shells that are stamped from a strip of material. In order to keep pace with the production process, each set of marks must be made in half a second or less. Stopping a production line, even for such a short amount of time, is not feasible. The ability to mark moving parts has clear advantages but comes with a number of technical challenges.
Firstly, the system must ensure that the mark, which itself may be complex, is of suitable quality and is made in the correct place. For instance, marks must be permanent, indelible and clearly legible and may have to be made several times on a single component. They may also have to be made in predefined locations, within a marking 'window', typically around 0.16 inches square (100 mm2).
These requirements must be balanced with a host of other factors, including: the volume of data that must be recorded during each marking process; production line speed; and how much time is available for the marking process. Material qualities, such as hardness, m ust also be taken into account, along with the required depth of the mark.
Some components require only a serial number, production day number or batch number. Others need a complex and unique mark, such as a 2D Data Matrix, to make it part of a sophisticated data capture system. This kind of mark allows production data to be added and updated as a component passes through each stage of the production cycle. Later, this type of mark can also be used to identify production errors if a component fails in service.
It is vital that the production line speed is accurately recorded at all times. To do this, an encoder wheel sits on the conveyor, or on the material itself, to feed accurate information to the central controller. Specialist software interprets data from the encoder wheel and feeds it back to the laser marking machine. Measurement is accurate enough to account for small fluctuations in speed.
In a continuous process, such as the production of strip, coil or sheet, an operator may need to record a mark at regular intervals, be it every meter, or every 10 meters. Laser marking systems can cope with such a situation because line speed is known to a high degree of accuracy. For individual components on a line, light detection or through-beam sensors are typically used to start the marking process when a part passes through the marking window.
High speed marking
Laser marking usually begins as soon as the leading edge of a component enters the marking cell area. The process continues as the component or raw material passes through this narrow window. It makes sure that all relevant data has been recorded by the time the component exits the marking cell.
High energy fiber lasers offer several advantages in high speed marking. Flexible optical fibers allow maneuverability, which helps to deliver the beam to a moving focusing element. At the same time, fiber lasers can deliver beams powerful enough to make permanent marks, on resistant metals such as hardened steel, in a fraction of a second. In most cases, while the time allotted to make a mark is 0.5s, it is usually achieved within 0.2s.
A laser with higher power can be used if moving to even higher line speeds. This allows marks of enough depth and clarity to be made over a shorter period of time. Alternatively, the marking window can be expanded, which gives more time for a mark to be made.
It usually takes no more than half a second to mark a component with a complete, machine-readable Data Matrix code, a unique identifier for each component or section of material.
Because each application is unique, systems are typically customized. In some cases, the marking system is designed at the same time as the production process. For most applications, though, a marking system must fit into an existing line, where space is limited by existing equipment.
While the physical hardware of the machine will vary from application to application, the underlying laser technology and software will be very similar.
Digital platform
At its simplest, a marking system gives a component an identifying mark, such as a serial number. However, manufacturers increasingly need to make components that can be tracked through the entire production process, using marks such as Data Matrix codes.
This is vital to their entire manufacturing operation, so a separate quality control system is needed.
Reading a 2D Data Matrix at high speed is a challenge. It requires the use of a high spec camera and precise illumination. When marking on metal, the surface may have imperfections such as scratches, and is likely to be reflective. Sophisticated illumination patterns are needed, to ensure sufficient contrast. The position and color spectrum of all the individual lighting elements is also critical.
Data capture software allows manufacturers to log data about each component. It can interface with a customer's in-house PLC and NES systems. Components can be flagged and either rejected or rechecked downstream.
A 2D Data Matrix allows new information to be added as a component passes through the production process. This data is read at different stages, and extra information is tagged to the component. By recording every aspect of when and where a part is processed and inspected, the productivity of specific lines can be analyzed.
Capturing production data is a critical factor behind attempts to increase automation. It can also deliver additional operational benefits, helping to identify specific problems or production issues.
On-the-fly laser marking can keep high-speed or high-volume manufacturing on track, by saving vital fractions of a second during production. It can mark a 2D Data Matrix, while the line is running at full speed, with the same quality as one produced on a stationary system.
It is true that some alternative marking systems, such as those for plastic components or pharmaceuticals, are capable of much higher speeds. They typically handle thousands of parts per minute. Fiber lasers are not really appropriate in these areas, as they are geared towards making complex marks, for identity and traceability purposes, on metal components.
On-the-fly laser marking produces high quality marks, with no distortion, on fast-moving components. This ability helps to overcome production delays, a vital factor in modern manufacturing. Looking further ahead, these marks will increasingly help manufacturers to track components across their entire lifetimes, as data capture becomes an increasingly important currency in engineering.
[1] https://www2.deloitte.com/us/en/insights/focus/industry-4-0/smart-factory-connected-manufacturing.html


