Grinding Machines

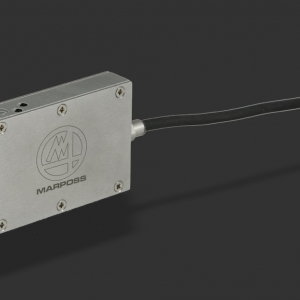
Minimicromar3 Gauge

The Minimicromar3 is designed for measuring external diameters, positioning and length for both smooth and interrupted surfaces.  It can measure workpieces from 25mm to 42.5mm with a measuring range of ±100 µm and a repeatability of ≤0.1 µm.  It is designed with a high degree of protection against coolant and abrasive substances.  Its low thermal drift value (<0.1 µm/°C) helps maintain high measurement precision.

Process for Double‐Rough Pinch Grinding

Pinch grinding offers accurate geometrical dimensions on the blank and tight surface finish requirements. In pinch grinding, the roughing and finishing wheels grind parts simultaneously, with the finishing wheel trailing the roughing wheel. The rough and finish grinding are performed in one pass. This innovative way to cylindrically grind parts eliminates separate processes and reduces cycle time. 

Process for Grinding Large Diameter Carbide Blanks

Pinch grinding offers highest concentricity particularly on long and thin parts. The rough and finish grinding are performed in one pass. This innovative way to grind roughing and finishing simultaneously eliminates a separate process and reduces cycle time. The machine utilizes two different grinding wheels running on separate spindles and positioned on independently- controlled CNC linear slides.

Introducing the Walter Helitronic Power 400 Tool Grinding Machine

You are looking for a powerful, flexible, reliable, and rigid tool and cutter grinding machine with an easy-to-use control and a variety of available options, including part loading and tool changing automation. Automatic calibration, in-process gauging models available with one or two spindle ends, and the ability to process a wide range of workpiece sizes would also help set your operation up for future success. Add in US-based customer care, applications support and stock machines available for quick delivery, and you’ve got a winning combination.

VGi20A Ball Screw Nut Grinding Multitasking Machine

With five axes of motion and storage for 40 tools, the machine can grind thread grooves and also machine the nut circumference, end surface, key grooves, and return tube holes in a single setup. In addition to producing large savings in manufacturing time, elimination of setup changeovers also assures exact phase alignment of thread grooves and return tube holes. A standard touch probe enables automatic pre-processing phase alignment of the thread groove and wheel.