Mechanical Joining Tools
Mechanical Joining Tools
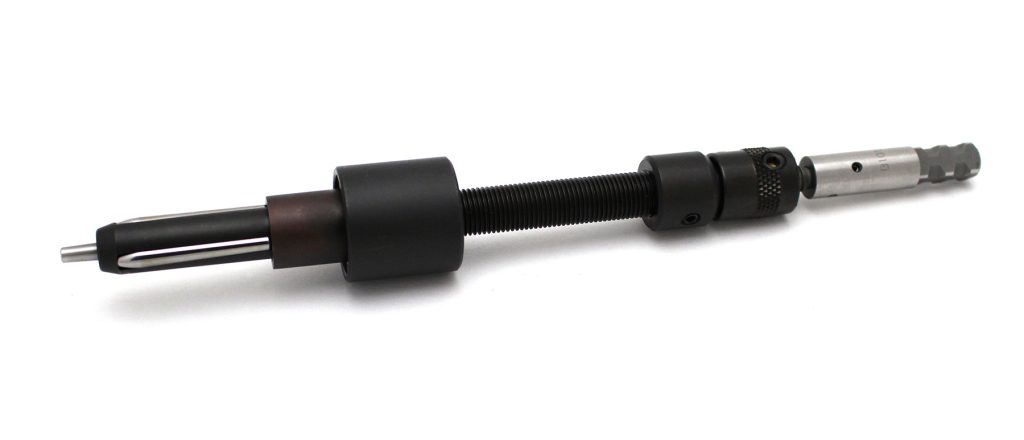
Monaghan Tooling Group introduces their Mechanical Joining Tools, which join tubing to flanges and fittings, creating secure, leak-proof joints that withstand up to 20,000 lbs. of hydrostatic pressure. Superior to welded, brazed or crimped joints, mechanically joined parts will not leak, pull apart, or loosen due to pressure, vibration, or temperature changes.

Monaghan Tooling Group introduces their Mechanical Joining Tools, which join tubing to flanges and fittings, creating secure, leak-proof joints that withstand up to 20,000 lbs. of hydrostatic pressure. Superior to welded, brazed or crimped joints, mechanically joined parts will not leak, pull apart, or loosen due to pressure, vibration, or temperature changes.
This method allows joints to be rolled to a torque or diameter spec. Rolling to a torque ensures consistent results, regardless of tolerance and variations of the tube OD, wall thickness and component ID. Rolling to a consistent diameter guarantees a consistent ID of the tube, which makes it possible to "iron out" and round up the ID of the tube. Virtually any annealed or ductile product can be mechanically joined, including mild steel, stainless steel, aluminum, titanium, copped, cupronickel, Inconel and more.
Monaghan Mechanical Joining Tool (MJT) is suitable for applications where joints loosen due to changes in temperature changes, altitude changes and vibration, and where high pressure is present, including those common in the automotive, fluid power and the aerospace industries.
The following describes how it works. A tube is inserted into the flange, then a mechanical joining tool is inserted into the tube. A generous chamfer or radius should be provided on the backside of the flange. The opposing end should include a shoulder that the tube can bottom out against to ensure proper position. Flange grooves with sharp corners at the top edge and the bottom of the groove are required. Width of the groove can be 0.062" to 0.375" (1.6 to 9.5mm), with depths from 0.005" to 0.0320" (0.13 to 0.81 mm) – both dimensions are dependent on flange width, thickness and hardness of tube.
When the tube has been rolled to about 25% of total MJT expansion required, it makes metal-to-metal contact with the flange.
At approximately 50% MJT expansion, the tube metal begins to flow into the grooved serrations of the flange.
When the Mechanical Joining Tool is completely expanded, grooved serrations are now filled to the predetermined groove fill percentage of the tool. (Groove fill percentages vary by industry, as well as applications.)
Once the correct joint has been completed, the rotation of the tool is reversed so that it can be extracted from the assembly and the cycle can be repeated with new components.


