A 1928 SIP machine comes home
A 1928 SIP machine comes home
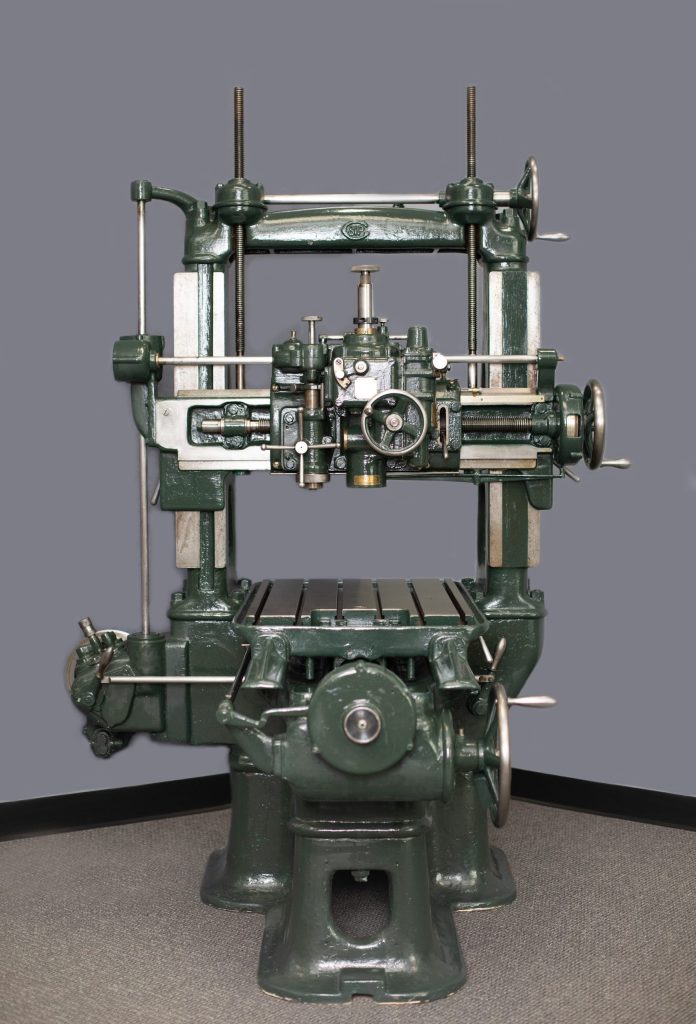
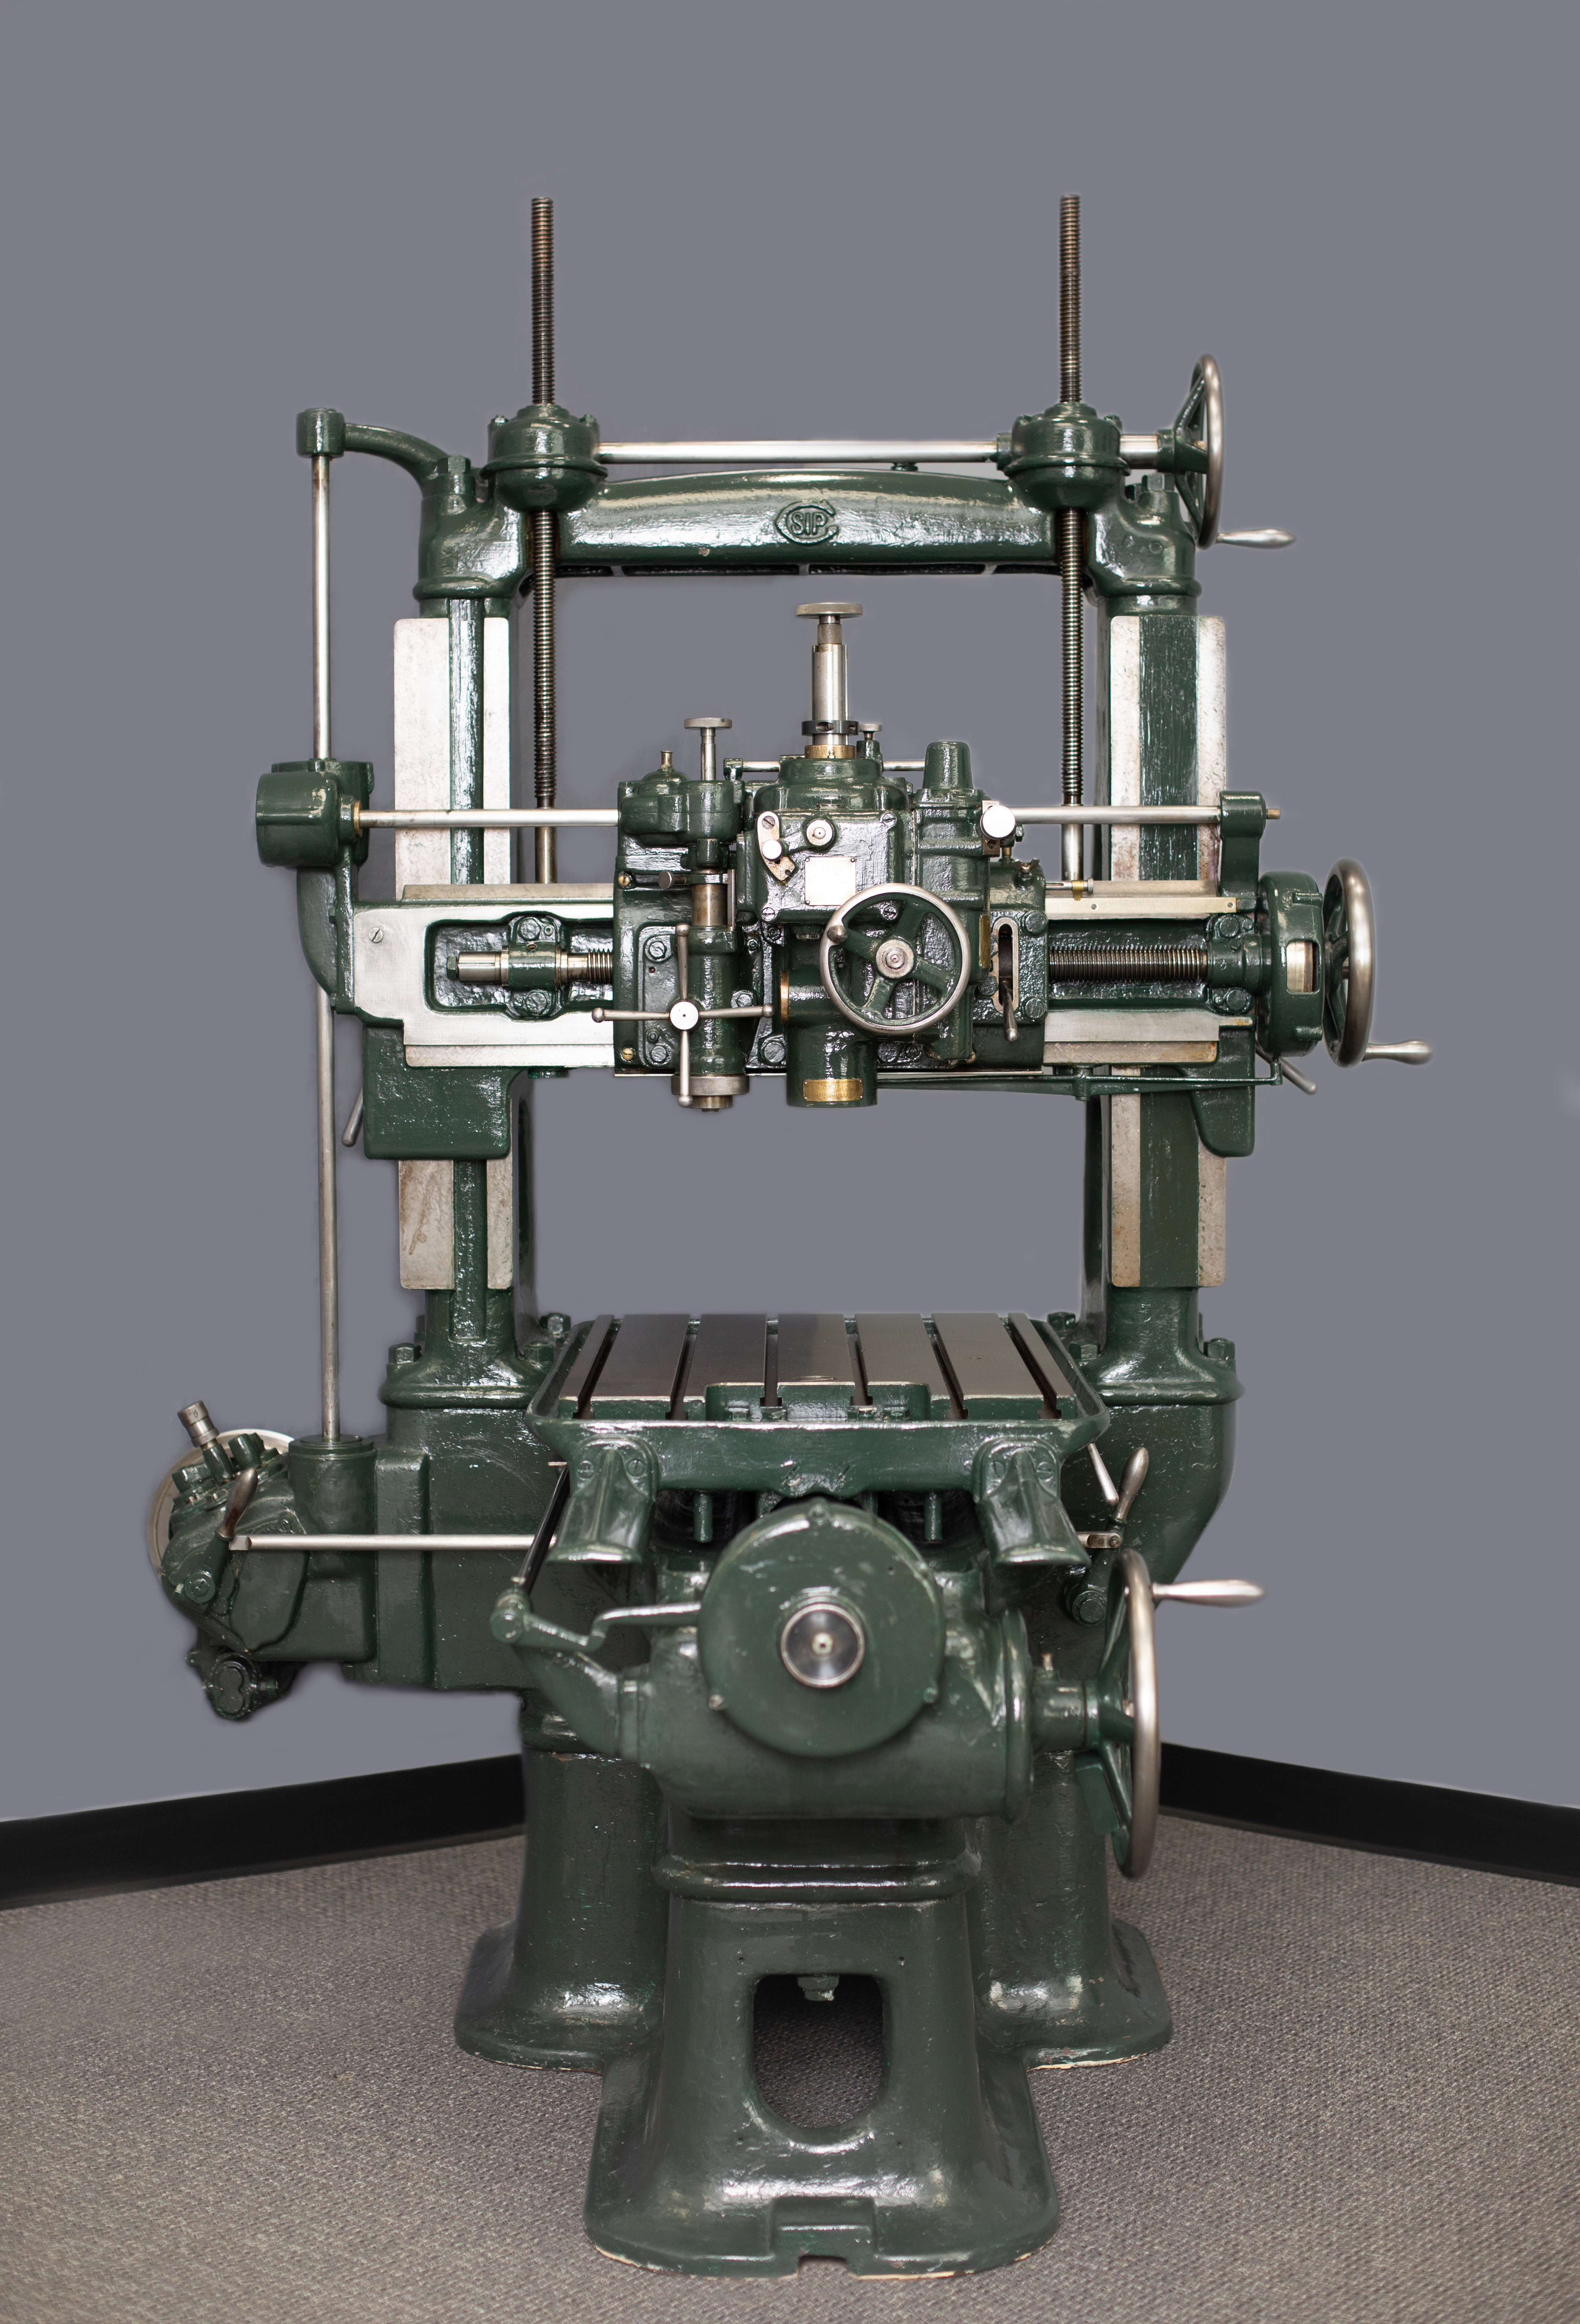
In 1928, a precision optics machine arrived on U.S. shores on a ship from Europe. The SIP MP4 machine, serial number 88, was bound for its new home at the General Electric plant in Lynn, Massachusetts, a town located 14 miles northeast of Boston. Today, it is home at the U.S. offices of Starrag in Hebron, Kentucky.

In 1928, a precision optics machine arrived on U.S. shores on a ship from Europe. The SIP MP4 machine, serial  number 88, was bound for its new home at the General Electric plant in Lynn, Massachusetts, a town located 14 miles northeast of Boston.
Societe Genevoise d'instruments de Physiques, or SIP, a Swiss-based manufacturer of products and instruments for physics and optics acquired by Starrag in 2006.
In the early 1900s, the engineers at SIP built a range of machinery from refrigeration compressors to telescope mounts. All SIP products had three common elements: precision, quality and specialization.
Although SIP had little experience in jig boring machine tools, the MP4 evolved from "machine à pointer" or a machine with great precision. It had a 20" by 24" (0.5m x 0.6m) worktable and was the first SIP machine that could locate and bore a hole with unparalleled precision.
The #88 machine was used at the GE plant until the 21st century and, in 2009, traversed the country when Robert Mathews, founder and president of R. Mathews Optical Works Inc. in Poulsbo, Washington, acquired the machine.
Refurbished and Still Reliable
R. Mathews Optical Works, founded in 1978 with the idea of manufacturing small quantity, specialized optical components, and continues operations.
According to a published report, the company was being asked to manufacture larger (up to 12" (300mm) in diameter) aspheric lenses and mirrors for the commercial and aerospace industry, and were unable to measure with any accuracy anything over 8" (200 mm).
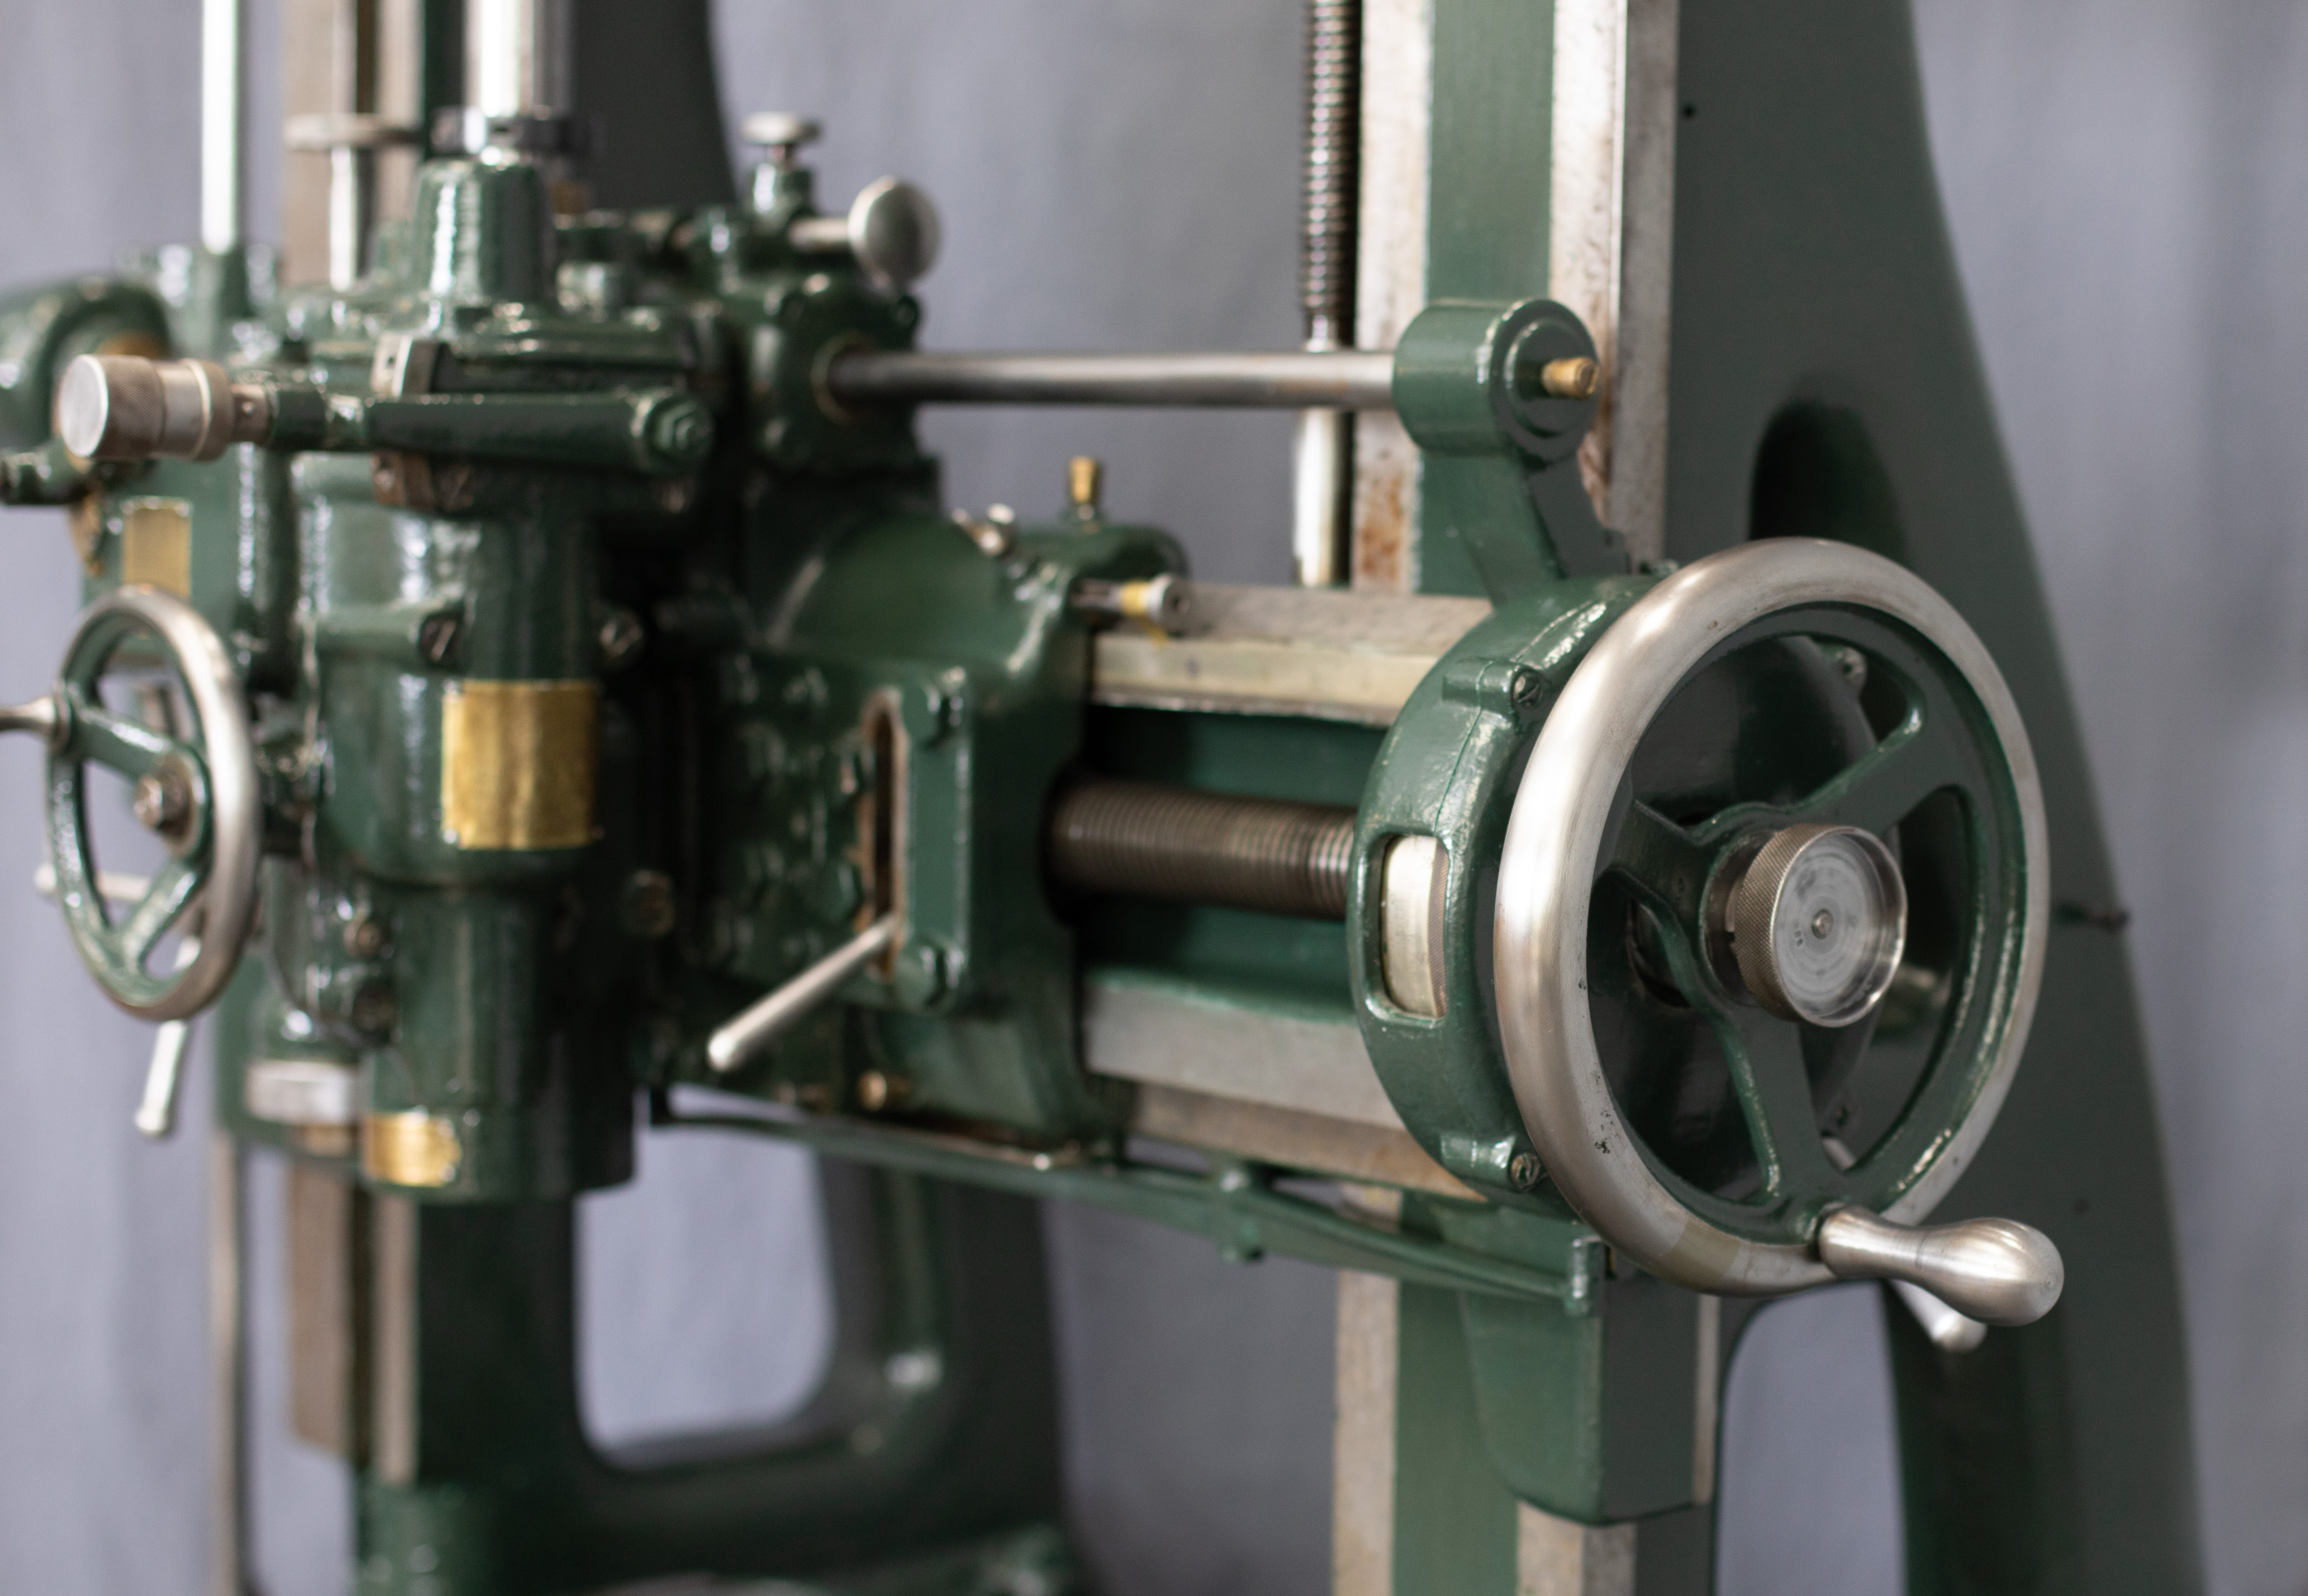
 Upon receiving the SIP MP4, Mathews renovated it to get it back into working condition. He soon realized it was worth the time and effort. "We fitted the spindle with a high-precision Heidenhain electronic probe with a 2.3" (60 mm) travel and ran the table through its entire travel in X and Y with an error of less than 0.0008" (0.002 mm) in both directions," said Mathews. "Further tests found that the original compensated lead screws provided positional accuracy of 0.0008" (0.002 mm)."
After cleaning, priming, painting and complete lubrication, Mathews' team ran it through its ultimate test: using a master glass convex spherical surface manufactured and tested interferometrically to 1/4 wave accuracy and 8" (200 mm) in diameter; this was centered on the machine using a precision rotary table. It was then measured on the MP4 in four different positions and found the volumetric error to be 0.0004" to 0.0008" (0.001 mm to 0.002 mm).
In subsequent use on actual customers' parts, this accuracy enabled them to fabricate the parts close enough in the grinding stage to be able to polish and optically test the components to completion.
"In later years the machine was used less and less so I freed up the frozen spindle and brought the machine back to its original operating condition," Mathews said. "For all the years that I had the machine and used it for measuring precision optics, it never failed to amaze me the accuracy built into this machine from 1928 using the methods of the time."
In 2019, instead of discarding the machine, Mathews offered it to Starrag, a manufacturer of high-precision machine tools with U.S. offices in Hebron, Kentucky. Today, the SIP MP4, serial number 88, is now home; showcased at Starrag's North American headquarters.


