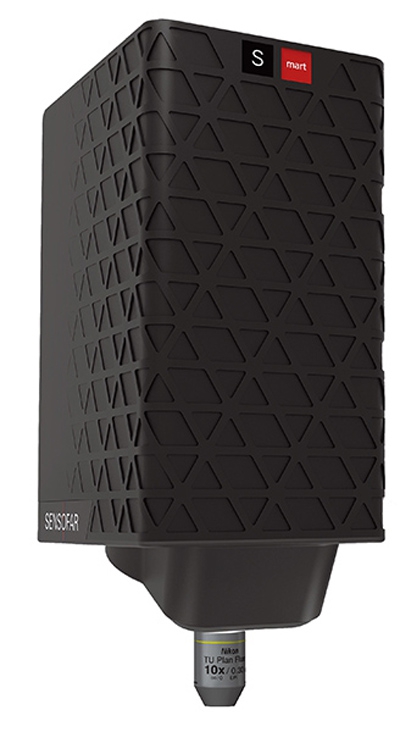
Sensofar Metrology has released a new high-resolution 3D optical sensor system, the S mart. The new system is ideally suited for integration into automated production systems, in particular for inline process measurement and process control tasks. At the same time, the S mart still manages to deliver both world-class performance and an intuitive user experience.
While the new S mart is compact, flexible and lightweight, it makes no compromises in terms of outright performance. Just as for Sensofar's flagship model, the S neox, the new S mart combines confocal, interferometry and focus variation techniques in the same sensor head. When combined with a single LED light source (red, green, blue or white) chosen precisely for the intended application, the S mart is ideal for obtaining a fast, non-invasive assessment of the 3D micro- and nano-geometry of technical surfaces, including surface resolution down to 0.1 nm, surface roughness, textures and structuring, and thin film thickness measurements.
Aside from a high-resolution motorized turret for interchangeable objectives, there are no moving parts that might complicate measurement repeatability. When fully integrated into a production system, the fixed (and automated) reference frame for measurement thus also provides a route to better process optimization. And a newly developed software interface, SensoSCAN 6, offers an even more intuitive interface and includes customizable tool features and new and powerful analysis algorithms that have been especially designed for automated inline process applications, all easily accessible system-wide using the provided SDK.
Drawing on over 14 years of experience in designing optical metrology systems for both R&D and industry, including supplying OEM metrology engines to leading systems integrators, Sensofar has been able to optimize the design of the S mart for easy integration into a wide range of inline applications. Closed-loop capability and orientation-independent mounting further underline the S mart's design purpose – maximum performance and flexibility for automated production processes.
The S mart's versatility makes it appropriate for a broad range of applications. Typical applications include all stages of micromanufacturing (EDM, milling or laser), automatic optical inspection (AOI), 2D and 3D measurements of semiconductors, and surface characterization (via a robot or portable stand) for automotive, flat panel display, LEDs, medical technology (stents and passivation) and CMP applications.
Contact Details
Related Glossary Terms
- flat ( screw flat)
flat ( screw flat)
Flat surface machined into the shank of a cutting tool for enhanced holding of the tool.
- gang cutting ( milling)
gang cutting ( milling)
Machining with several cutters mounted on a single arbor, generally for simultaneous cutting.
- metrology
metrology
Science of measurement; the principles on which precision machining, quality control and inspection are based. See precision machining, measurement.
- milling
milling
Machining operation in which metal or other material is removed by applying power to a rotating cutter. In vertical milling, the cutting tool is mounted vertically on the spindle. In horizontal milling, the cutting tool is mounted horizontally, either directly on the spindle or on an arbor. Horizontal milling is further broken down into conventional milling, where the cutter rotates opposite the direction of feed, or “up” into the workpiece; and climb milling, where the cutter rotates in the direction of feed, or “down” into the workpiece. Milling operations include plane or surface milling, endmilling, facemilling, angle milling, form milling and profiling.
- process control
process control
Method of monitoring a process. Relates to electronic hardware and instrumentation used in automated process control. See in-process gaging, inspection; SPC, statistical process control.


