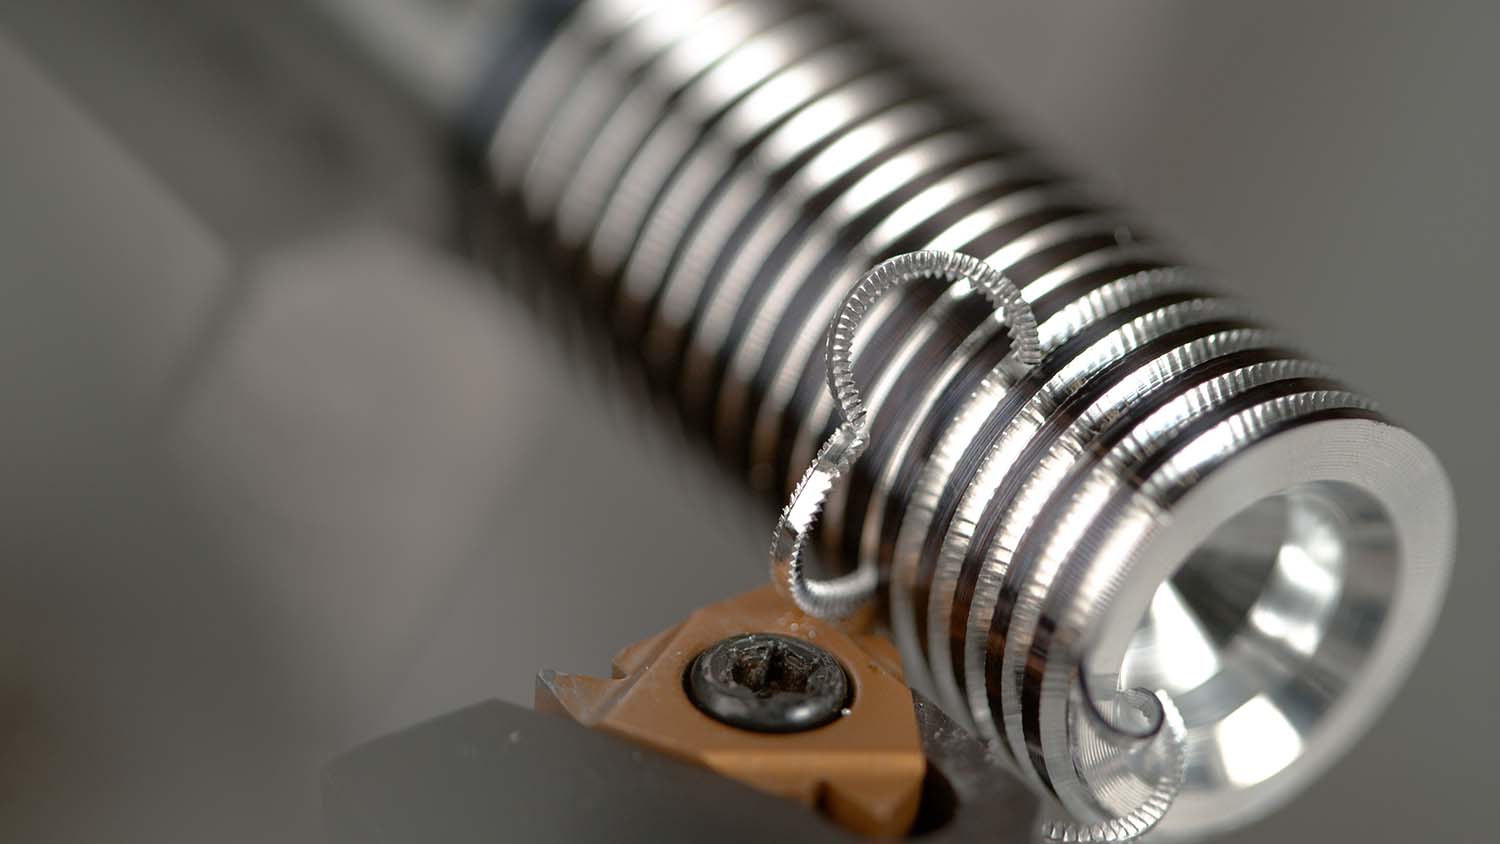
Threading is the most challenging of the basic machining operations. Countless combinations of thread forms and thread classes can complicate tool selection and programming.
Understanding thread requirements is the first step toward success. When properly specified, the thread callout not only contains the basic thread size like 10-24 or ¼-20 but specifies the thread class, which controls the fit between mating components, and the thread form, also known as the thread series, which designates thread geometry.
The class of fit is denoted by a 1, 2 or 3 and followed by an A or a B indicating external thread (A) or internal thread (B). For example, ¾-10 2A is ¾" major diameter with 10 threads per inch and a class 2 fit or tolerance band.
Taps, dies and other threading tools are made to produce threads to a specific thread class, so it is necessary to know which class is required to get the right tools. I learned this the hard way when I ran my family shop. We won a big order to machine aluminum extrusions, and the parts called for three holes tapped 10-24 2B. Instead of purchasing a good “go/no go” thread gauge, we checked the thread quality using a 10-24 screw and the policy of “If the screw goes in, it must be good.” We proudly shipped 1,000 parts to our customer, which promptly rejected all the parts because the pitch diameter was too large. There is no way to rework a tapped hole that is too large, so we had to scrap the parts. It was an expensive lesson in proper thread fit.
Drawings clearly show geometric requirements for a workpiece, such as steps, diameters, corner radii, chamfers and other similar features. However, threading is different as drawings rarely show geometric requirements for threads. Thread geometry is governed by the thread form or thread series like UNC, UNF, BSW, BSF and NPT. The thread series dictates the size, shape, angles and various ratios that define the geometry of threads. A common designation would be ¼-20 UNC 2B, which indicates the unified thread series for coarse threads.
Once the thread series is known, a machinist or programmer can find the various ratios, dimensions and angles in a reference like Machinery’s Handbook. This information is critical for determining pitch diameter, overall thread depth and radii explicit to the thread form. These details are needed to begin the thread machining or programming process.

In some cases, thread forms are particular to an industry. Oil and gas, for instance, conforms to specifications given by the American Petroleum Institute, which dictates thread forms designed for strength and safety in the industry. In these situations, it may be necessary to consult a specific standard to obtain accurate thread form data.
The advent of ISO standards and globalization has greatly reduced the variation in thread forms used in modern manufacturing, but older equipment can have obscure thread forms, so a machine shop can’t always assume that a thread is a common form. The British Standard Whitworth thread is an
example of an early thread form used by British manufacturers that is no longer in use. However, old British machines and tools, especially those in niche industries, are still in use, and repairing them or replicating parts often requires special threading tools.
Once the thread form is known, it is necessary to select the threading tool. External and internal threads are either cut or formed. Cut threads, as the name indicates, are made by removing material from a workpiece. Formed threads are made by displacing material on a workpiece. Producing threads with a cutting tool is the most familiar method to machinists and mechanics. However, thread forming is the most productive method and is used extensively in high-volume manufacturing.
Thread cutting is the most common method for generating a thread, and almost every machinist is familiar with taps, dies and single-point threading, which was standard for many years. CNC machining utilizes these same tried-and-true threading technologies, but controls also are giving access to newer techniques.
Now we can program a lathe to cut on the point of a threading tool, the leading edge of a tool or the trailing edge of a tool. Driving the cutting edge in this manner increases tool life and improves chip control. Machining centers can be programmed to peck-tap, which mimics the manual technique in which the tap is screwed in a little and then back out some, thereby breaking the chip and allowing lubrication to advance in the hole. Difficult-to-machine materials often respond well to the addition of a peck tapping cycle.
Thread milling is probably the most significant advancement in modern thread machining. Taps, dies and similar tools used on milling machines generate a single thread size. A single-point thread mill can produce any thread size or pitch with few limitations. Thread mills also have improved thread production in difficult-to-machine materials like those used in aerospace applications.
Thread forming offers several advantages over thread cutting. The process produces a stronger thread because the grain structure of the metal is left intact. No chips are created that have to be evacuated. Thread forming tools last many times longer than cutting tools, and threading tools can run at higher speeds, making thread forming much faster.
There are some disadvantages to thread forming. It requires more power, and forces exerted on the threading tool, toolholder and workpiece are greater than the forces exerted on thread cutting tools. Hard materials and very ductile materials often can be a challenge when using thread forming tools. Thread forming becomes more difficult as material hardness increases, making broken tools more likely. Similarly, ductile materials can be difficult because they tend to be sticky and like to adhere to the threading tool, causing poor thread quality or broken tools.
Every threading job is different, which makes recommendations tough. However, I use a few general rules to make threading easier. First, I always make sure to have a well-defined requirement. If a customer does not give a full definition with size, class and form, I call and get that. Completed threads always are checked with the appropriate thread gauge, such as a plug gauge, ring gauge, thread micrometer or thread wire, and not a fastener. I needed that lesson only once.
Thread milling and single-point threading are my first choices as they are the most reliable and least finicky. If I can’t thread-mill, I use a cutting tap and generally stay away from thread forming unless I think that chips will be a problem or the volume of parts is very high. Whether forming or cutting, it is important to buy good tools. Scrimp and save on drills and endmills, but don’t cut corners on taps and thread mills. I have seen a $125,000 turbine wheel scrapped by a cheap tap, so don’t buy inferior ones. Remember also that hand taps are for hand tapping and not appropriate for using on a machine.
General machining of external threads is best done with single-point inserts similar to grooving tools. They can cut any pitch or material with little effort. Finally, make sure that cutting fluids are maintained properly and appropriate for a material. The scrapped aluminum extrusions mentioned earlier were a result of using a coolant that was not ideal for the operation.
Threading can be a frustrating endeavor when things are going wrong. It also can be very satisfying when the right combinations of variables are used and a thread gauge slips on smoothly.
Related Glossary Terms
- bandsaw blade ( band)
bandsaw blade ( band)
Endless band, normally with serrated teeth, that serves as the cutting tool for cutoff or contour band machines.
- centers
centers
Cone-shaped pins that support a workpiece by one or two ends during machining. The centers fit into holes drilled in the workpiece ends. Centers that turn with the workpiece are called “live” centers; those that do not are called “dead” centers.
- computer numerical control ( CNC)
computer numerical control ( CNC)
Microprocessor-based controller dedicated to a machine tool that permits the creation or modification of parts. Programmed numerical control activates the machine’s servos and spindle drives and controls the various machining operations. See DNC, direct numerical control; NC, numerical control.
- coolant
coolant
Fluid that reduces temperature buildup at the tool/workpiece interface during machining. Normally takes the form of a liquid such as soluble or chemical mixtures (semisynthetic, synthetic) but can be pressurized air or other gas. Because of water’s ability to absorb great quantities of heat, it is widely used as a coolant and vehicle for various cutting compounds, with the water-to-compound ratio varying with the machining task. See cutting fluid; semisynthetic cutting fluid; soluble-oil cutting fluid; synthetic cutting fluid.
- gang cutting ( milling)
gang cutting ( milling)
Machining with several cutters mounted on a single arbor, generally for simultaneous cutting.
- grooving
grooving
Machining grooves and shallow channels. Example: grooving ball-bearing raceways. Typically performed by tools that are capable of light cuts at high feed rates. Imparts high-quality finish.
- hardness
hardness
Hardness is a measure of the resistance of a material to surface indentation or abrasion. There is no absolute scale for hardness. In order to express hardness quantitatively, each type of test has its own scale, which defines hardness. Indentation hardness obtained through static methods is measured by Brinell, Rockwell, Vickers and Knoop tests. Hardness without indentation is measured by a dynamic method, known as the Scleroscope test.
- lathe
lathe
Turning machine capable of sawing, milling, grinding, gear-cutting, drilling, reaming, boring, threading, facing, chamfering, grooving, knurling, spinning, parting, necking, taper-cutting, and cam- and eccentric-cutting, as well as step- and straight-turning. Comes in a variety of forms, ranging from manual to semiautomatic to fully automatic, with major types being engine lathes, turning and contouring lathes, turret lathes and numerical-control lathes. The engine lathe consists of a headstock and spindle, tailstock, bed, carriage (complete with apron) and cross slides. Features include gear- (speed) and feed-selector levers, toolpost, compound rest, lead screw and reversing lead screw, threading dial and rapid-traverse lever. Special lathe types include through-the-spindle, camshaft and crankshaft, brake drum and rotor, spinning and gun-barrel machines. Toolroom and bench lathes are used for precision work; the former for tool-and-die work and similar tasks, the latter for small workpieces (instruments, watches), normally without a power feed. Models are typically designated according to their “swing,” or the largest-diameter workpiece that can be rotated; bed length, or the distance between centers; and horsepower generated. See turning machine.
- micrometer
micrometer
A precision instrument with a spindle moved by a finely threaded screw that is used for measuring thickness and short lengths.
- milling
milling
Machining operation in which metal or other material is removed by applying power to a rotating cutter. In vertical milling, the cutting tool is mounted vertically on the spindle. In horizontal milling, the cutting tool is mounted horizontally, either directly on the spindle or on an arbor. Horizontal milling is further broken down into conventional milling, where the cutter rotates opposite the direction of feed, or “up” into the workpiece; and climb milling, where the cutter rotates in the direction of feed, or “down” into the workpiece. Milling operations include plane or surface milling, endmilling, facemilling, angle milling, form milling and profiling.
- milling machine ( mill)
milling machine ( mill)
Runs endmills and arbor-mounted milling cutters. Features include a head with a spindle that drives the cutters; a column, knee and table that provide motion in the three Cartesian axes; and a base that supports the components and houses the cutting-fluid pump and reservoir. The work is mounted on the table and fed into the rotating cutter or endmill to accomplish the milling steps; vertical milling machines also feed endmills into the work by means of a spindle-mounted quill. Models range from small manual machines to big bed-type and duplex mills. All take one of three basic forms: vertical, horizontal or convertible horizontal/vertical. Vertical machines may be knee-type (the table is mounted on a knee that can be elevated) or bed-type (the table is securely supported and only moves horizontally). In general, horizontal machines are bigger and more powerful, while vertical machines are lighter but more versatile and easier to set up and operate.
- pitch
pitch
1. On a saw blade, the number of teeth per inch. 2. In threading, the number of threads per inch.
- tap
tap
Cylindrical tool that cuts internal threads and has flutes to remove chips and carry tapping fluid to the point of cut. Normally used on a drill press or tapping machine but also may be operated manually. See tapping.
- tapping
tapping
Machining operation in which a tap, with teeth on its periphery, cuts internal threads in a predrilled hole having a smaller diameter than the tap diameter. Threads are formed by a combined rotary and axial-relative motion between tap and workpiece. See tap.
- threading
threading
Process of both external (e.g., thread milling) and internal (e.g., tapping, thread milling) cutting, turning and rolling of threads into particular material. Standardized specifications are available to determine the desired results of the threading process. Numerous thread-series designations are written for specific applications. Threading often is performed on a lathe. Specifications such as thread height are critical in determining the strength of the threads. The material used is taken into consideration in determining the expected results of any particular application for that threaded piece. In external threading, a calculated depth is required as well as a particular angle to the cut. To perform internal threading, the exact diameter to bore the hole is critical before threading. The threads are distinguished from one another by the amount of tolerance and/or allowance that is specified. See turning.
- tolerance
tolerance
Minimum and maximum amount a workpiece dimension is allowed to vary from a set standard and still be acceptable.
- toolholder
toolholder
Secures a cutting tool during a machining operation. Basic types include block, cartridge, chuck, collet, fixed, modular, quick-change and rotating.


