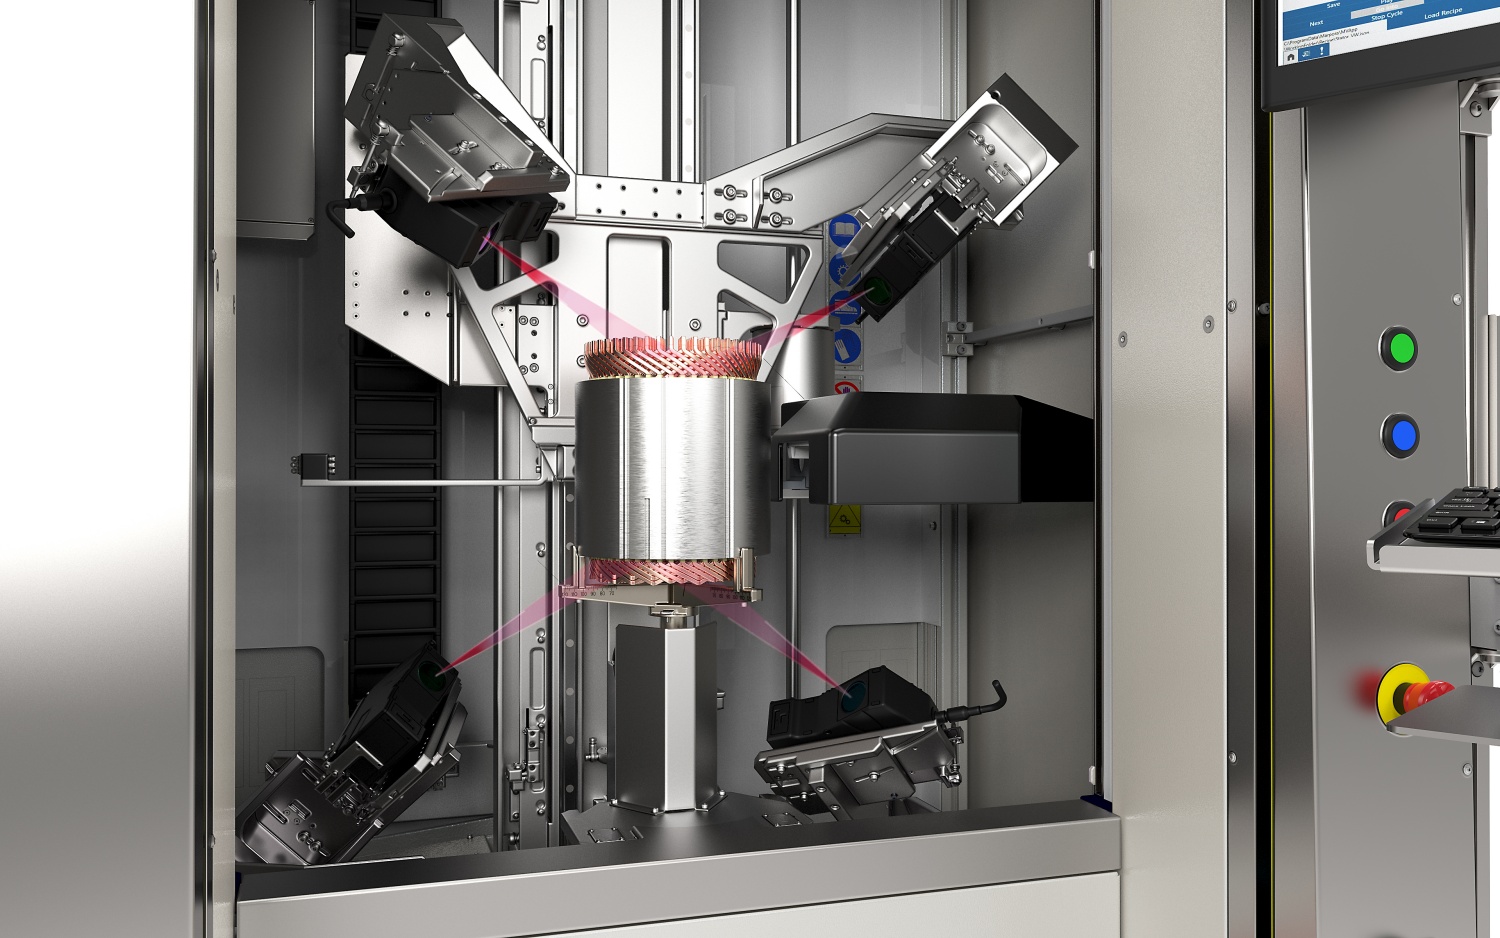
OptoCloud EDU (Electric Drive Unit)
OptoCloud EDU (Electric Drive Unit)
Part handling is fast and easy with the OptoCloud EDU. Its design features a Z-axis that allows the laser heads to automatically move out of the handling area, leaving a large space for workpiece handling and removing risk of sensor damage due to handling error.

Marposs has announced the OptoCloud EDU (Electric Drive Unit), its latest generation of 3D precision inspection solutions designed for the Electrical Vehicle industry. Using multiple laser heads in tandem with contact sensors for measurement and vision inspection, OptoCloud EDU reconstructs the 3D model of complex and articulated workpieces in less than a minute to ensure accuracy of the produced component. For example, it can validate 240 electrical contacts of a motor stator in only 30 seconds, which is 100 times faster than a traditional contact system.
The laser heads are integrated over a moving axis designed to position the lasers for the 3D acquisition. To generate a point cloud of the workpiece, the part is quickly rotated 360° while the different laser heads each acquire spatial data that is then combined into a single 3D reconstruction and graphical representation made possible through the software. The system then executes the requested measurement and vision inspection tasks. Line operators can easily review images and navigate to the desired level of detail to identify any anomalies.
In addition to quality control capability, the multiple laser heads create a point cloud with such a high level of spatial resolution that the details provide a reliable dataset that can also be used for design reviews and final project validation.
Part handling is fast and easy with the OptoCloud EDU. Its design features a Z-axis that allows the laser heads to automatically move out of the handling area, leaving a large space for workpiece handling and removing risk of sensor damage due to handling error.
Marposs OptoCloud EDU can handle components up to 300 mm x 300 mm (12" x 12") and weights of 60 kg (132 lbs.). The system measures 1200mm x 1304mm x 2304mm (47" wide x 51" deep x 91" tall).


